Queen Size Lift Storage Bed
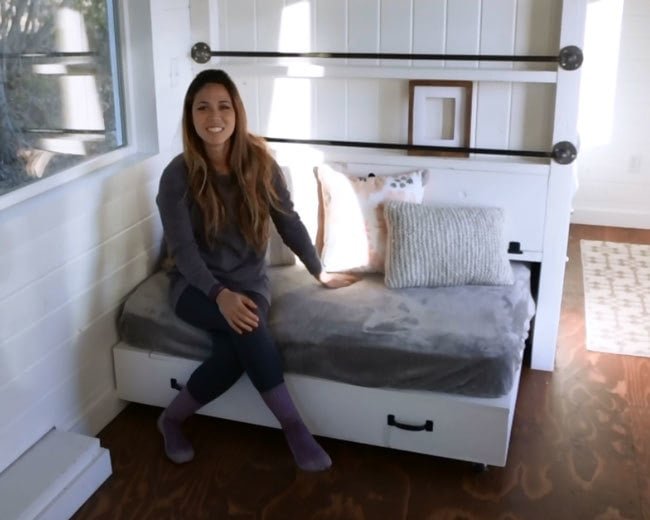
DIY a storage bed that lifts for lots of storage. Free
Specifications
| Project type | Queen Beds and Bed Frames |
|---|---|
| Room | Bedroom |
| Style | Farmhouse Furniture |
| Difficulty | Intermediate |
Dimensions
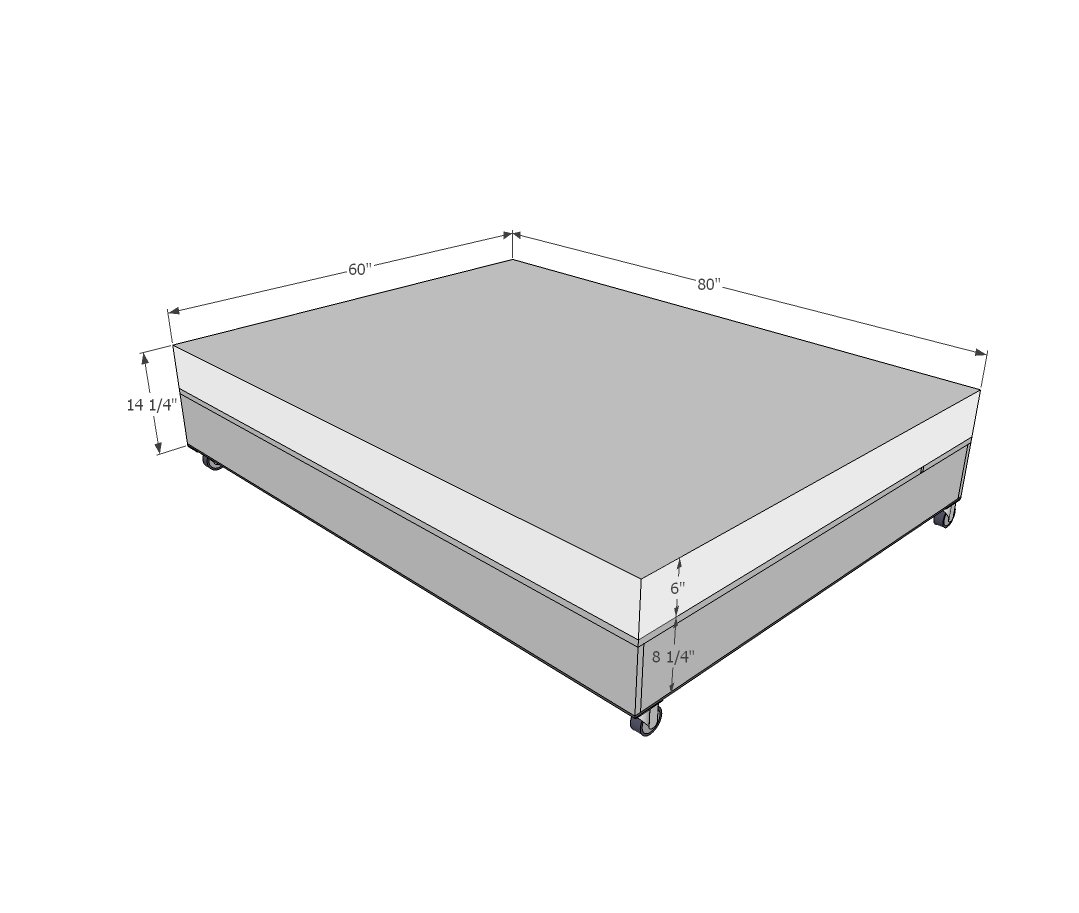
Use the size-specific shopping and cut lists below.
Shopping List
- 2 - 4x8 sheets 1/4" plywood for the bottoms
- 1 - 4x8 sheet 3/4" plywood
- 1 - 1x12 @ 8 feet long
- 2 - 1x8 @ 8 feet long
- 3 - 1x8 @ 6 feet long
- 2 - 2x4 @ 8 feet long
- 6 - 2-1/2" caster wheels (we did three swivels and two locking)
- 3 - large heavy duty hinges
- Bed lift kit suitable for queen size mattress ( we used this kit for a full size )
- Edge banding for finishing plywood edges
Cut List
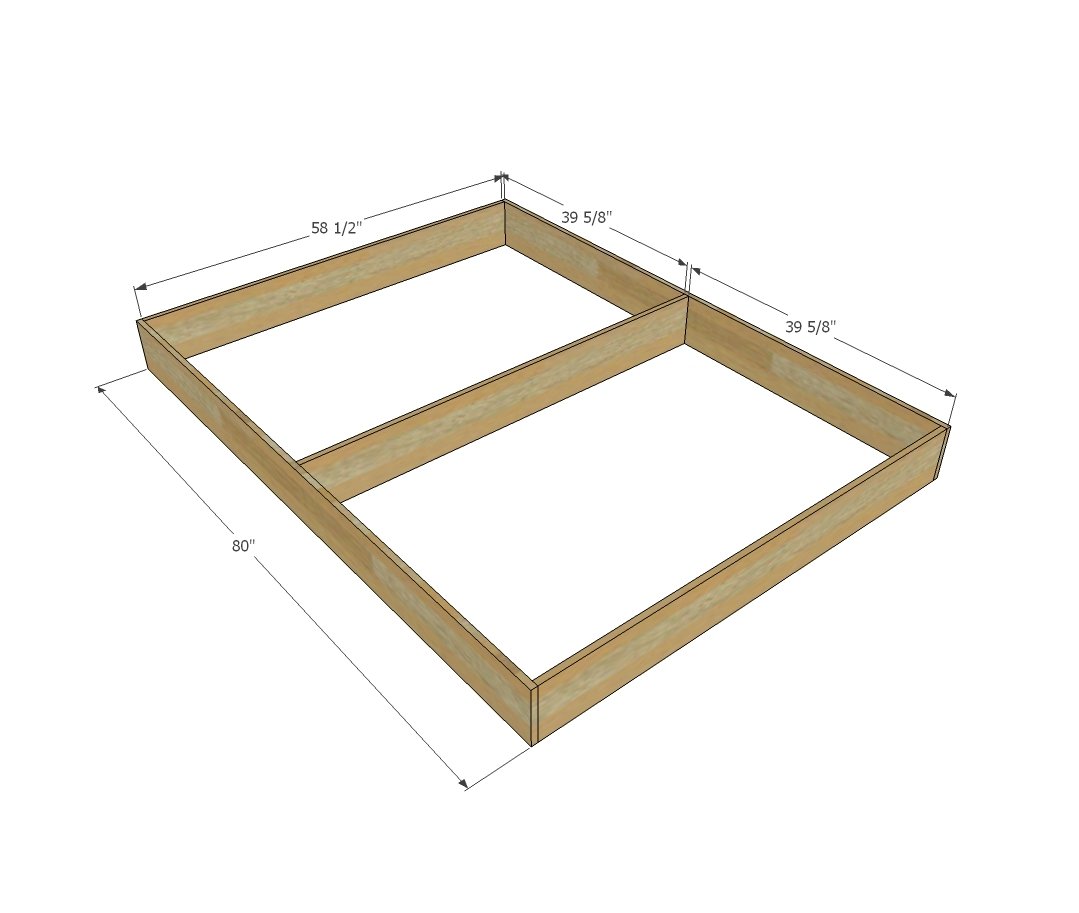
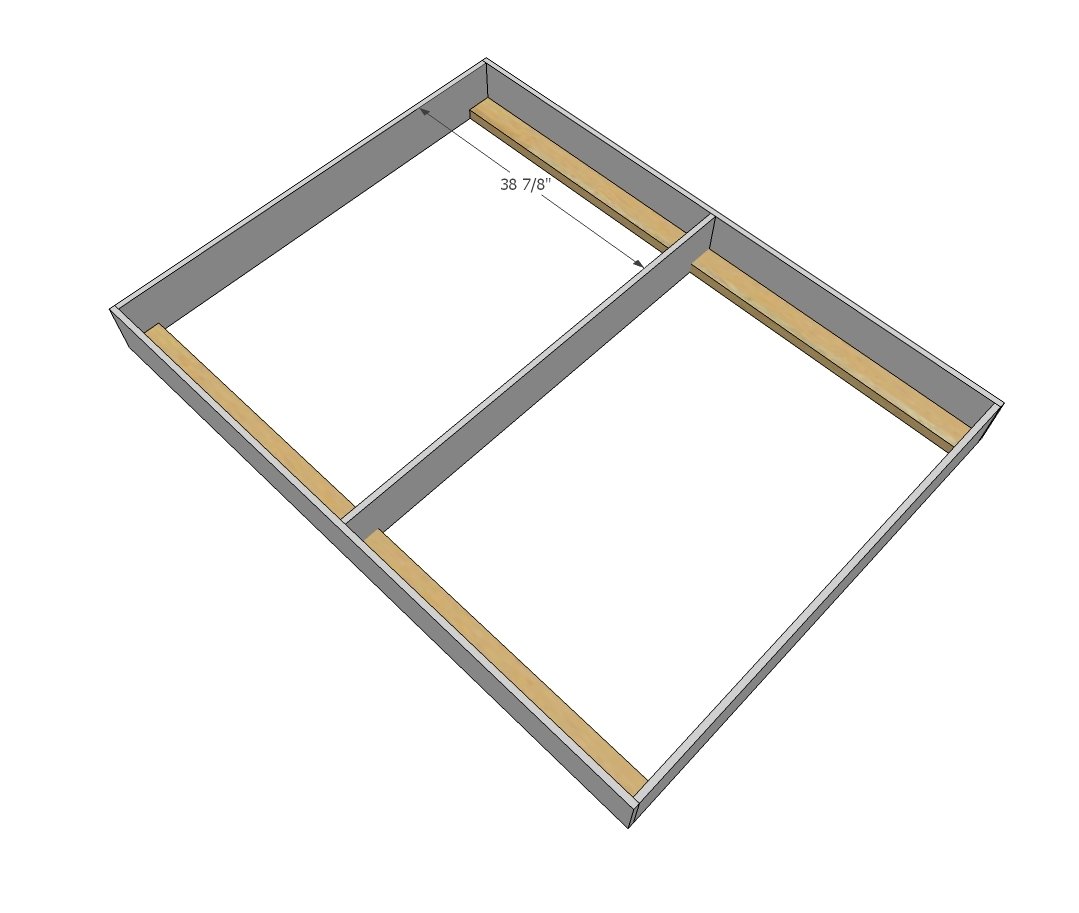
3 - 1x8 @ 58-1/2" 2 - 1x8 @ 80" 4 - 2x4 @ 38-7/8" 2 - 1/4" plywood @ 40" x 60" 1 - 1x12 @ 80" 1 - 3/4" plywood @ 48" x 80"
Tools
- measuring tape
- square
- pencil
- safety glasses
- hearing protection
- kreg-jig
- drill
- circular saw
- nailer
- Iron
Step-by-step Instructions
Step 1
Build the basic frame of the bed with 1x8s. We used 1x8s to get the seating height, but for a taller bed (and more storage) you could go up in board width size (ie 1x10 or 1x12). We used 3/4" pocket holes and 1-1/4" pocket holes for joints, but you could use wood screws or even 1-1/4" nails and glue since all joints will be reinforced.
Step 2
Add 2x4 supports as shown to give you something to attach the caster wheels to. If using pocket holes to attach, keep the 3/4" setting and the 1-1/4" pocket hole screws.
Step 3
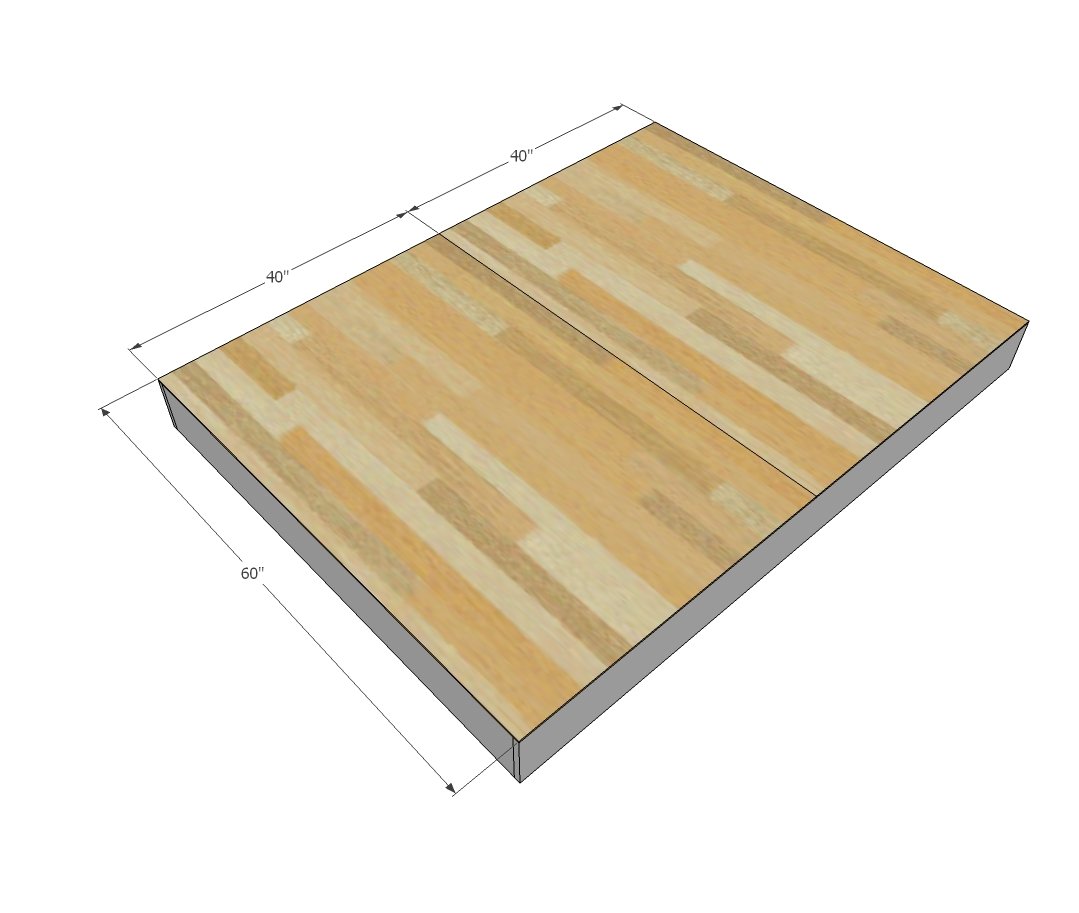
Attach bottom with glue and 3/4" brad nails or staples. Use the plywood factory edges to help you square up the project.
Step 4
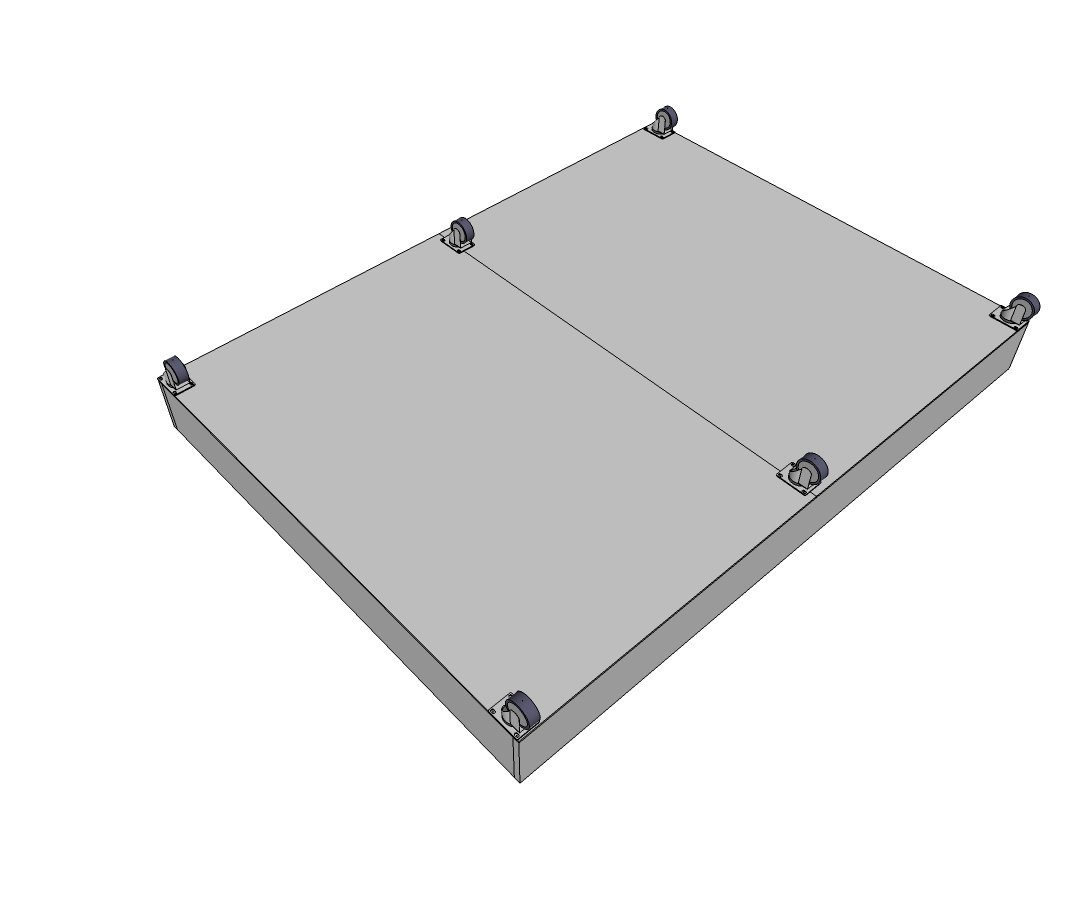
Attach caster wheels to the base. Note weight limit on your casters and add additional as needed to cover your expected weight requirements. We did a locking wheel at the front and swivels for the rest of the wheels.
Step 5
Step 6
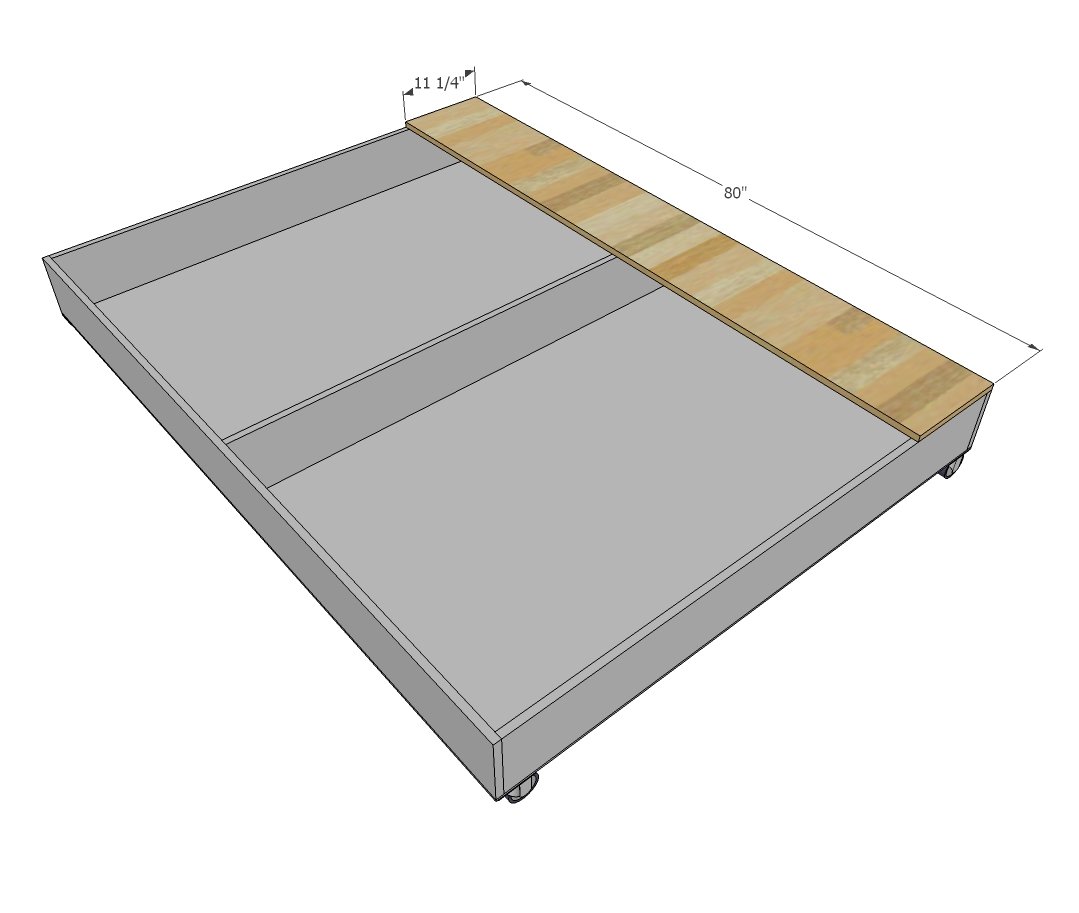
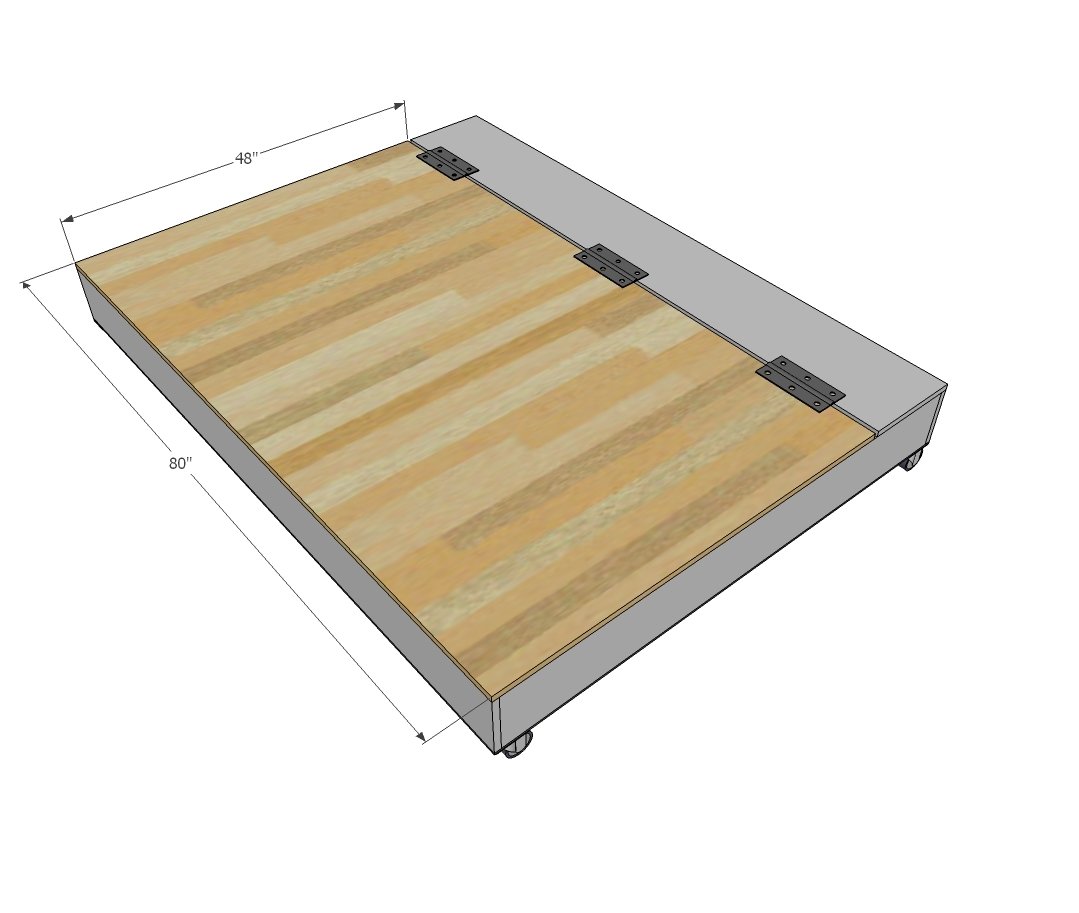
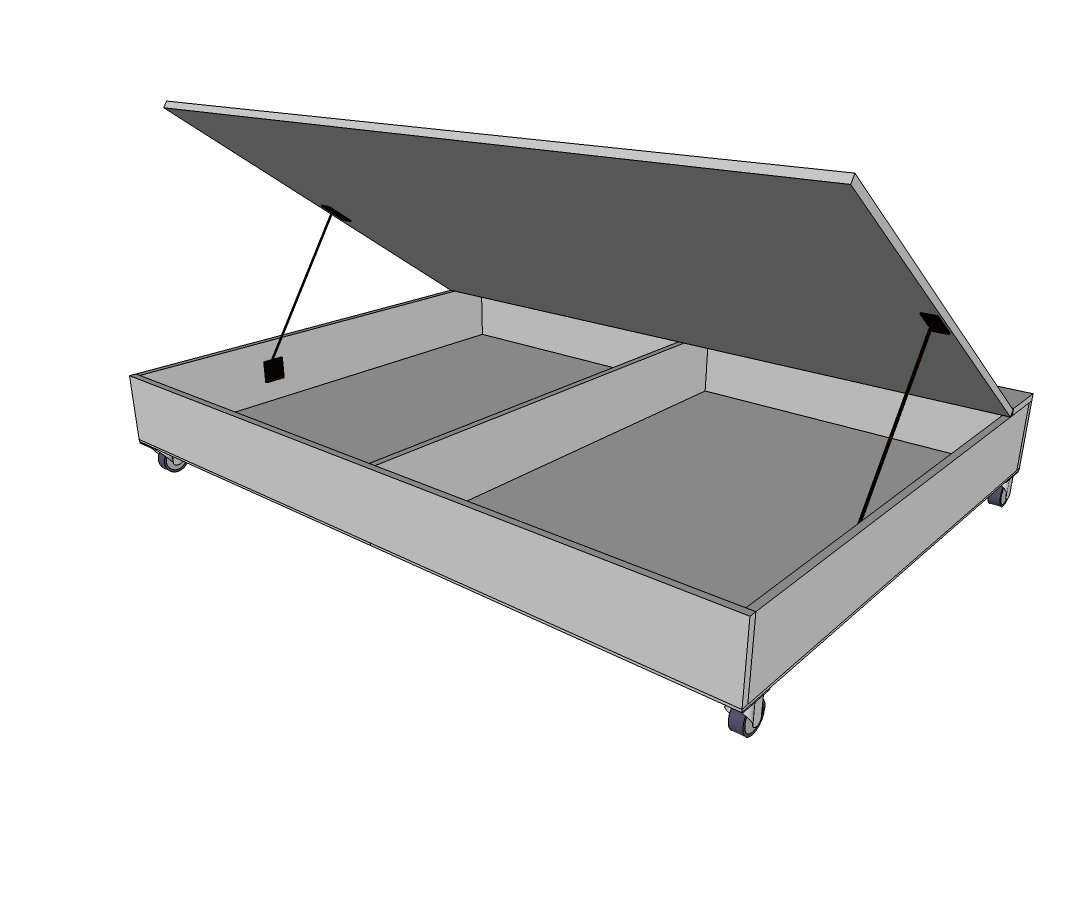
Apply the edge banding to outside edges of the plywood panel. Then attach with the hinges to the 1x12. There will be a good sized gap in between, this will be covered by the mattress.
Step 7
Attach springs to underside of the plywood piece to manufacture's specs.
Finishing
Sand all surfaces, starting with a medium grit and finishing with fine. Wipe off the dust, fill any holes or gaps with wood filler, and sand smooth once dry. Apply primer if you're painting, then finish with your choice of paint or stain and seal with a durable clear topcoat. For outdoor projects, use exterior-rated primer, paint or stain, and sealer so the piece stands up to the weather.
Source (temporary): https://www.ana-white.com/woodworking-projects/queen-size-lift-storage-bed