Raised Pet Feeder
Since I submitted a raised feeder plan for large dogs I felt it was only fair to create one for small dogs.
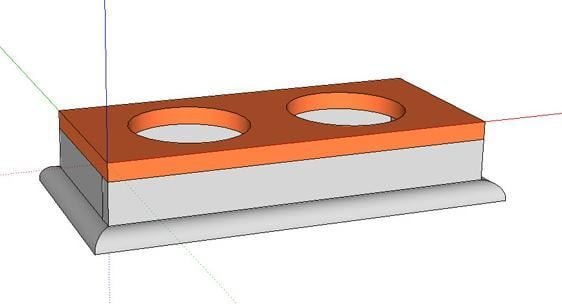
Specifications
| Project type | Other Projects |
|---|---|
| Room | dining room |
| Style | Modern Style Furniture Plans |
| Difficulty | Beginner Projects |
| Estimated cost | $20 - $50 |
Dimensions
Use the size-specific shopping and cut lists below.
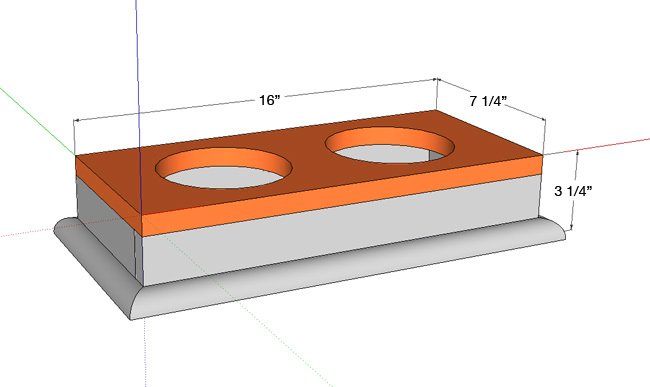
Shopping List
- 1 x 8 @ 16″
- 1 x 3 @ 43 1/2″
- 2 – 16 oz. Basic Stainless bowls from Petco
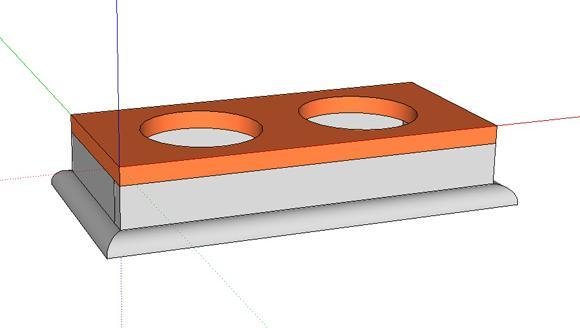
- 52 1/2" (optional) quarter round
Cut List
- 1 – 1 x 8 @ 16″ (Top)
- 1 – 1 x 3 @ 16″ (Front Panel)
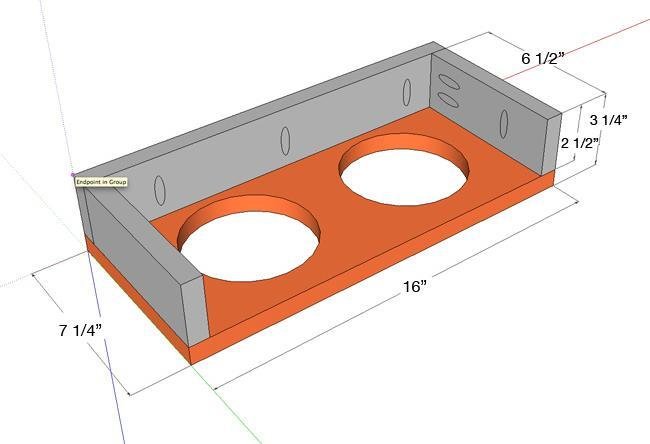
- 2 – 1 x 3 @ 6 1/2″ (Side Panels)
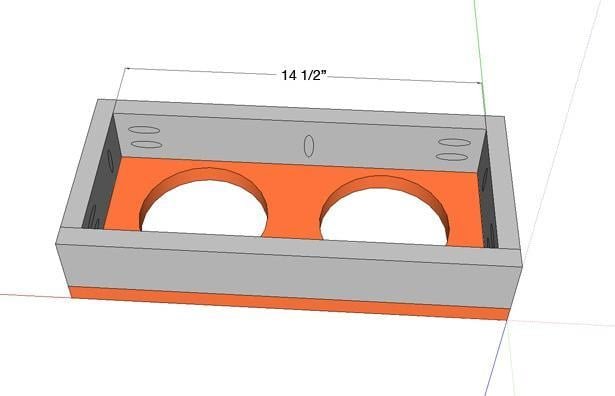
- 1 – 1 x 3 @ 14 1/2″ (Back Panel)
Tools
- measuring tape
- kreg-jig
- drill
- jigsaw
- compound miter saw
Step-by-step Instructions
Step 1
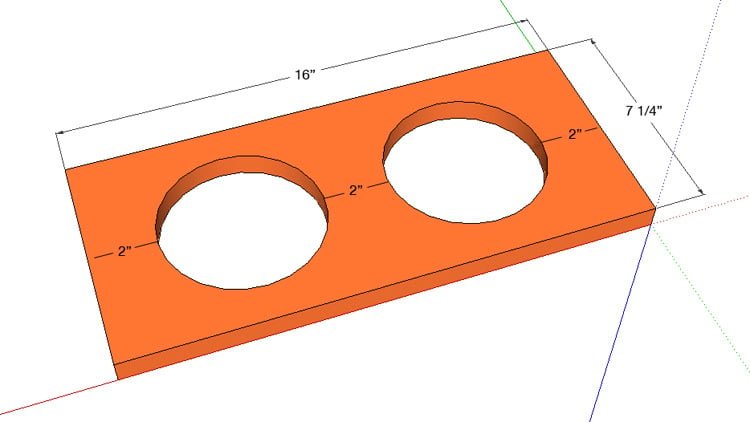
Using a jigsaw cut two 5” circles out of your top. The bowls I am using for this plan are 5 1/2” in diameter. This will give the bowls a 1/2” lip to rest on. Don’t worry about your circles being perfect because the bowls will cover them.
Step 2
(Remember to predrill all of your Kreg holes before attaching any of your pieces!) Attach your front panel to the top.
Step 3
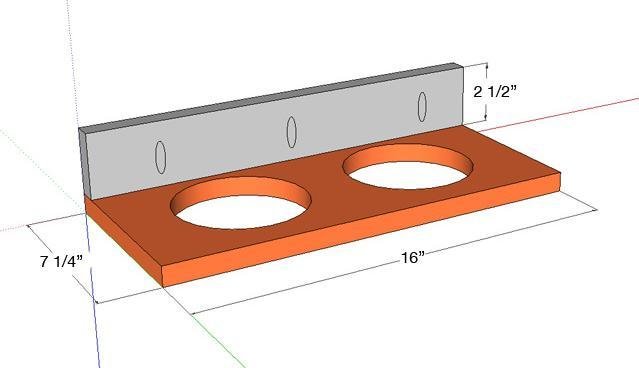
Attach each of your side pieces to the top and front panel.
Step 4
Attach the back piece to the sides and top.
Step 5
Finishing
Sand all surfaces, starting with a medium grit and finishing with fine. Wipe off the dust, fill any holes or gaps with wood filler, and sand smooth once dry. Apply primer if you're painting, then finish with your choice of paint or stain and seal with a durable clear topcoat. For outdoor projects, use exterior-rated primer, paint or stain, and sealer so the piece stands up to the weather.
Source (temporary): https://www.ana-white.com/woodworking-projects/raised-pet-feeder-small