Rustic Bookcase from Fence Slats
Ever admired a rustic hand built bookcase only to be floored by the price? Well here's a simple way to make one using cedar 1x2's and fence pickets for around $35!
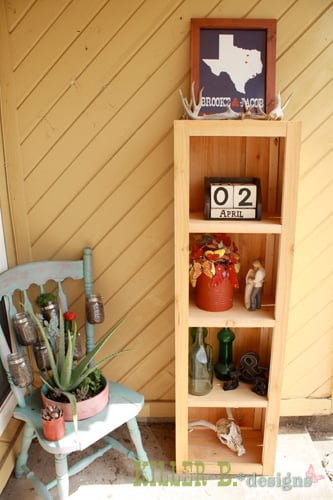
Specifications
| Project type | Bookshelf and Bookcase Plans |
|---|---|
| Room | living room |
| Style | Primitive or Early American Style Furniture Plans |
| Difficulty | Beginner Projects |
| Estimated cost | $20 - $50 |
Shopping List
- 5 – 1×2 @ 8′
- 11 – cedar pickets
- glue
- nails
- sandpaper
Cut List
4 – 1×2 @ 60″
10 – 1×2 @ 9.5″
4 – 1×2 @ 13.5″
wait to cut fence pickets for each step
Tools
- measuring tape
- square
- pencil
- hammer
- safety glasses
- hearing protection
- circular saw
- table saw
- nailer
- sander
Step-by-step Instructions
Step 1
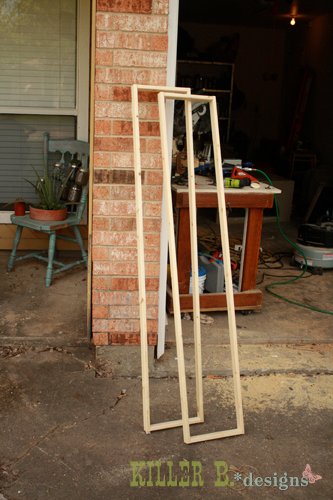
Using glue and 1 1/2 inch nails, build the sides by making a rectangle with two 60″ pieces and two 9.5″ pieces. Be sure to check for square.
Step 2
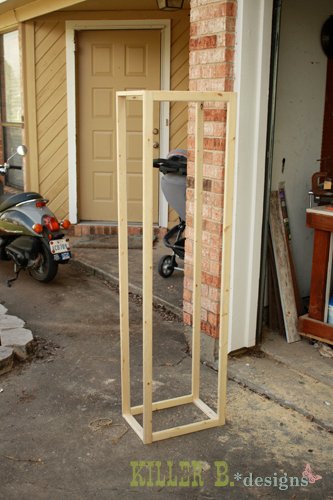
Use glue and nails to attach the two sides together with four 13.5″ pieces.
Step 3
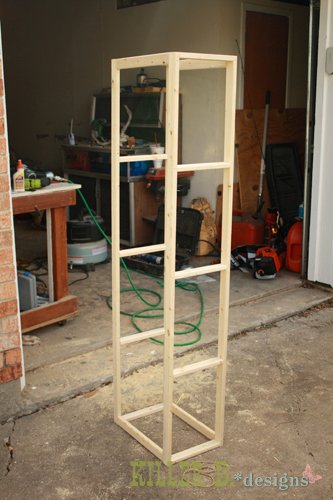
Measure and mark sides at 15″, 30″ and 45″. Use glue and nails to attach 1×2 pieces at 9.5″. Make sure the pieces have the flat sides up. These will be what you nail your shelf pieces in to.
Step 4
Measure the width of the top of your bookcase and cut two fence slat pieces. Attach with nails and glue.
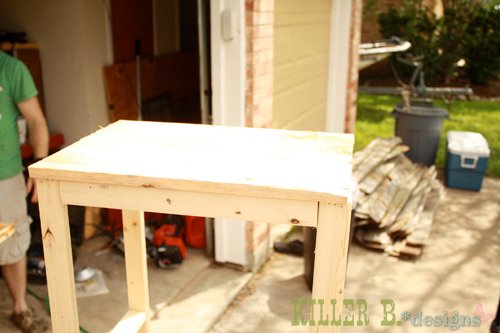
Step 5
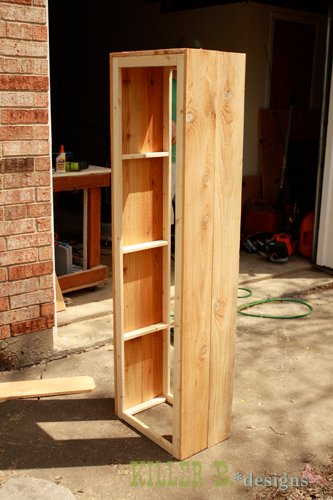
Step 6
Measure the height of the back of your bookcase, and cut 3 slats. We had a bit of overlap from the sides, but the backing fit snugly in between.
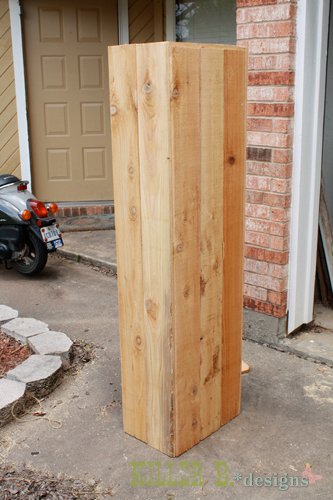
Step 7
Measure your shelving space, and cut 8 pieces at that measurement (ours was 16.5″). Hold up a piece of scrap 1×2 and trace the outline. Notch out two outlines along the same side.
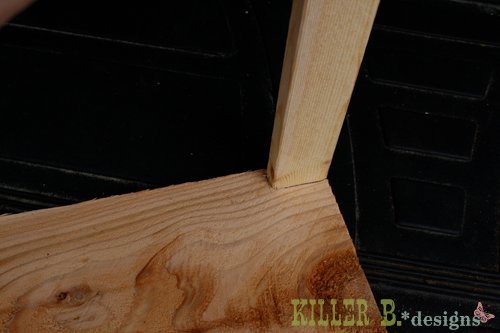
Step 8
Use glue and nails to attach to your shelf supports. You may have to shave off a little width to fit them both inside.
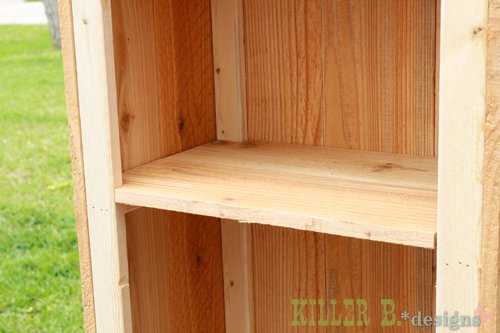
Step 9
Use a table saw to shave off any extra width from your un-notched side.
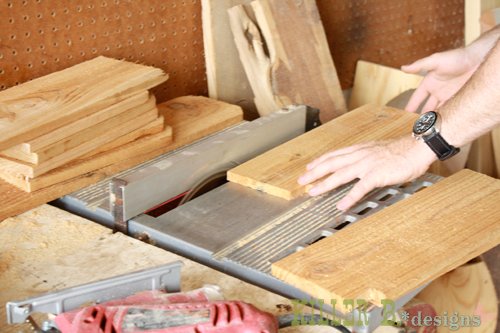
Step 10
Measure for your front trim. Our front measured 2 1/8″ and we were able to get two pieces from one board. We used the scrap 1" piece for the inner shelf trim.
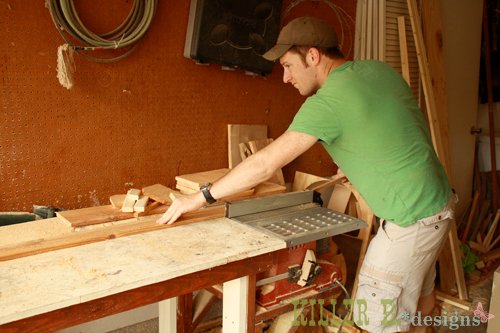
Step 11
Attach the front side trim. Use glue, and secure with nails.
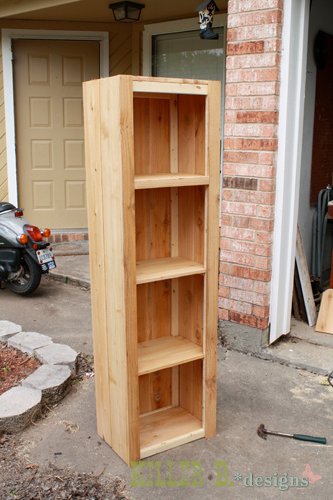
Step 12
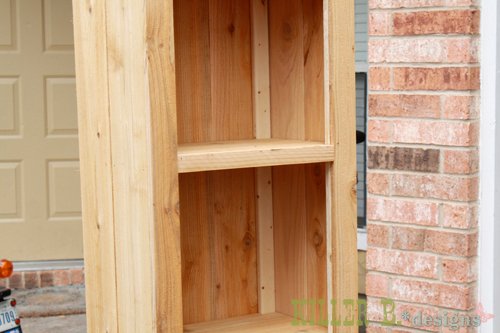
Attach your middle shelf trim. We used the 1″ thick scrap from the first ripped board for the three inner shelves. Use the thicker width for the top and bottom trim.
Step 13
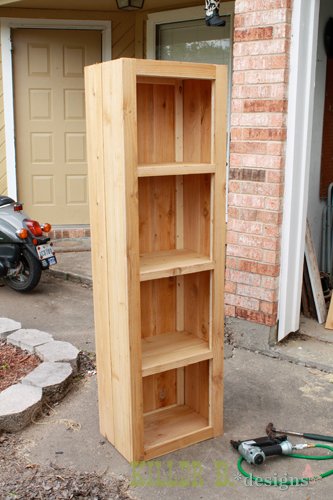
Attach your last two pieces with glue and nails.
Finishing
Sand all surfaces, starting with a medium grit and finishing with fine. Wipe off the dust, fill any holes or gaps with wood filler, and sand smooth once dry. Apply primer if you're painting, then finish with your choice of paint or stain and seal with a durable clear topcoat. For outdoor projects, use exterior-rated primer, paint or stain, and sealer so the piece stands up to the weather.
Source (temporary): https://www.ana-white.com/woodworking-projects/rustic-bookcase-fence-slats