Rustic Wedding Ceremony Arch
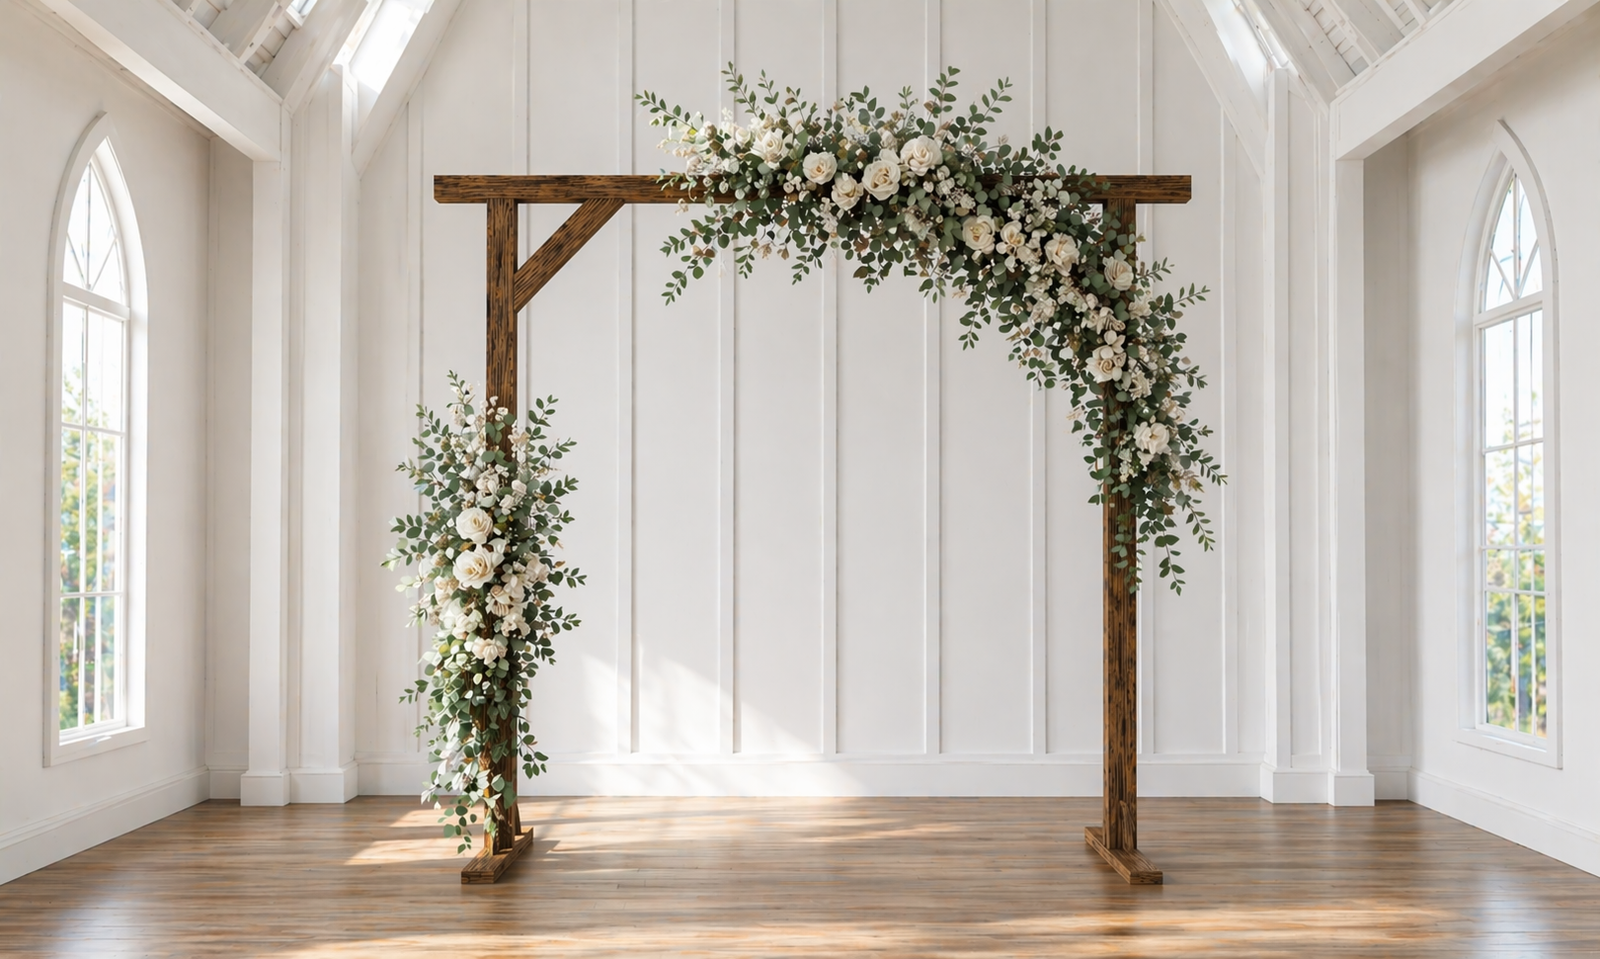
For your country or rustic wedding, a wood ceremony arch is a must! This is the frame for all your wedding ceremony photos, and creates a base for attaching florals. This is a super simple plan design that looks amazing and can be stained any color of your choice. This plan is easy to customize too. with diagrams, shopping and cut lists from
Specifications
| Project type | Home Decor |
|---|---|
| Room | Parties and Events |
| Difficulty | Beginner Projects |
| Estimated cost | $20 - $50 |
Dimensions
Use the size-specific shopping and cut lists below.
Shopping List
- 4 - 2x4 @ 8 feet long
- 1 - 1x4 @ 8 feet long
- 2-1/2" self tapping wood screws (about 20, SPAX or similar brand)
- 1-3/4" self tapping wood screws (about 10, SPAX or similar brand)
Cut List
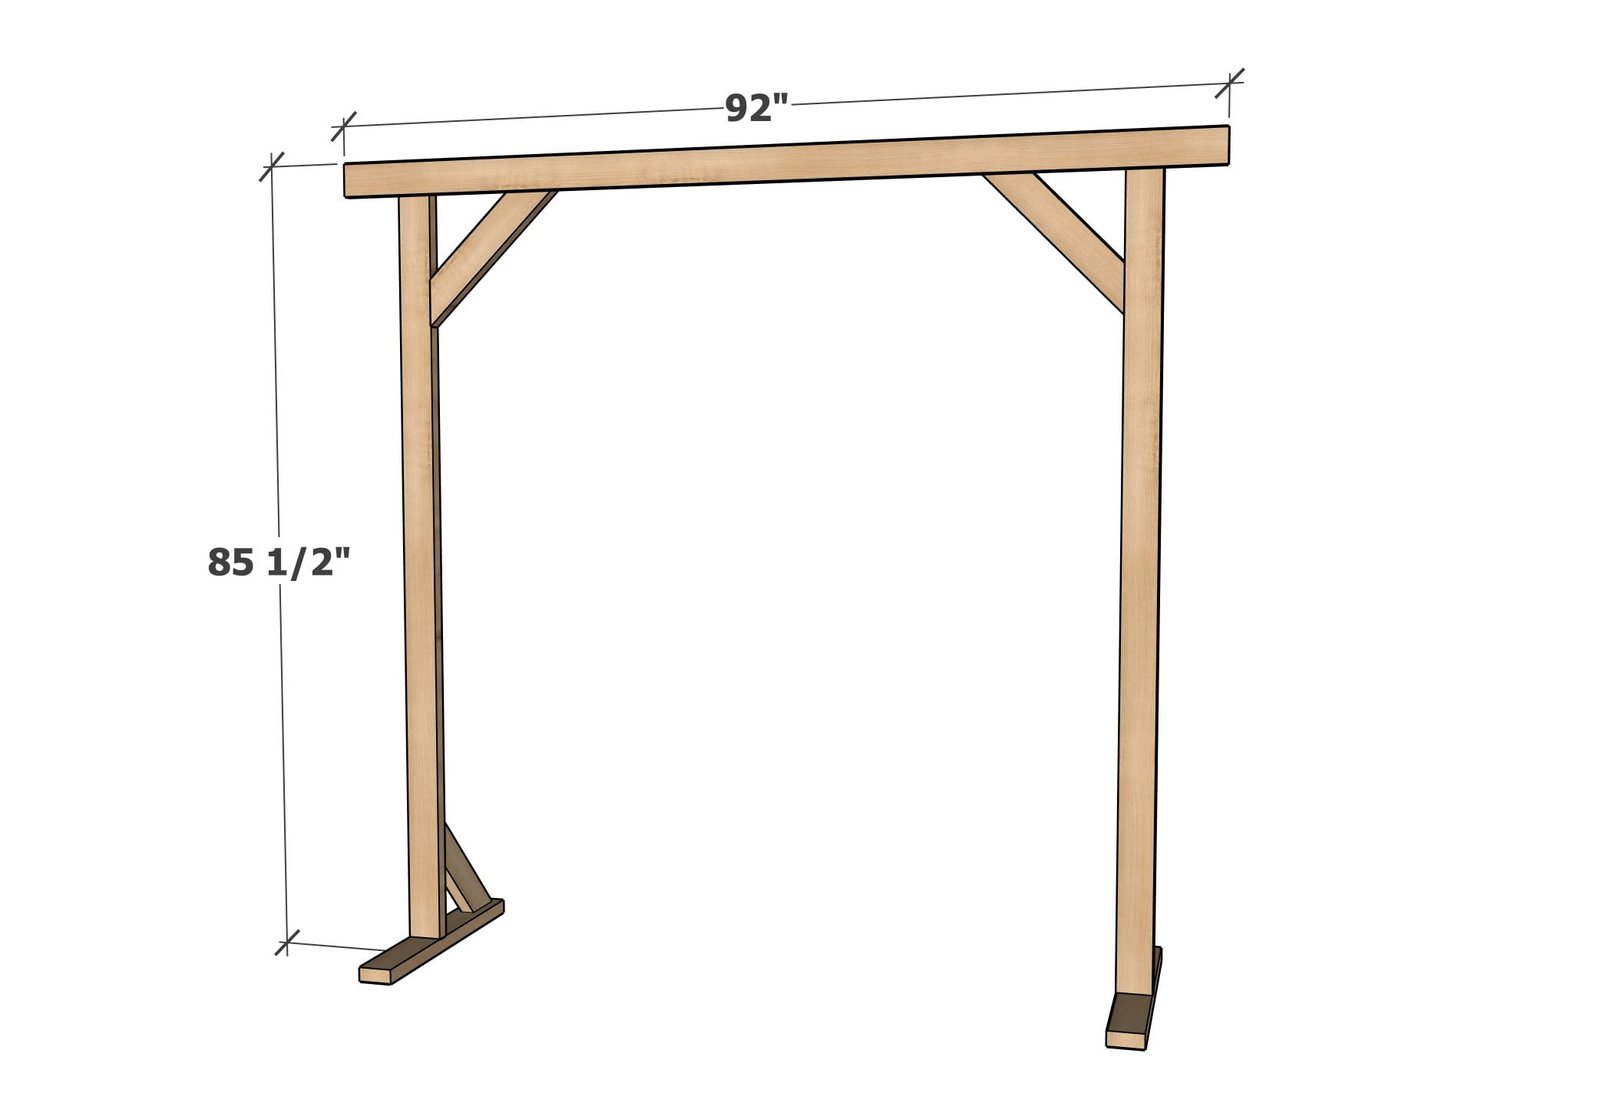
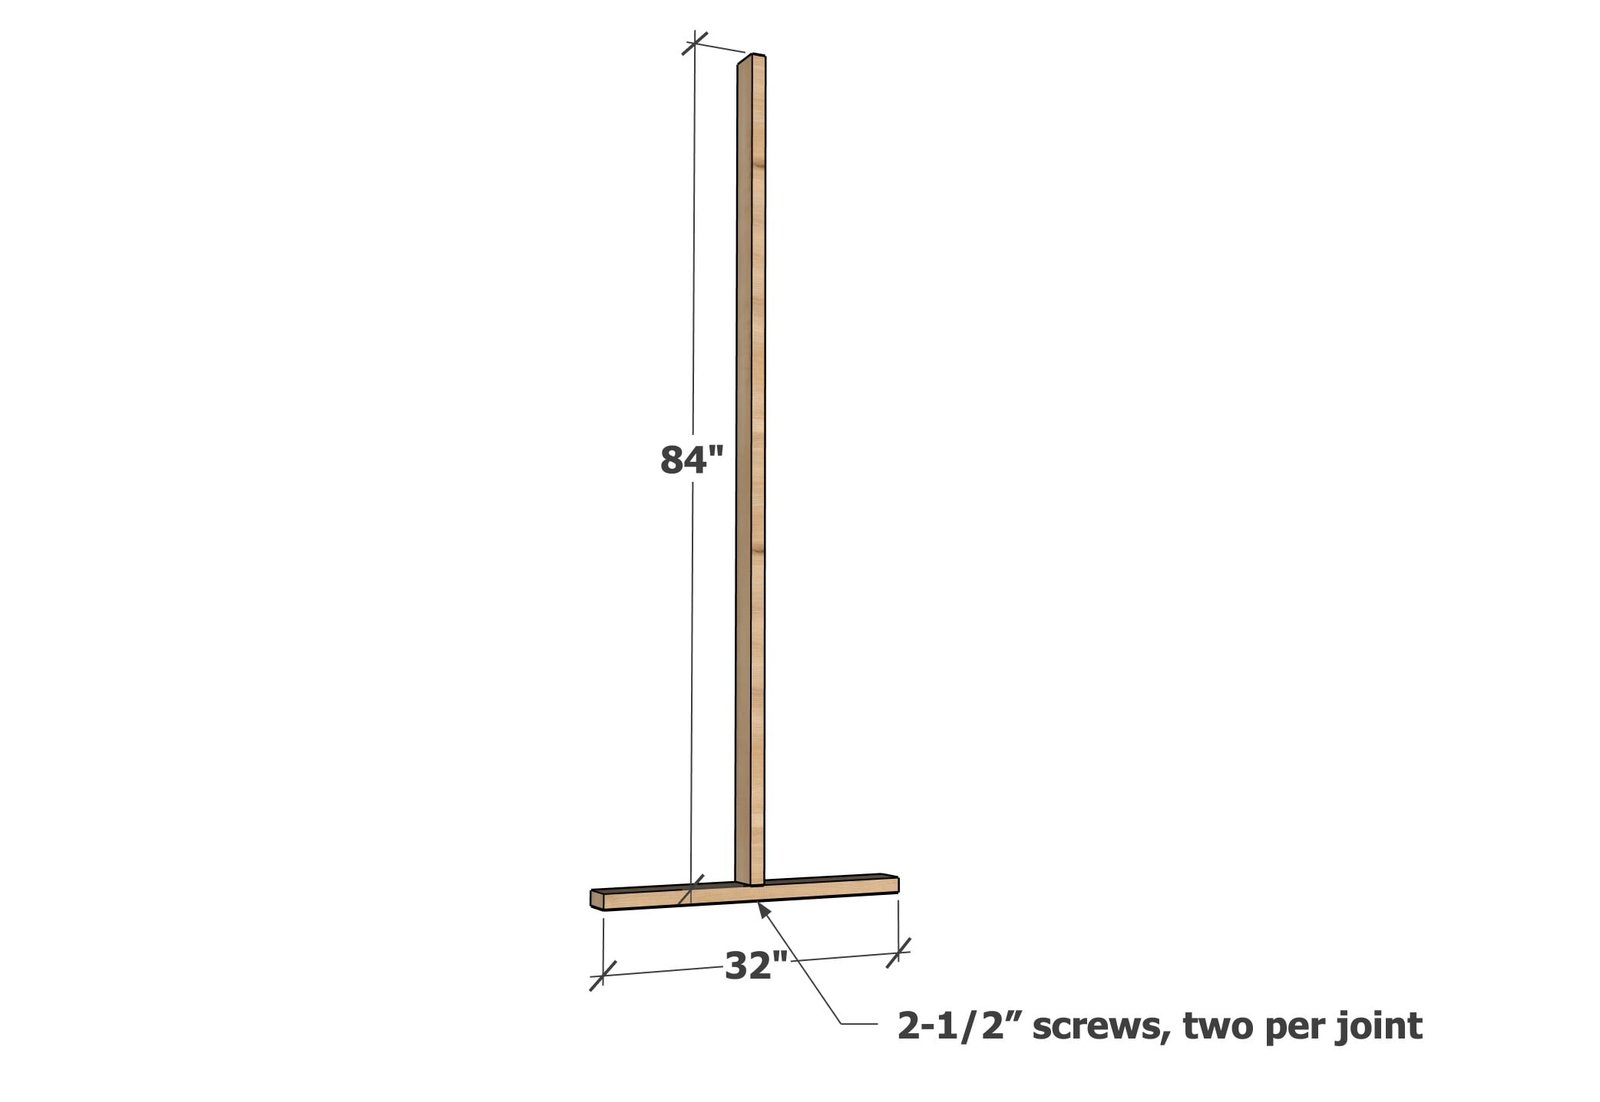
- 2 - 2x4 @ 84"
- 2 - 2x4 @ 32"
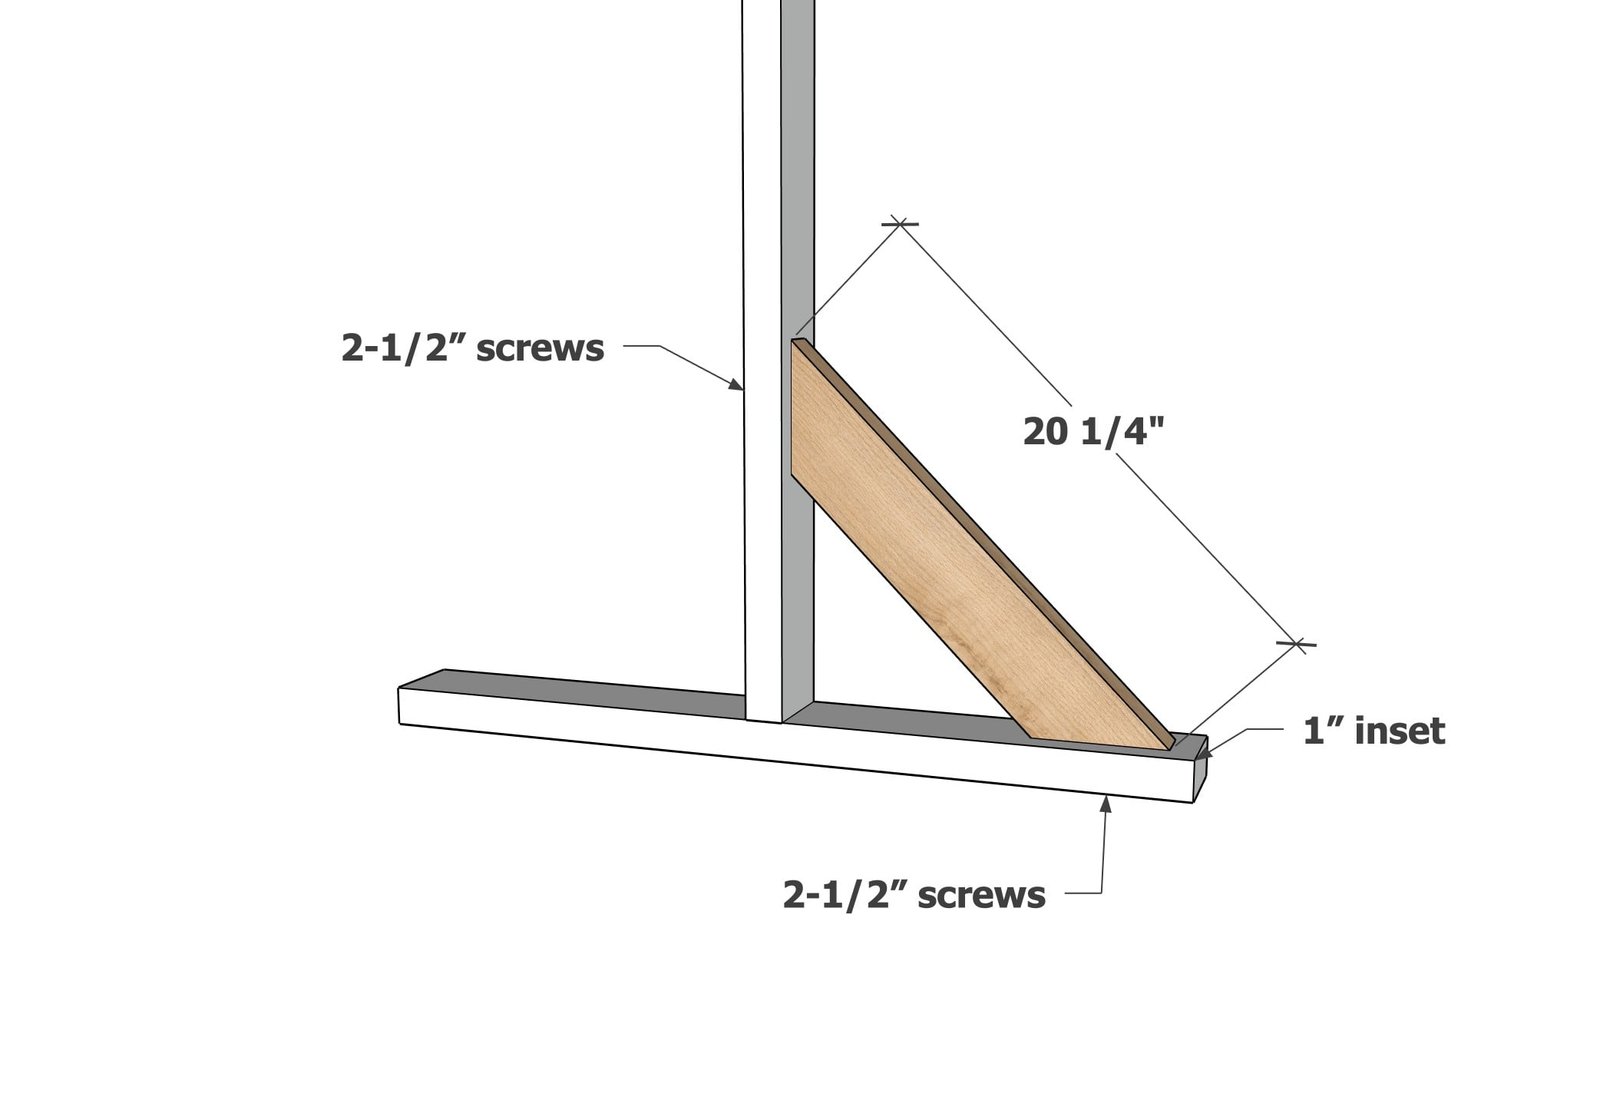
- 2 - 2x4 @ 20-1/4" - long point to long point measurement, both ends cut at 45 degrees off square, ends not parallel
- 1 - 1x4 @ 92"
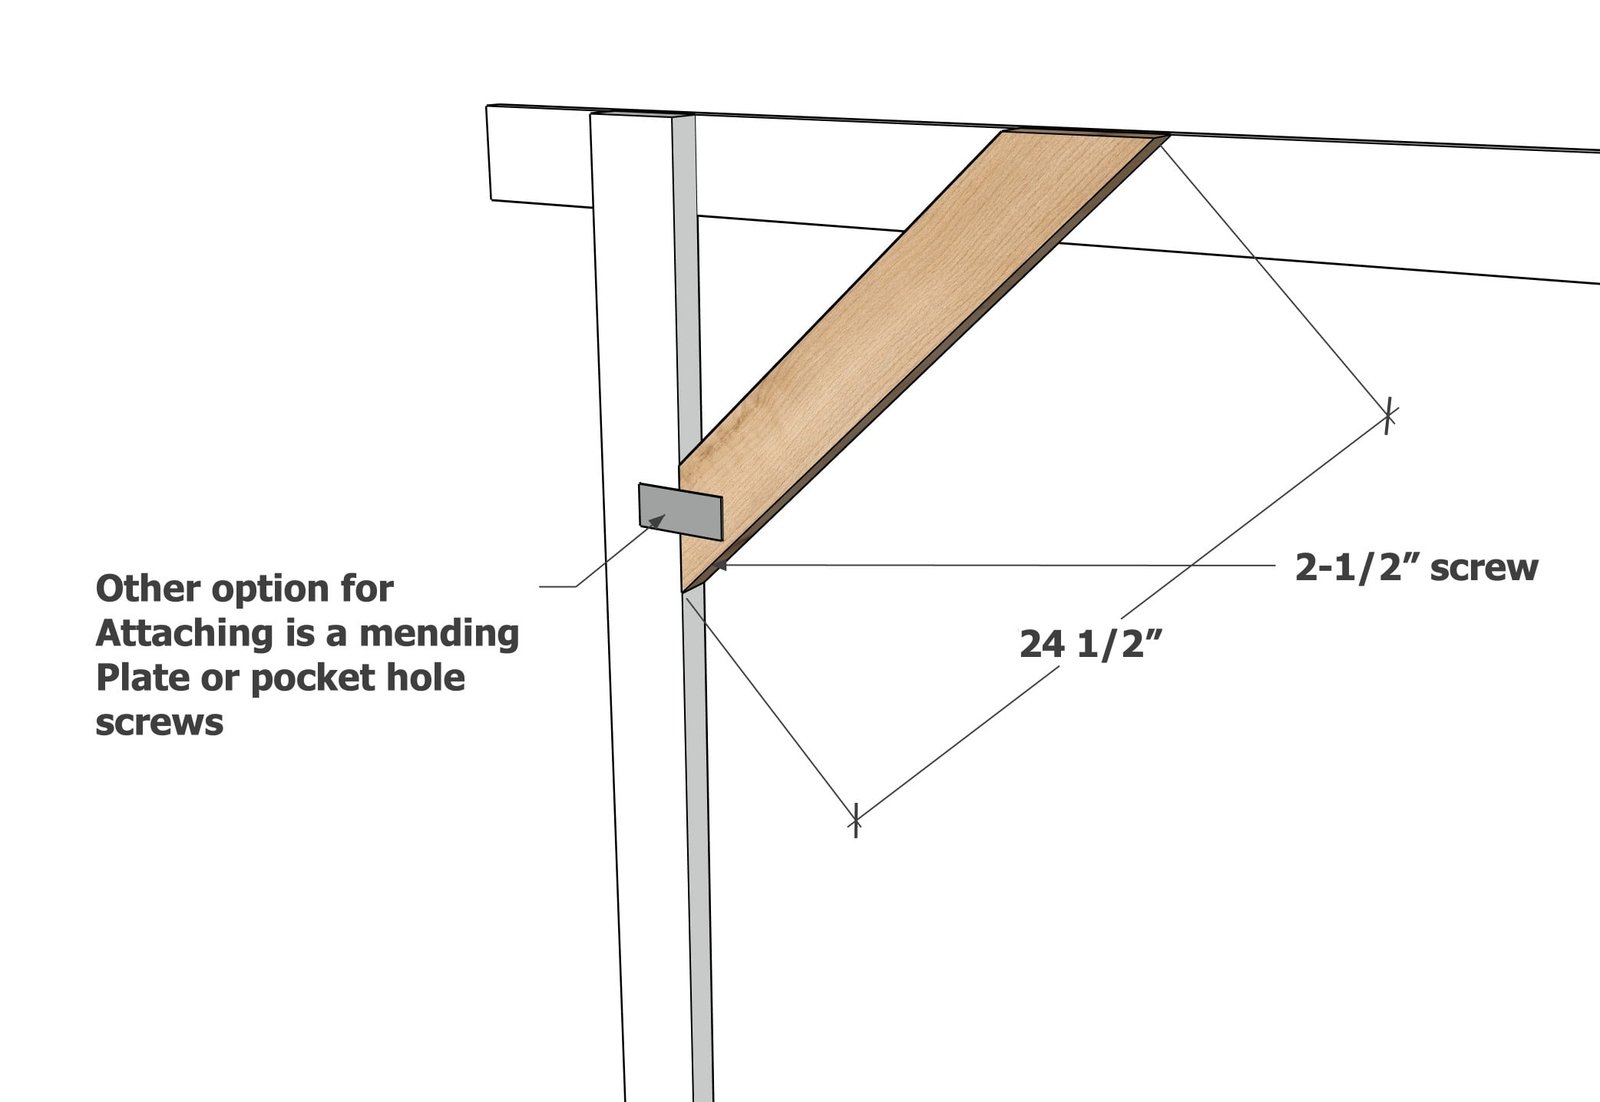
- 2 - 2x4 @ 24-1/2" - long point to long point measurement, both ends cut at 45 degrees off square, ends not parallel
Tools
- measuring tape
- pencil
- safety glasses
- drill
- compound miter saw
Step-by-step Instructions
Step 1
Attach the legs to the base wit 2-1/2" screws.
Step 2
Attach the cross bracing to the base of the legs as shown.
Step 3
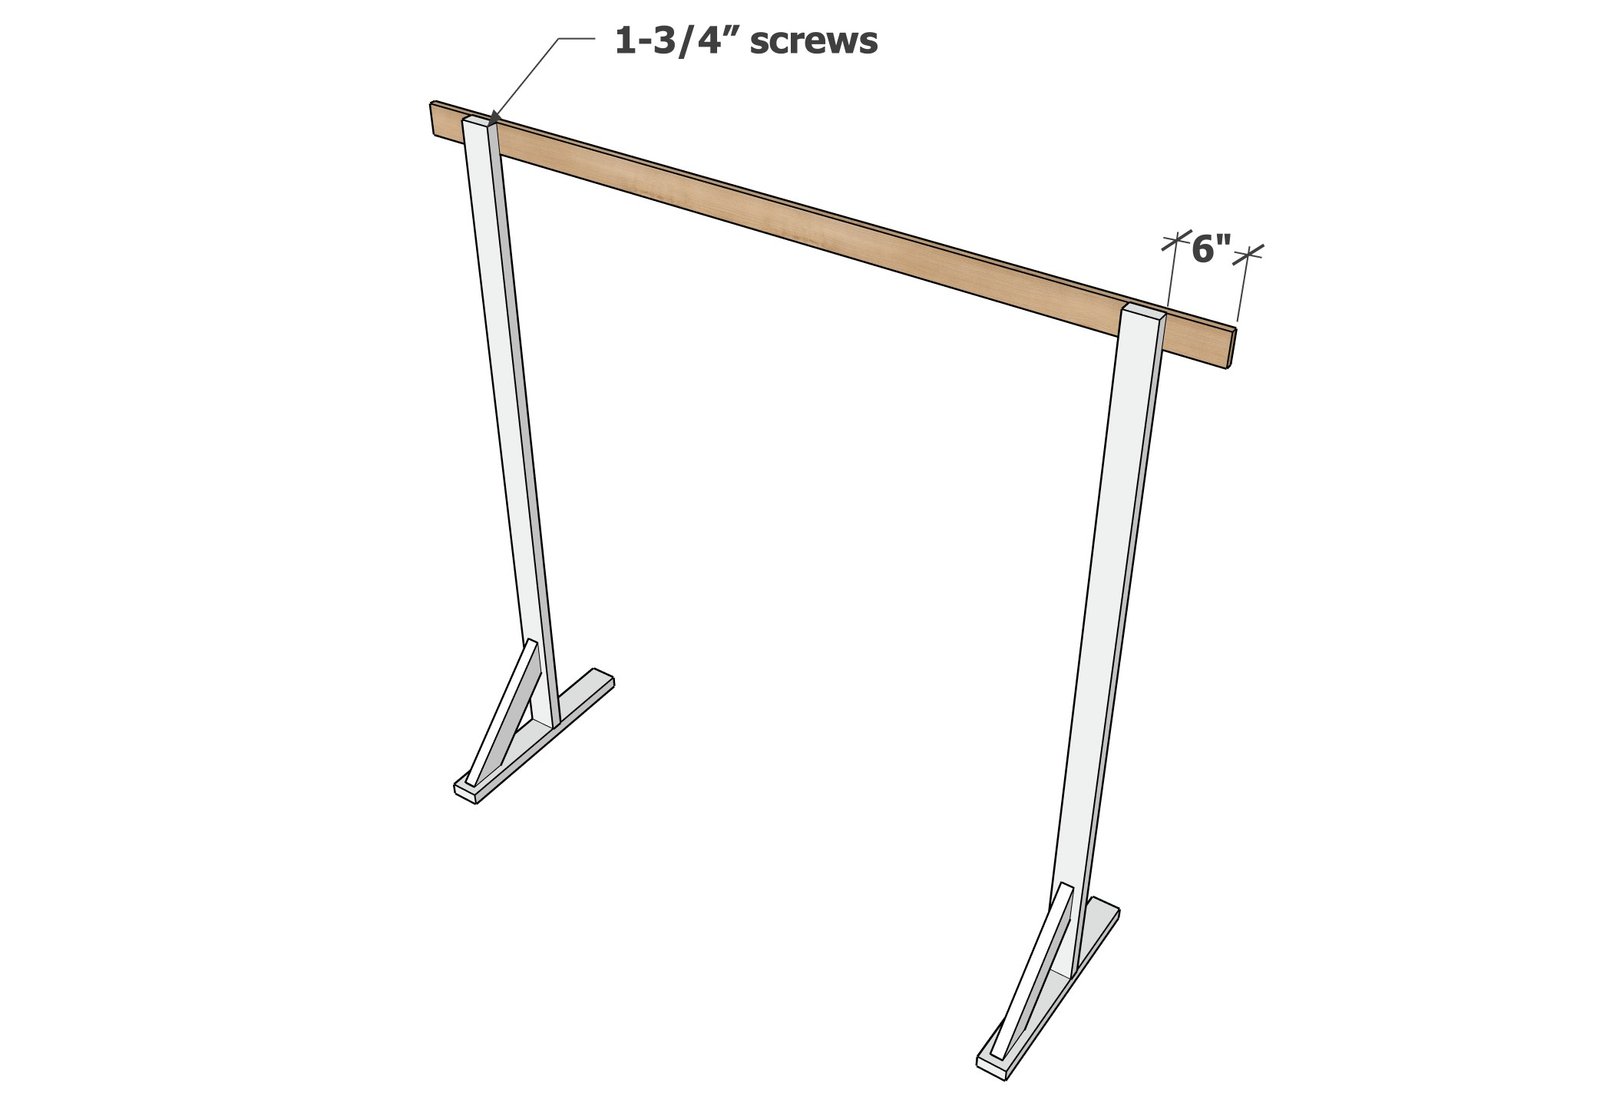
Mark the overhangs on the 1x4 and attach to the bases with the 1-3/4" screws.
Step 4
Attach the cross bracing as shown, using the 1-3/4" screws at the top. A mending plate or pocket holes can be uses to fasten at the base.
Finishing
Sand all surfaces, starting with a medium grit and finishing with fine. Wipe off the dust, fill any holes or gaps with wood filler, and sand smooth once dry. Apply primer if you're painting, then finish with your choice of paint or stain and seal with a durable clear topcoat. For outdoor projects, use exterior-rated primer, paint or stain, and sealer so the piece stands up to the weather.
Source (temporary): https://www.ana-white.com/woodworking-projects/rustic-wedding-ceremony-arch-plans