Rustic Wooden Candle Holders
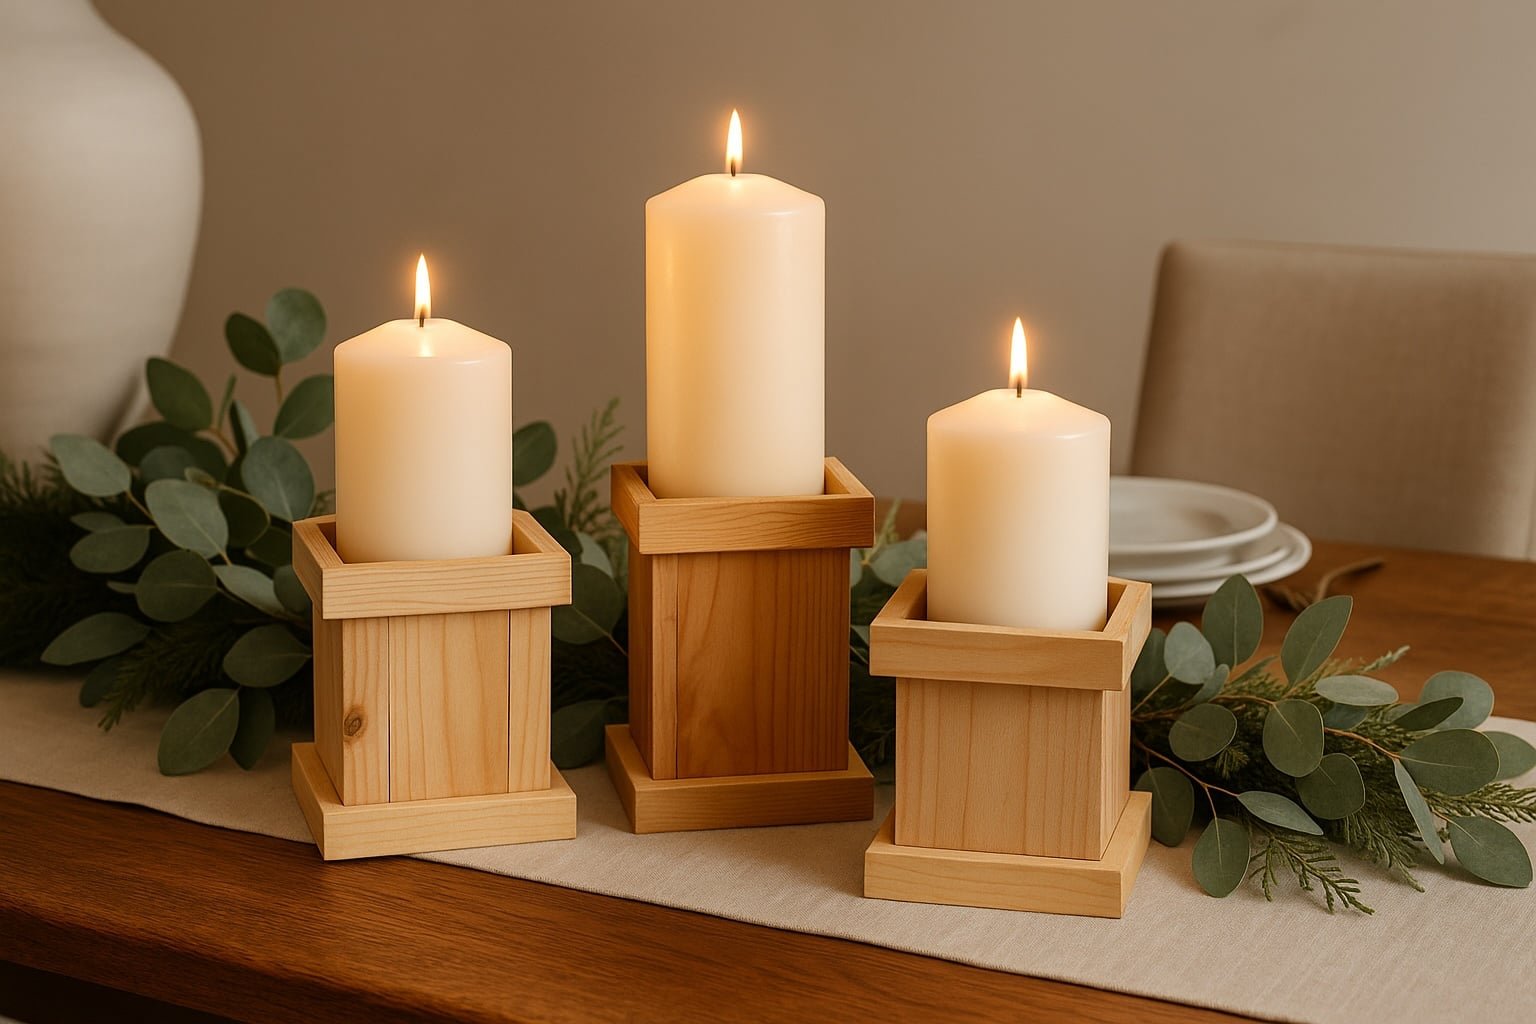
Build your own rustic wooden candle holders! These are so easy to make with just some scrap 4x4s and flat moudling. Build by Jaime Costiglio for Handbuilt Holiday
Specifications
| Project type | Other Projects |
|---|---|
| Room | dining room |
| Style | Farmhouse Furniture |
| Difficulty | Intermediate |
| Estimated cost | scraps |
Dimensions
Use the size-specific shopping and cut lists below.
Shopping List
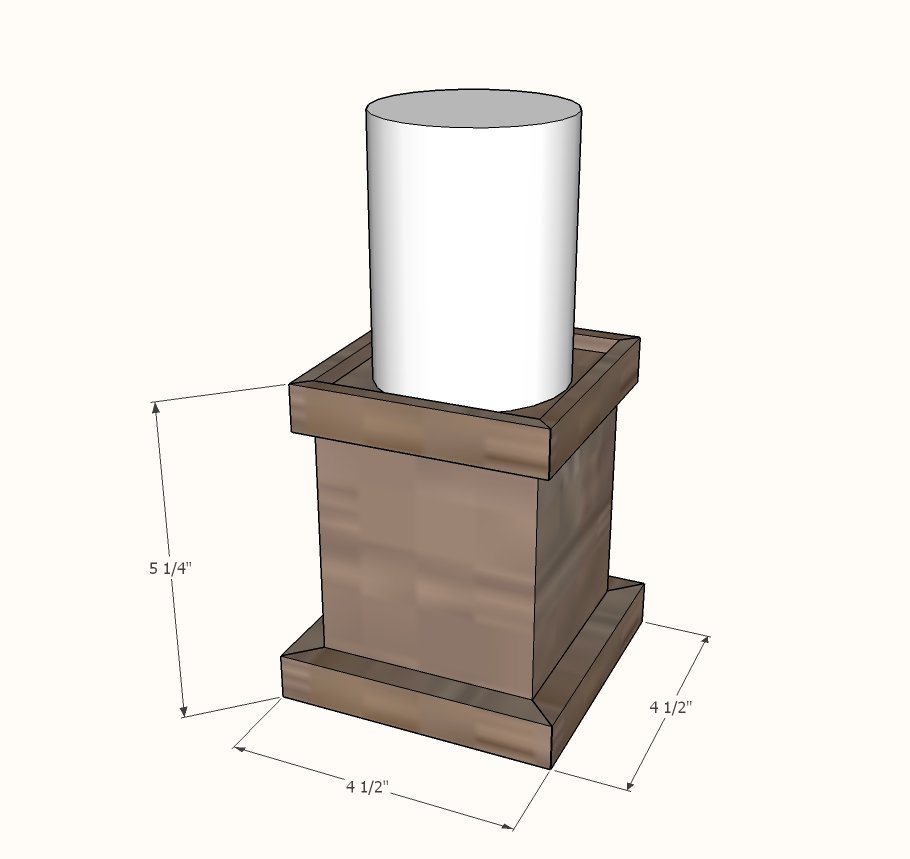
- 1 - 4x4 @ desired height (Jaime's are 3.5”, 4.5” and 5”)
- 16" - 1/4” x 7/8” flat lattice
- 18" - 1/2” x 3/4” flat moulding
- 1" brad nails or pin nails
Cut List
- 1 - 4x4 @ desired height (mine are 3.5”, 4.5” and 5”)
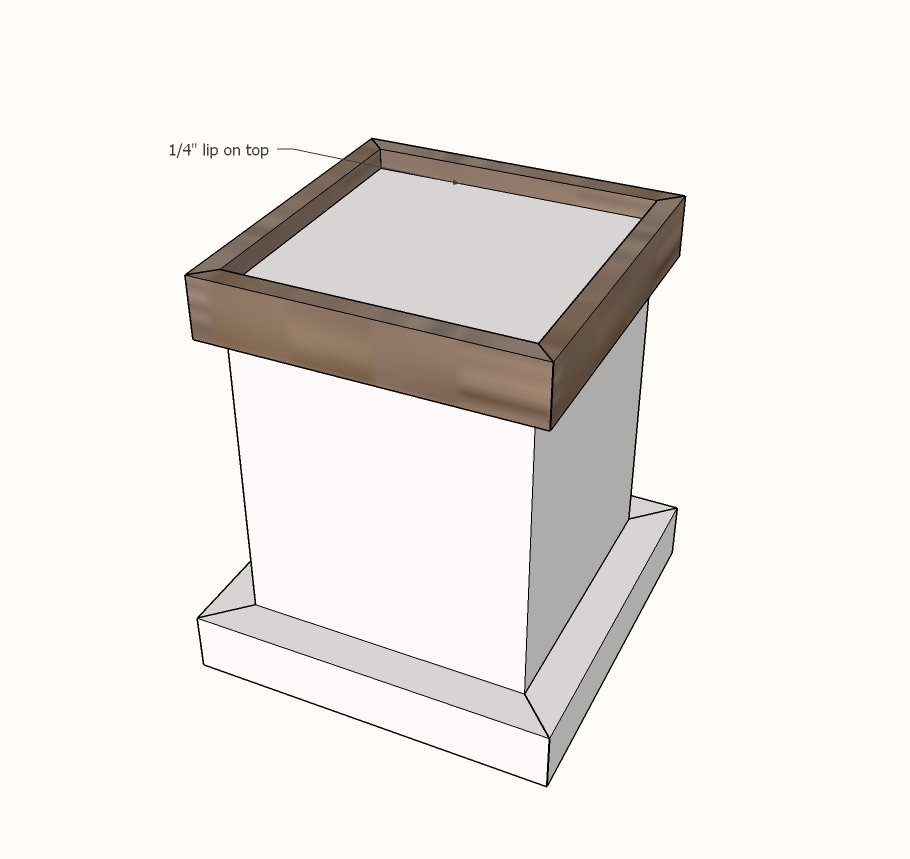
- 4 - 1/4” x 7/8” flat lattice @ 4” long point to long point, both ends 45 degree miter not parallel
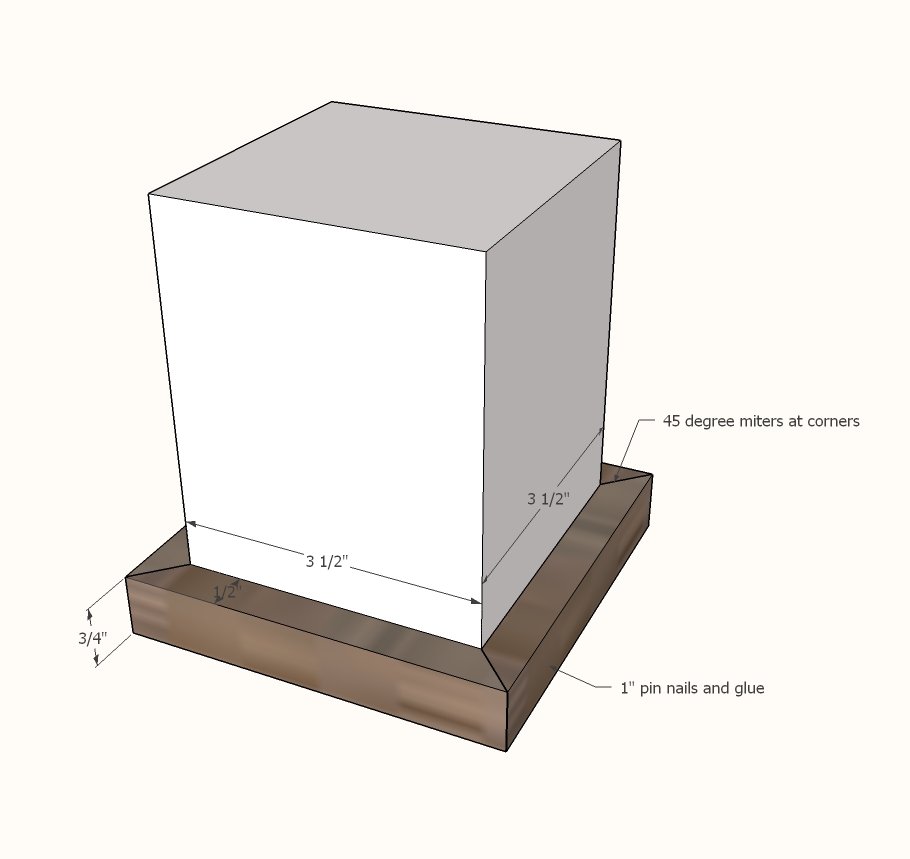
- 4 - 1/2” x 3/4” flat moulding @ 4 3/8” long point to long point, both ends 45 degree miter not parallel
Tools
- measuring tape
- safety glasses
- hearing protection
- compound miter saw
- nailer
- sander
Step-by-step Instructions
Cut 4x4 with compound miter saw to desired length.
Miter the bottom trim around the base, attach with glue and 1" brad nails or pin nails.
Step 2
Repeat steps for the smaller top trim, but leave a 1/4" reveal at the top.
Finishing
Sand all surfaces, starting with a medium grit and finishing with fine. Wipe off the dust, fill any holes or gaps with wood filler, and sand smooth once dry. Apply primer if you're painting, then finish with your choice of paint or stain and seal with a durable clear topcoat. For outdoor projects, use exterior-rated primer, paint or stain, and sealer so the piece stands up to the weather.
Source (temporary): https://www.ana-white.com/woodworking-projects/rustic-wooden-candle-holders