Serving Tray
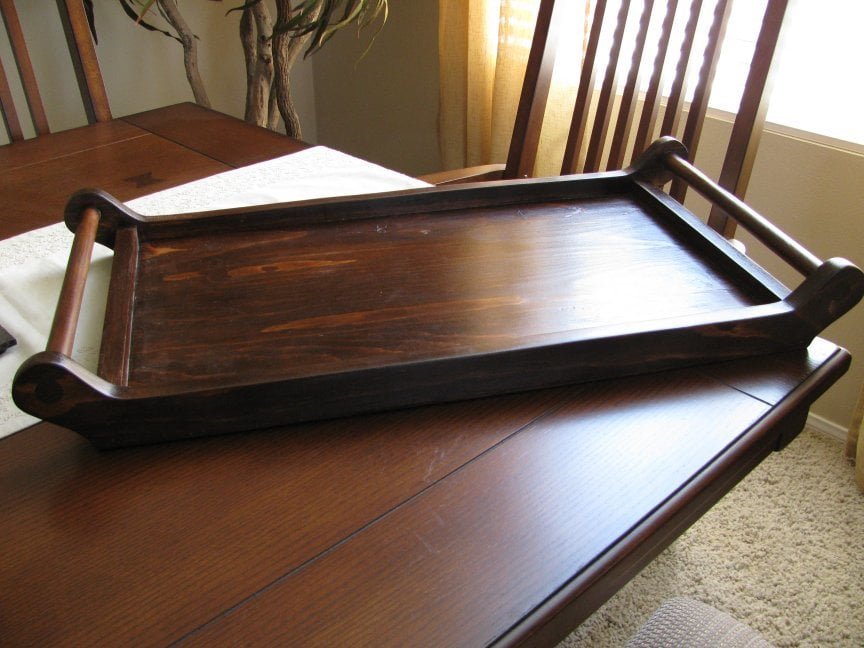
This is a serving tray that I made. Fairly simple to make. It has come in very handy. This tray is perfect for breakfast in bed on Mothers' Day or for birthdays. It is also helpful when grilling outdoors to carry out all the seasonings, meat, utensils, etc.
Specifications
| Project type | Other Projects |
|---|---|
| Room | kitchen |
| Style | Cottage Style Furniture Plans |
| Difficulty | Intermediate |
| Estimated cost | Under $20 |
Dimensions
Use the size-specific shopping and cut lists below.
Shopping List
1x12 - 2' (srap)
1x4 - 6'
1x2 - 2' (scrap)
75" dowel = 26"
Cut List
Cut List:
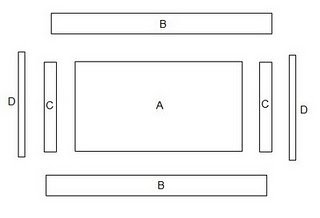
A – Qty=1-(bottom of tray from 1 x 12 board): 11.5” x 21” x.75”
B – Qty=2-(sides of tray from 1 x 4 board): 27” x 3.5” x.75”
C – Qty=2-(ends of tray from 1 x 2 board): 11.5” x 1.5” x.75”
D – Qty=2-(dowels for handles):.75” dowels cut to 13” length
Step-by-step Instructions
1. Transfer handle pattern to ends of side boards (B)-handle pattern on a one-inch grid shown below
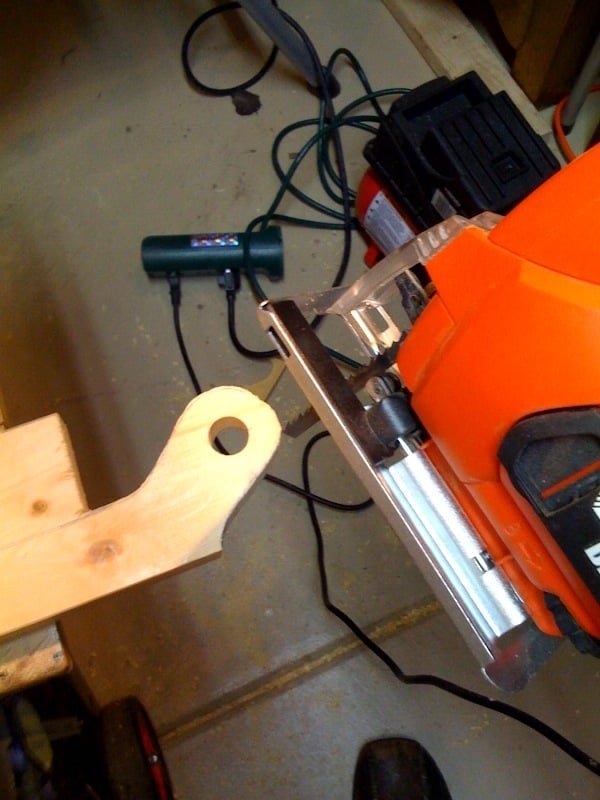
2. Drill.75” holes in ends of side boards (B) per the pattern – tip: put a piece of scrap wood under the board that you are drilling to minimize “tear out” to the other side of the hole you are drilling. 3. Cut side board (B) to shape by using a jig saw 4. Thoroughly sand the board to smooth the edges that were cut in step 3
Step 2
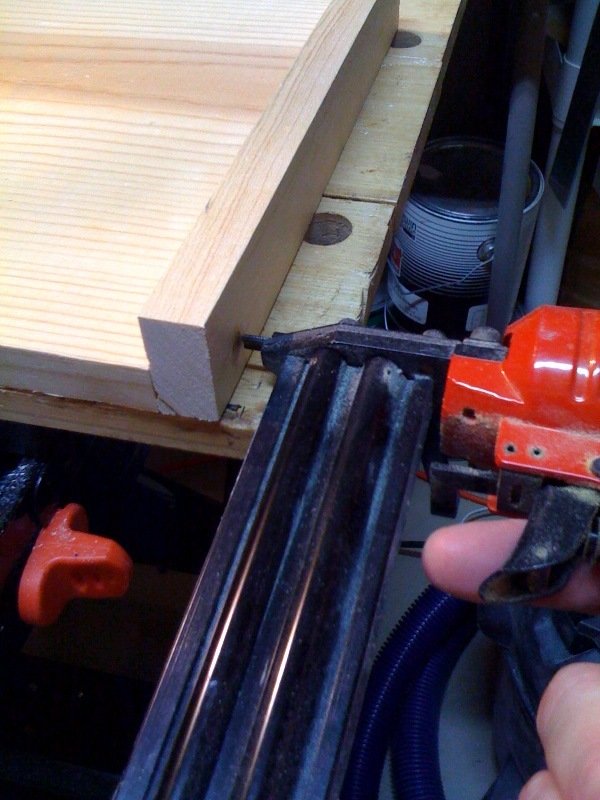
5. Attach end boards (C) to bottom of tray (A) using glue and 1.25” nails make sure edges are flush.
Step 3
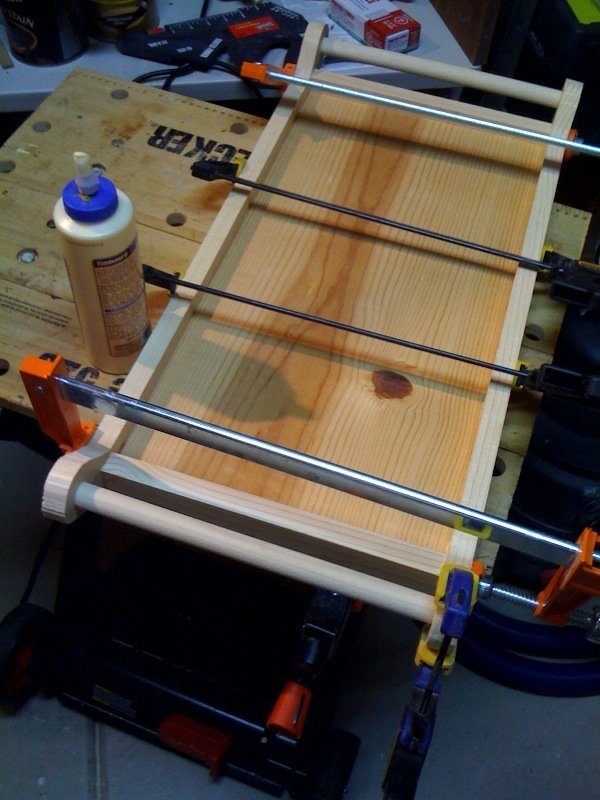
6. Glue dowels (D) into holes in side boards (B) and quickly glue and nail to the bottom (A) using 1.25” nails – tip: you should dry fit this together to make sure all is going to fit well before you apply glue. You want to attach dowels first, then attach to the bottom, but don’t let the glue set on the dowels so that you can make sure everything is squared up and flat before you nail to the bottom. (Clamps help, but glue and nails should be adequate) 7. Remove excess glue before it hardens – it sometimes helps to let the glue set for 15-20 minutes so you can remove it while it is still a bit rubbery.
Finishing
Sand all surfaces, starting with a medium grit and finishing with fine. Wipe off the dust, fill any holes or gaps with wood filler, and sand smooth once dry. Apply primer if you're painting, then finish with your choice of paint or stain and seal with a durable clear topcoat. For outdoor projects, use exterior-rated primer, paint or stain, and sealer so the piece stands up to the weather.
Source (temporary): https://www.ana-white.com/woodworking-projects/serving-tray