Sidewalks and Concrete Pads
How to pour concrete sidewalks and outdoor pads. Step by step with photos.
Specifications
| Project type | Other Projects |
|---|---|
| Room | Outdoor |
| Style | Cottage Style Furniture Plans |
| Difficulty | Advanced |
Step-by-step Instructions
Remove Material
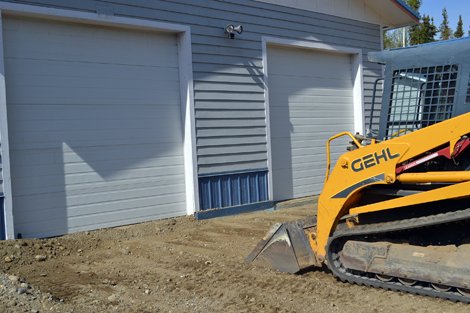
The first step is to remove material to be replaced by concrete. We have rented a skidsteer for $300 for the weekend to help out. But this does NOT remove the need to use a shovel. Be prepared to sweat! And struggle to get out of bed the next morning.
Check Grade
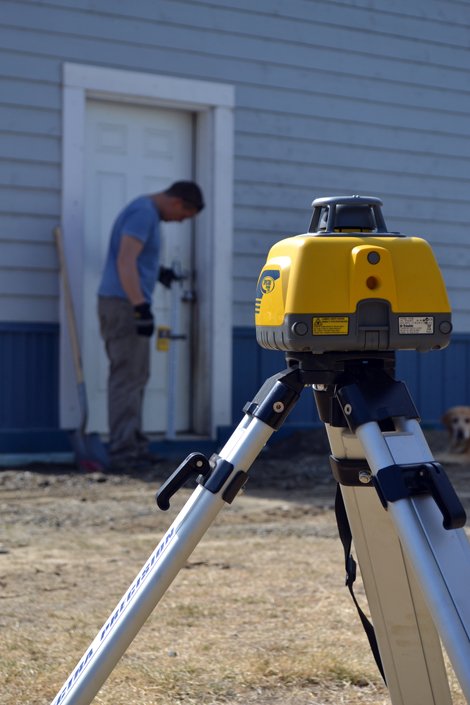
We set up a laser transit that we purchased last year to use at the Momplex to help us determine how deep to dig. It's pretty simple. The transit shoots a line exactly level 360 degrees around. You use the receiver on a measuring stick to measure up or down from this line to find your desired height.
Ready for Forms
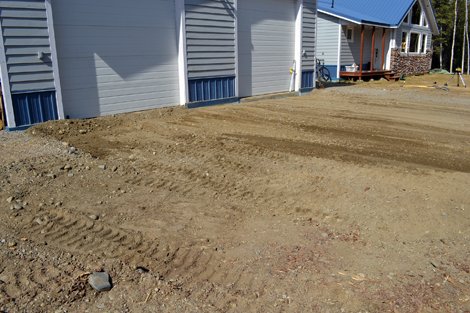
For the entire area to be poured in concrete, all material is removed and grade checked using the transit. We have the pad and sidewalks also sloping for water drainage. We are ready to build forms!
Finding Corners
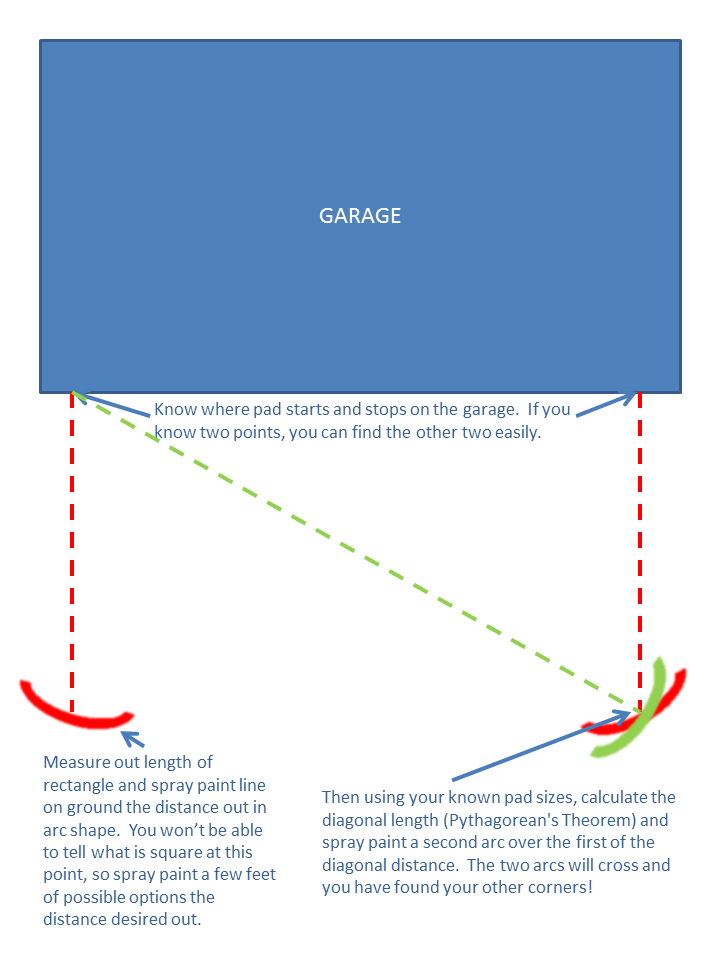
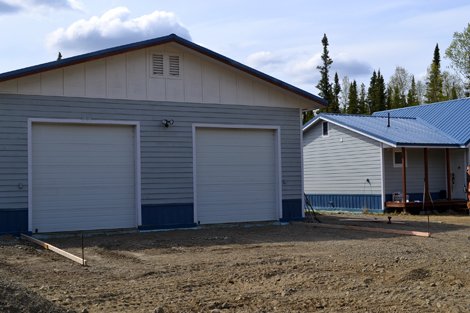
We know where the concrete pad starts and stops on the garage, and we know the garage is square. And we know how big the pad is going to be - 28x20. So we can calculate the diagonals out with Pythagorean's Theorem - you know the A squared + B squared = C squared one? - and use all this information to find the remaining two corners of the pad. So first we find those garage side point and mark with a Sharpie. And then using all those things that we do know, we find the points and pound stakes in. We can adjust the stakes a little later on to make sure we are exactly square before we pour.
Step 5
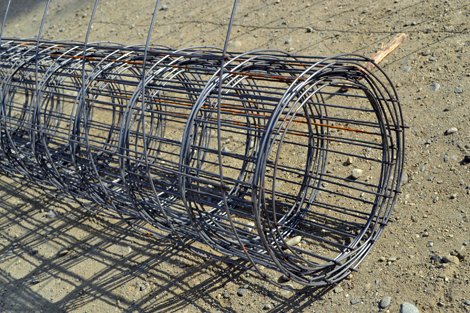
Bringing in Reinforcement
Now the concrete is going to need something to keep it together. We are going to use wire mesh. It comes in really awkward to handle rolls 5 feet wide by 150 feet long. We lay the wire mesh down and tie it to concrete dobbies to elevate the mesh into the concrete.
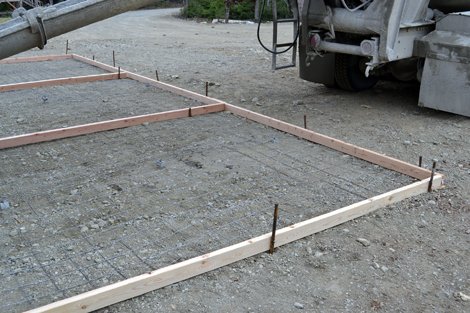
Divide and Conquer
Now we will need something to guide us in making sure the concrete is level all the way across. So we divide up the pour into three sections. And then we call the concrete truck!
Pouring Concrete
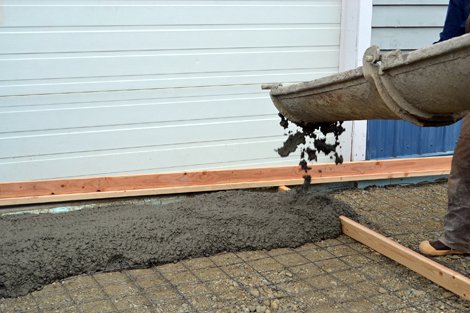
Because we will need a whole truck load of concrete, we are not handmixing today. The concrete truck pours in the first section. And a screed board is used to level the concrete. Along we go... one section at a time.... We have help today - Grandpa Tim and the Ram's cousin Jared. When you pour, plan on having 3-4 people to help out. The screed board is two 2x4s put together. When all the sections are poured, the dividers are removed. And the void is filled in with a smaller 2x4, working backwards.
Finishing
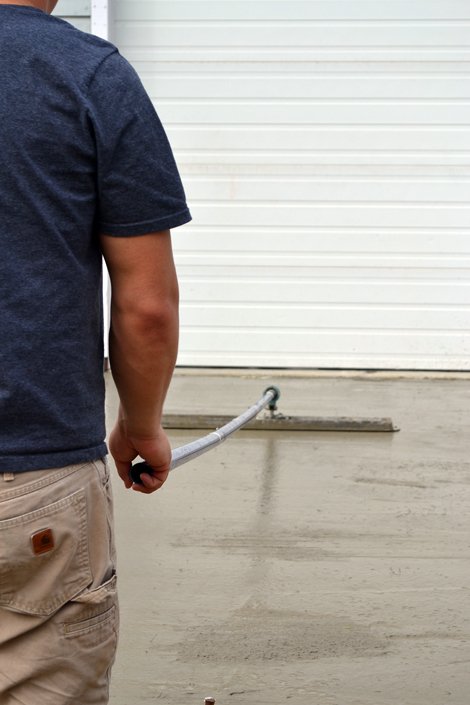
Once the concrete is poured, it's time to finish. First up, the concrete is bull floated. And the edges are scraped clean Followed by a special edging trowel used to create those smooth sidewalk edges. Up here in Alaska where ice is a problem, we did not want a smooth finish. So we broomed the top of the concrete. NOTE: If you are pouring sidewalks, consider also creating break lines in the sidewalks - we will have to cut ours in because of the size of the garage pad.
Signing
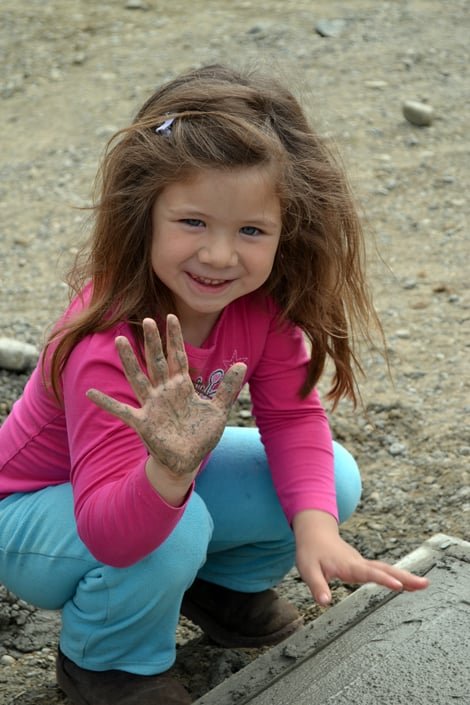
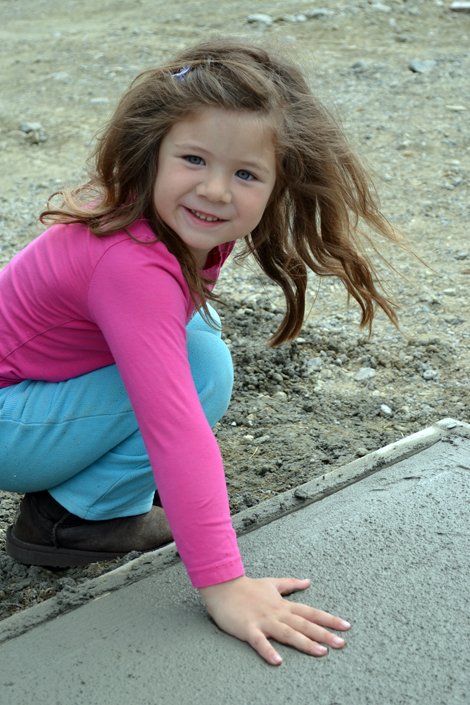
And of course we have to sign the concrete! Littlest to biggest.... And Grace wanted to add one more thing to the concrete. We had just watched the American Girl Movie about Kit Kittredge - which we enjoyed greatly. And Grace had an idea. The hobos during the Great Depression had a special language they used to help other hobos made up of different signs. One house had a fish bone scratched on it's fence - meaning good garbage. Other signs were used to warm of danger. And a cat meant a nice family lived there.
Finishing
Sand all surfaces, starting with a medium grit and finishing with fine. Wipe off the dust, fill any holes or gaps with wood filler, and sand smooth once dry. Apply primer if you're painting, then finish with your choice of paint or stain and seal with a durable clear topcoat. For outdoor projects, use exterior-rated primer, paint or stain, and sealer so the piece stands up to the weather.
Source (temporary): https://www.ana-white.com/woodworking-projects/sidewalks-and-concrete-pads