Simple built in decorative wall shelf
I once read that children that have their pictures and trophies displayed in their rooms had higher self esteem in general. I made a place in my kids rooms to display those type of things so they see them every time they enter their rooms. Very easy process.
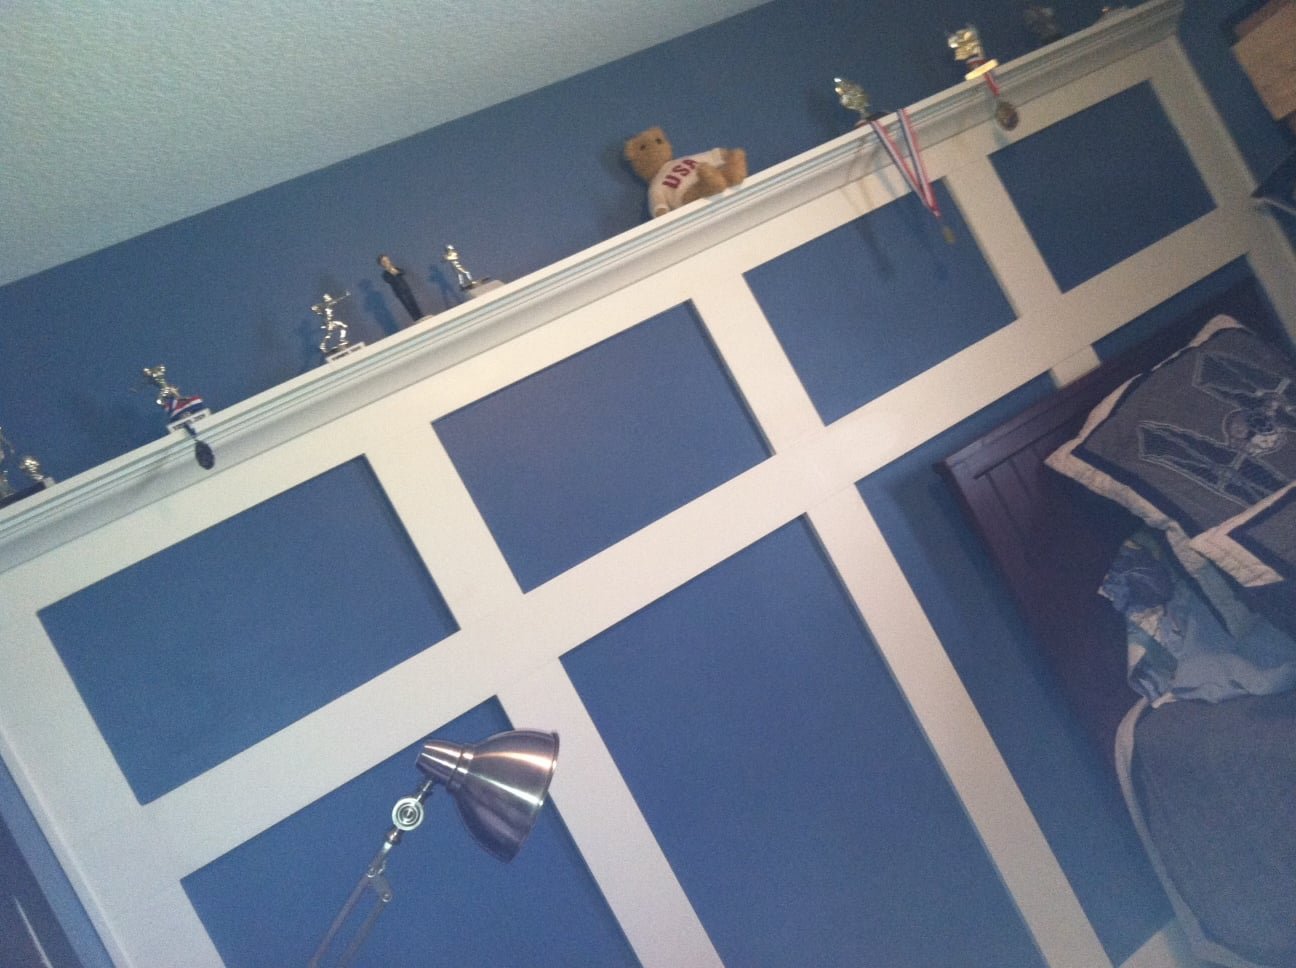
Specifications
| Project type | Storage Woodworking Plans |
|---|---|
| Room | Storage Solutions |
| Style | Cottage Style Furniture Plans |
| Difficulty | Beginner Projects |
| Estimated cost | $50 - $100 |
Dimensions
Use the size-specific shopping and cut lists below.
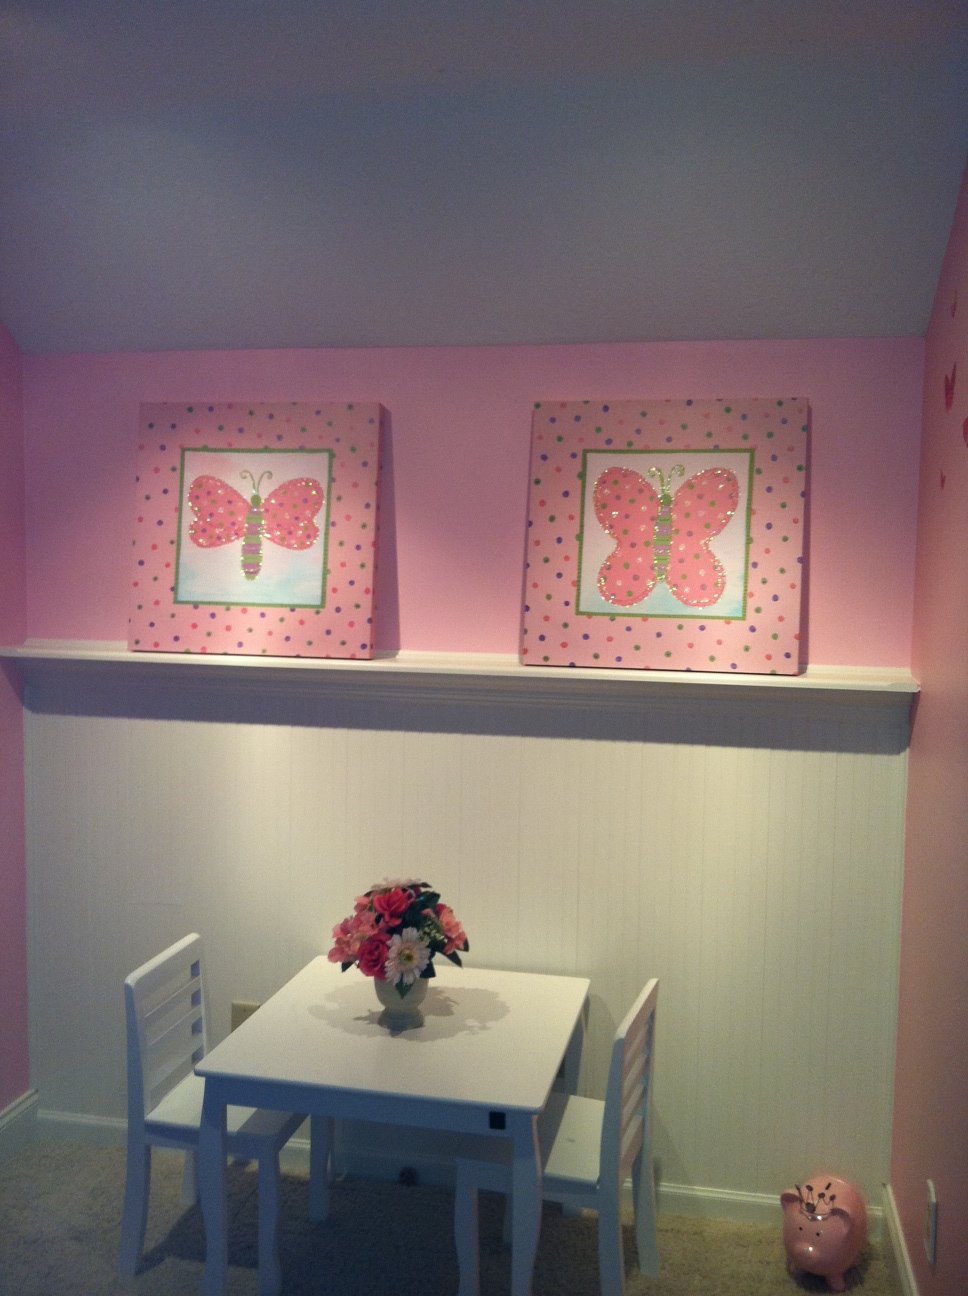
Shopping List
1x2's to run the length of the entire wall
crown molding to run the length of the wall
1x3 or 1x4 inch board to make the actual shelf....width depends on how wide the crown molding is
nail gun or screws
stud finder
glue
wood filler
desired finish paint or stain
120 sand paper
router for the edge of your choice (optional)
Cut List
Cut the boards to the desired length of the room. The 1x2's can be scraps and don't need to be coninuous. Router out the top edge of the shelf that you would like to face the room and give everything a good sanding.
Tools
- measuring tape
- pencil
- safety glasses
- table saw
- nailer
- level
Step-by-step Instructions
Step 1
Cut 1x2's, crown molding, 1x3 or 1x4 board to the length of the room.
Step 2
Mark where the studs are on the wall with a stud finder and attach 1x2's to the studs with a nailer checking for level along the entire length. You could screw them also.
Step 3
Place 1x3 or 1x4 on top of the 1x2's after adding glue or an adhesive like loctite along the top of the 1x2's. Check to make sure that the shelf is level along the wall and coming from the wall and use the nailer to attach the board to the 1x2 and if possible nail at an angle to hit studs where you can.
Step 4
Attach crown molding by nailing into studs and also try to hit the 1x2 underneath
Finishing
Sand all surfaces, starting with a medium grit and finishing with fine. Wipe off the dust, fill any holes or gaps with wood filler, and sand smooth once dry. Apply primer if you're painting, then finish with your choice of paint or stain and seal with a durable clear topcoat. For outdoor projects, use exterior-rated primer, paint or stain, and sealer so the piece stands up to the weather.
Source (temporary): https://www.ana-white.com/woodworking-projects/simple-built-decorative-wall-shelf