Simple Play Kitchen Narrow Fridge
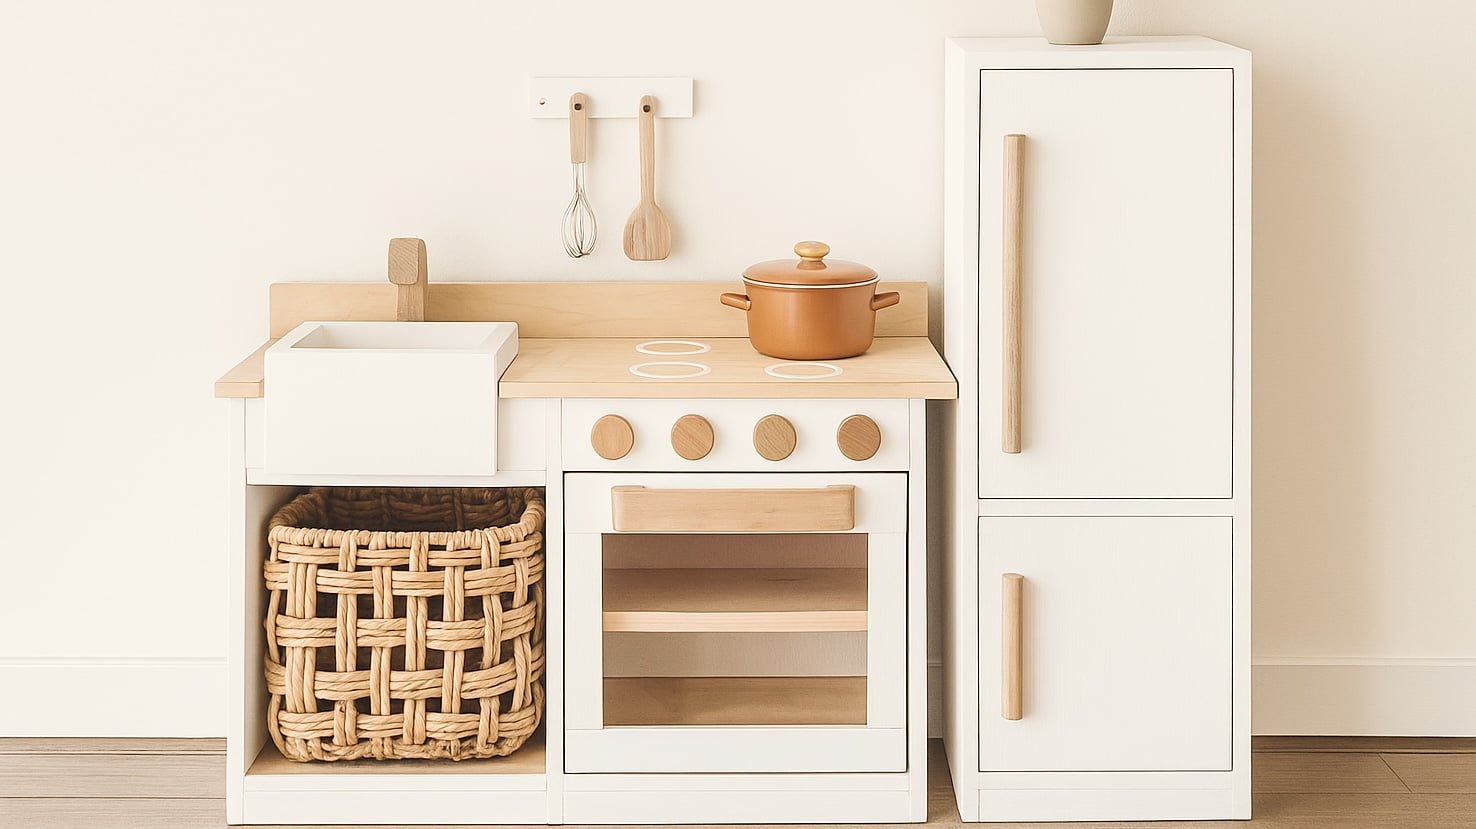
Build your own play kitchen with! This smaller, narrower fridge features a freezer and fridge compartment. You'll love the easy to build plans, using basic materials and minimal cuts. Works with our Simple Play Kitchen Sink and Stove Plans.
Specifications
| Project type | Play Kitchen Collection |
|---|---|
| Room | Kids and Toys |
| Style | Children's and Kid's Room Furniture and Toy Plans |
| Difficulty | Beginner Projects |
| Estimated cost | $20 - $50 |
Dimensions
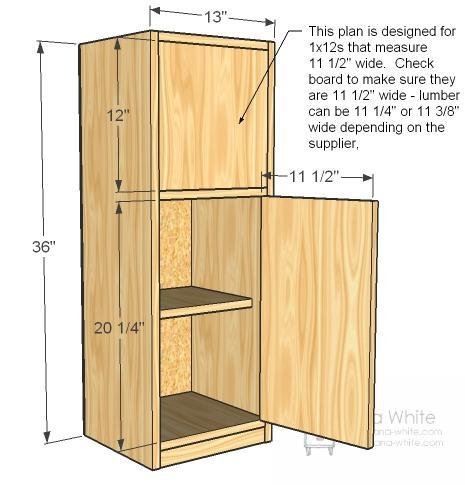
Use the size-specific shopping and cut lists below.
Shopping List
- 12 feet of 1x12 board
- 1 - 1x10 @ 12" long
- 1 - 1x2 @ 2 feet long
- 1/4" plywood @ 12" x 36"
- 2 sets of hinges
- 2 magnetic clasps
- handles
Cut List
2 - 1x12 @ 36" (Sides)
2 - 1x2 @ 11-1/2" (Bottom Trim)
3 - 1x12 @ 11 1/2" (Tops/Bottoms)
1 - 1x10 @ 11 1/2" (Fridge Shelf)
1 - 1/4" Plywood @ 13" x 36" (Back)
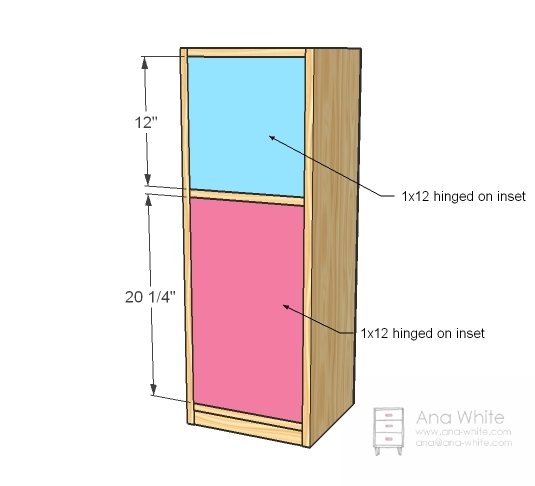
1 - 1x12 @ 12" (Freezer Door) - may need to trim to fit
1 - 1x12 @ 20 1/4" (Fridge Door) - may need to trim to fit
Step-by-step Instructions
Step 1
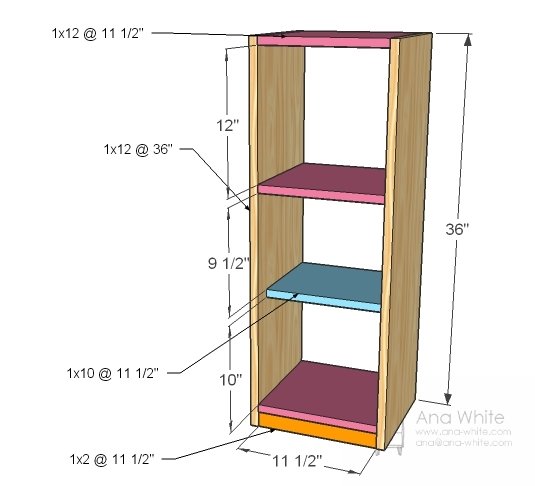
Simply build the box as shown above. I use finish nails and a pneumatic nailer, and of course, glue, and Grace’s kitchen is still going just as strong as every. In fact, it’s now in her playhouse.
Step 2
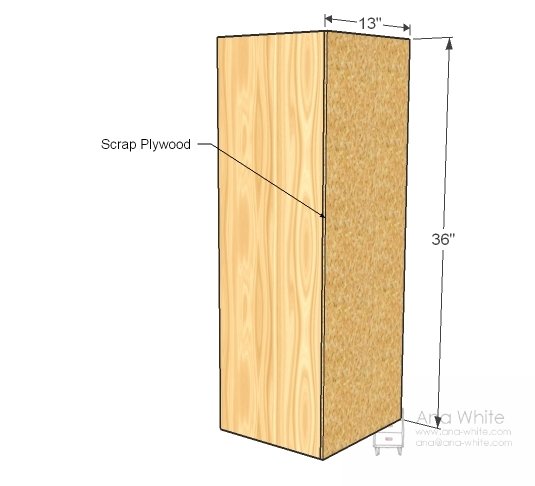
Now add the back. Nail into the shelves too. You can use shorter nails on the back, for example, 1 1/4″ ones.
Step 3
And add the doors. I love euro style inset hinges (also work for full overlay doors) like these for concealed, easy to mount and inexpensive hinges.
Finishing
Sand all surfaces, starting with a medium grit and finishing with fine. Wipe off the dust, fill any holes or gaps with wood filler, and sand smooth once dry. Apply primer if you're painting, then finish with your choice of paint or stain and seal with a durable clear topcoat. For outdoor projects, use exterior-rated primer, paint or stain, and sealer so the piece stands up to the weather.
Source (temporary): https://www.ana-white.com/woodworking-projects/simple-play-kitchen-narrow-fridge