Simple Raised Garden Boxes by Janet Fox
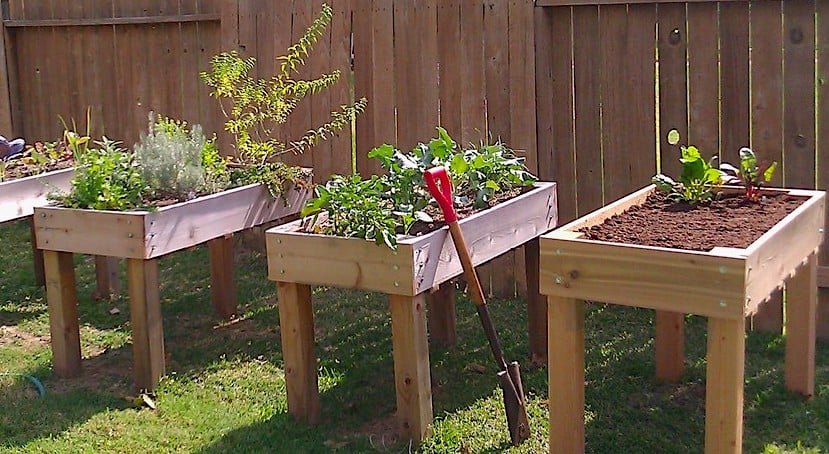
These raised Garden boxes are easy to build and great for those of us that just can't get down on the ground any longer. These would make a wonderful present for your mother or grandmother. You can build three for nearly the price of one, I have 6 for myself and absolutely love them. Do not us Treated Lumber. This will defeat the purpose of having a healthy garden and healthy vegetable. So don't skimp here. You can follow my adventures at
Specifications
| Project type | Planters, Garden Beds, and Greenhouses |
|---|---|
| Room | Outdoor |
| Style | Farmhouse Furniture |
| Difficulty | Beginner Projects |
| Estimated cost | $50 - $100 |
Dimensions
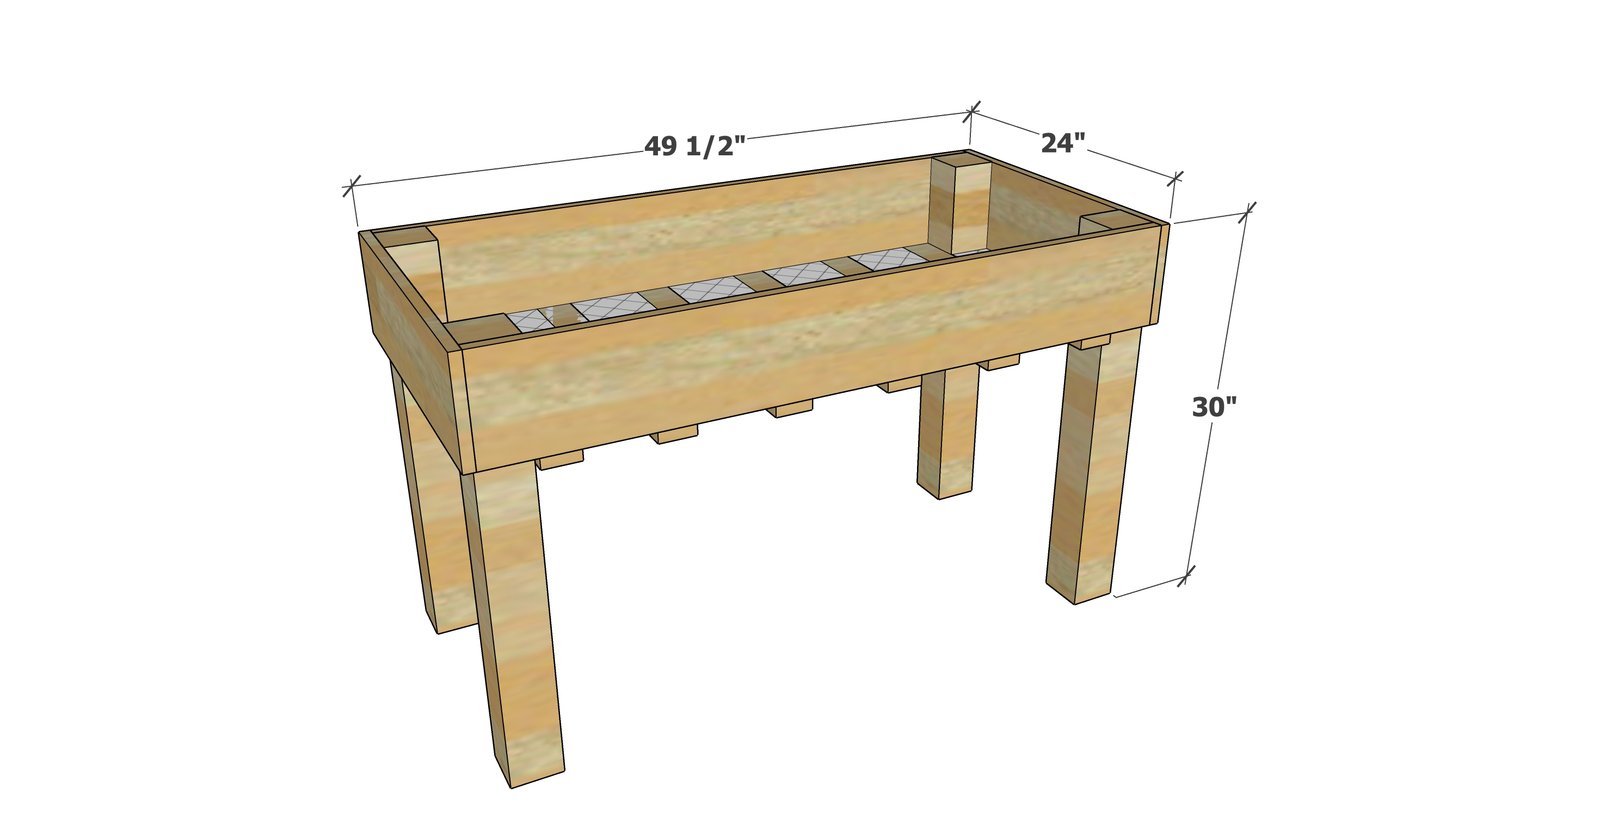
Use the size-specific shopping and cut lists below.
Shopping List
- 1 - 4x4 @ 10 feet long - fir or cedar post (fir is cheaper and lasts nearly as long)
- 1 - 1x8 @ 12 feet long - cedar boards
- 1 - 1x3 @ 12 feet long - cedar boards
- 1 - roll of 1/4" hardware cloth, 50x24" (make sure to get hardware cloth with 1/4" holes, 1/2 inch is too large and all your dirt will fall through)
- 16 - 2 inch 14-20 hex bolts
- 16 - washers
- 16 - Threaded inserts (
- 12 - 1 1/2 inch exterior self tapping star bit wood screws
Cut List
- 4 - 4x4 @ 30" long (legs)
- 2 - 1x8 @ 48" long (sides
- 2 - 1x8 @ 24" long (ends)
- 6 - 1x3 @ 24" long (slats)
- Bottom hardware cloth: cut the hardware cloth into a 24x50 inch rectangle.
NOTE: The shopping list is exactly enough wood for the project. If you need to cut your boards 1/8" shorter to allow for the saw blade width (kerf) it will all work out, but the cuts do need to match - i.e. all side boards cut at 47-7/8"
Tools
- measuring tape
- square
- pencil
- safety glasses
- drill
- compound miter saw
Step-by-step Instructions
Step 1
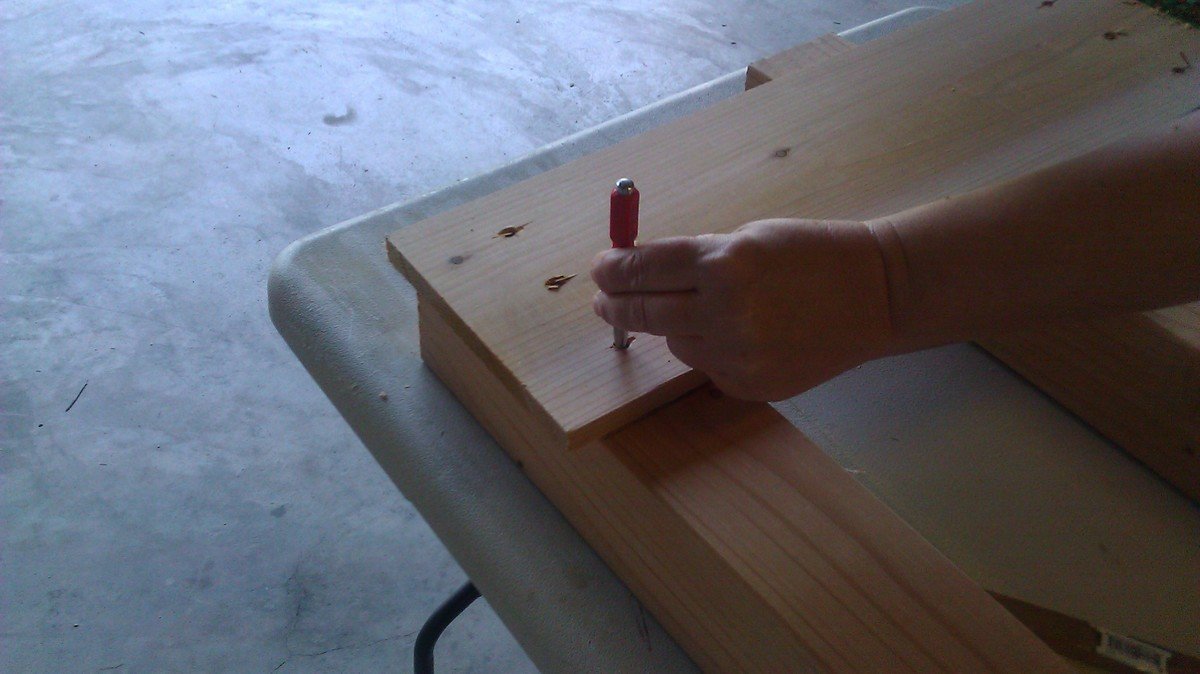
the picture above is just so you can see me marking the 4x4 legs. I actually mark them in the standing position. update: I cut all pieces out and assembled the bed using one or two pin nails on each side of the leg to hold together...I then used a hand drill to drill the three or two holes(which ever you decide on) onto each side piece only going through the the side piece and only marking the legs. The leg holes really need to be drilled as straight as possible and at the depth you need for your bolts. I used a drill press to make sure of the depth and that the holes are very straight to except the thread inserts. You can read the bit below for other info but I would definitely use the hand drill for marking the legs. Drill your three holes in the 1x8 pieces then place them against the 4x4 pieces in the location they need to be(I set up all the pieces and number the legs and the boards and draw arrow for the top on the boards for later reference then using one pin nail on each side to hold it all together I mark where the holes will go on the legs) and using a center punch hammer into each hole marking the 4x4 so you can drill the corresponding holes. I used all 1/4-20 screws and I used E-Z LOK threaded inserts instead of drilling all the way through the 4x4. I made sure that I drilled the hole deep enough in the 4x4 so that when I inserted the thread and bolted the sides on I would be able to screw them on tight.
Step 2
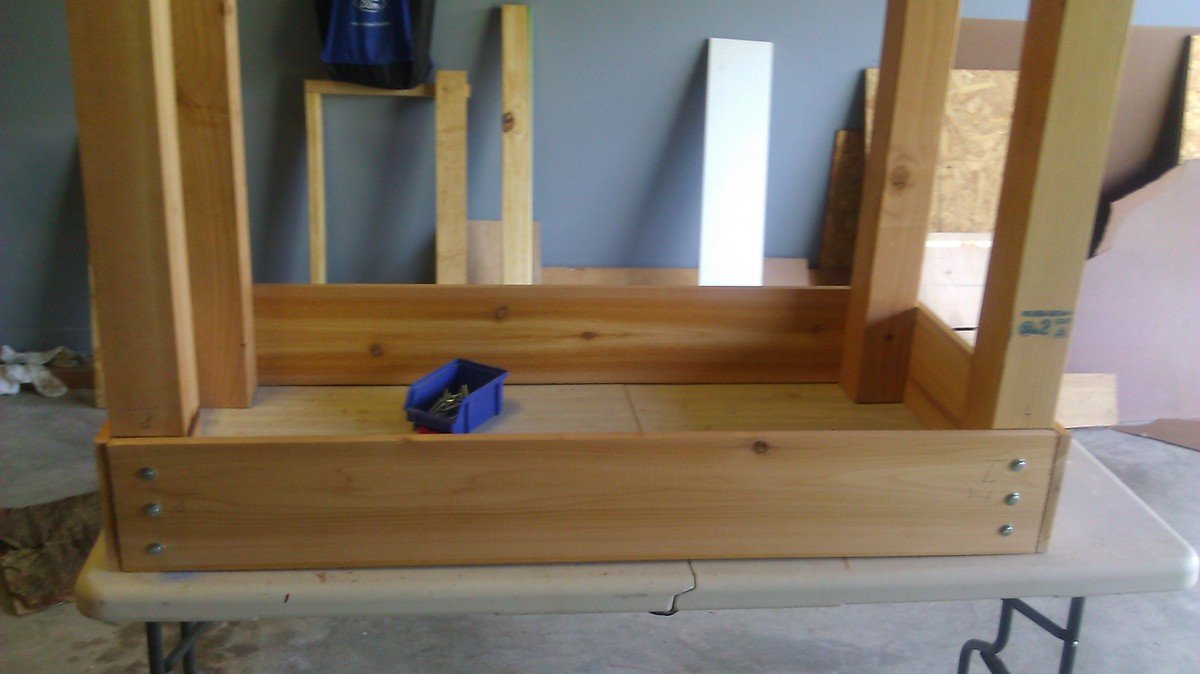
He is an image of the planter upside down with the 1x8 bolted into place
Step 3
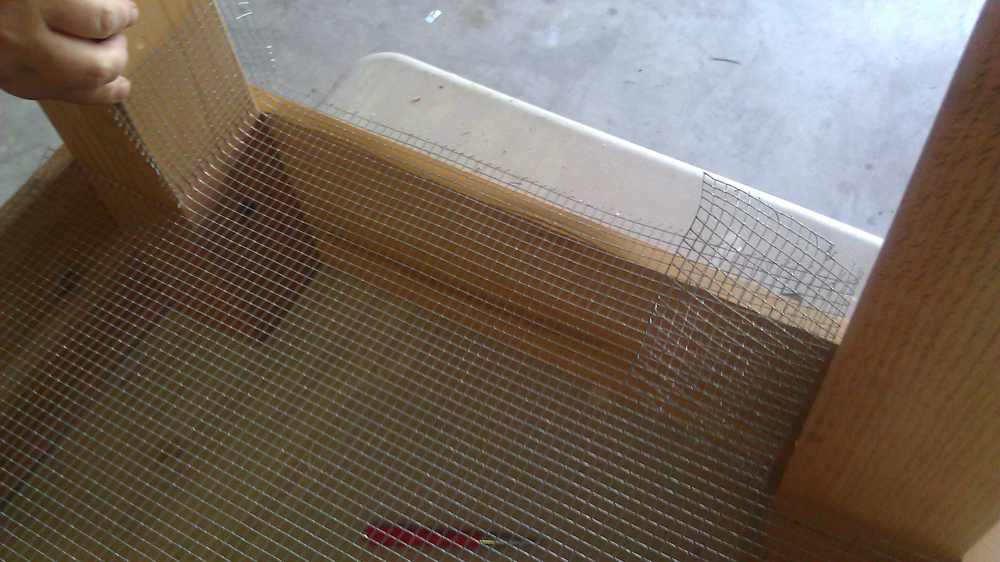
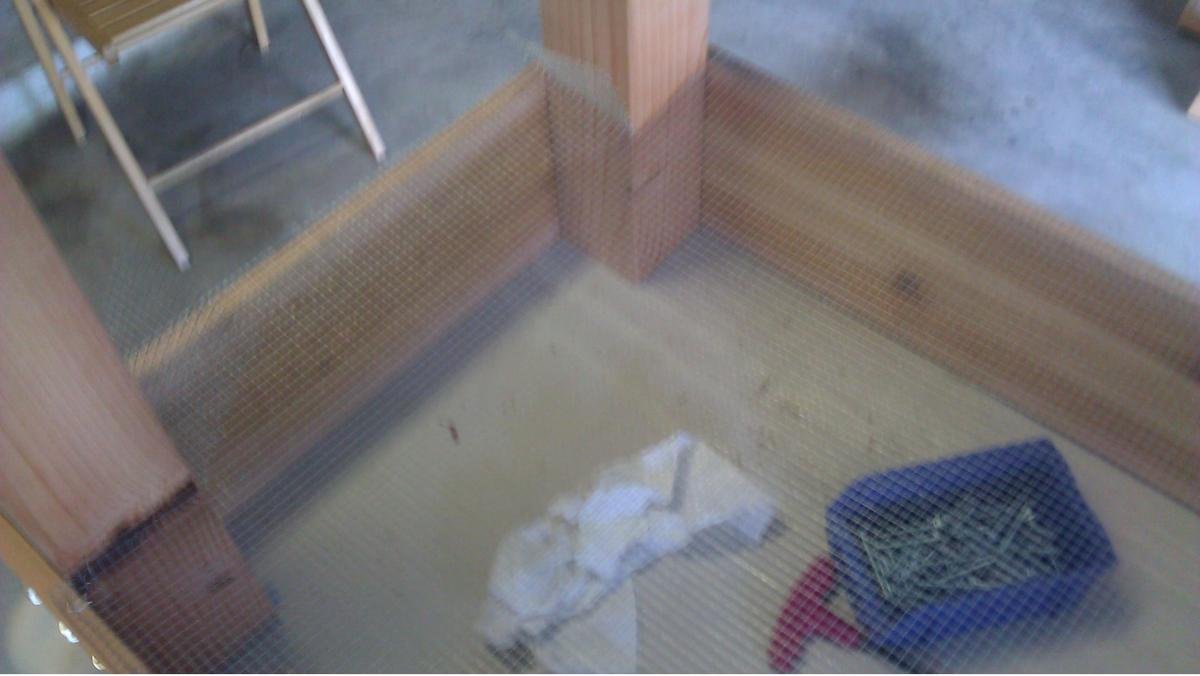
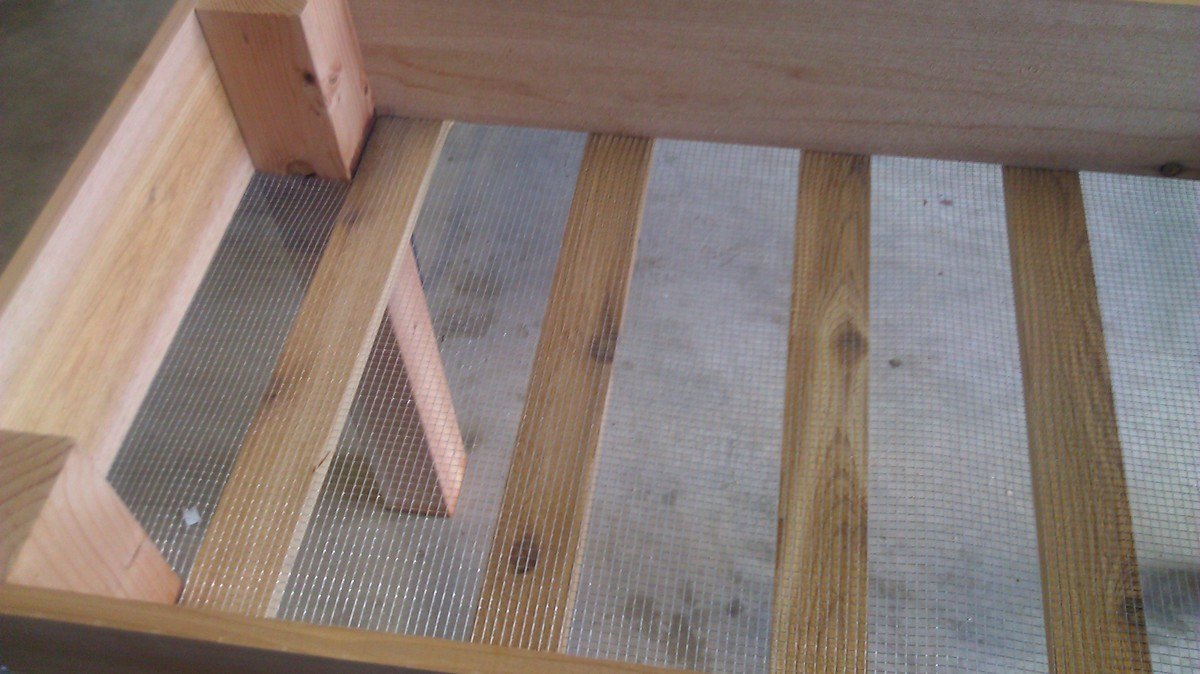
Attaching the hardware cloth. I made sure that when the planter was together that it was no more then 24 inch wide this way the hardware cloth would fit the width without me having to sew together or cutting down the width. I only had to cut the length because I purchase hardware wire that was 24 inches wide by 25 feet long. I can make 6 planters with this one roll of hardware wire.
Step 4
close up of how staple the hardware cloth around the legs.
Step 5
Step 6
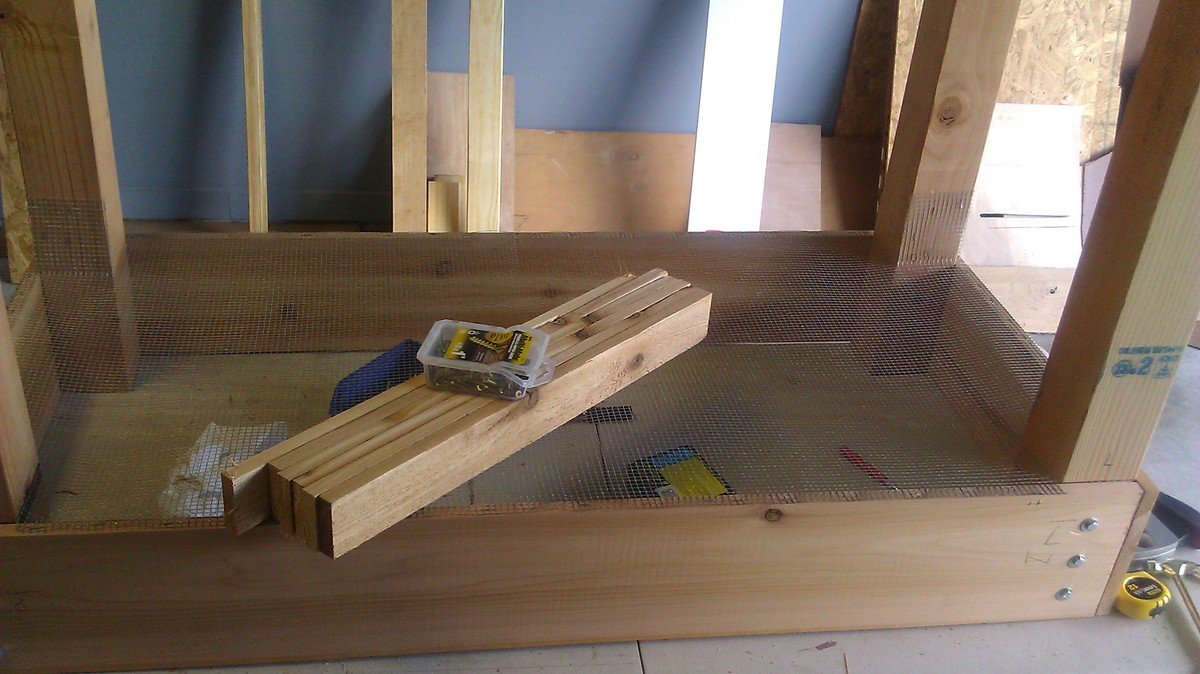
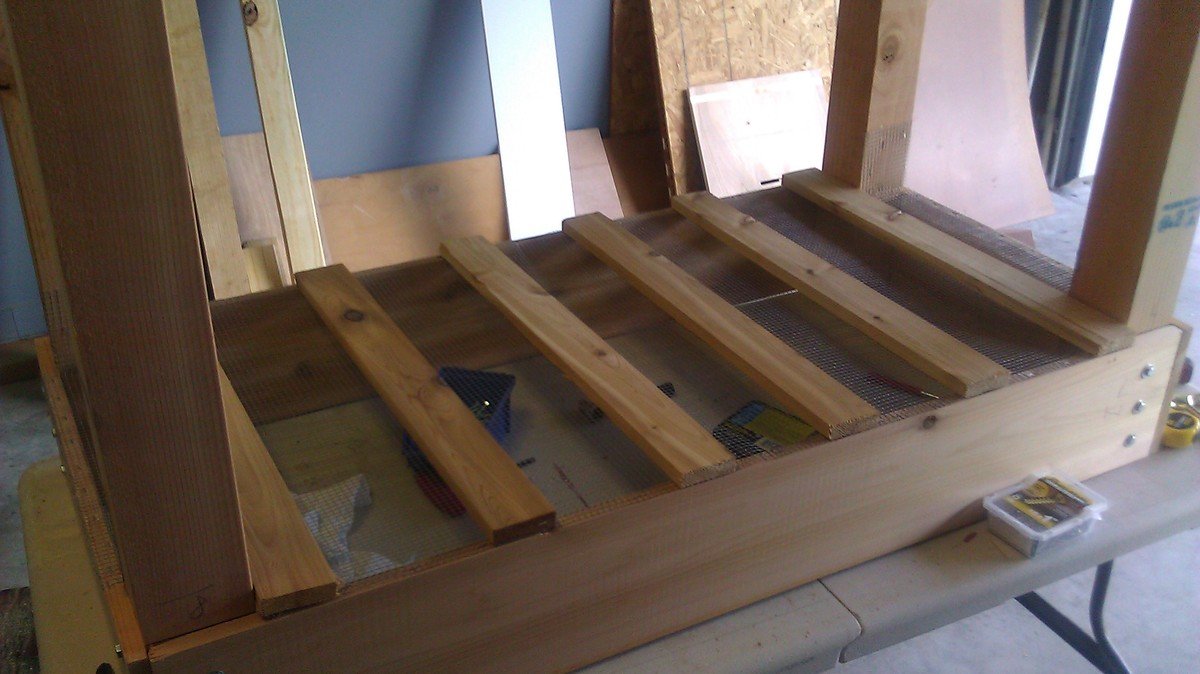
placing the slats equal distances apart and screwing into the bottom using two screws in each end of each slat.
Step 7
The planter turned right side up
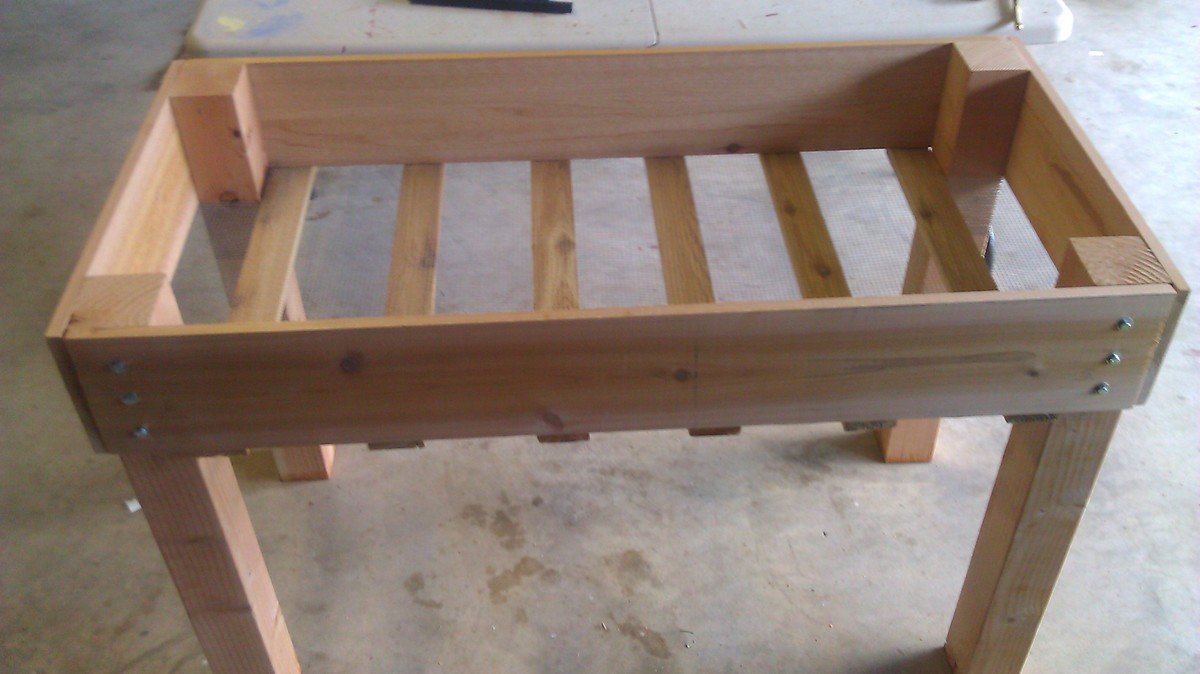
Step 8
another close up
Step 9
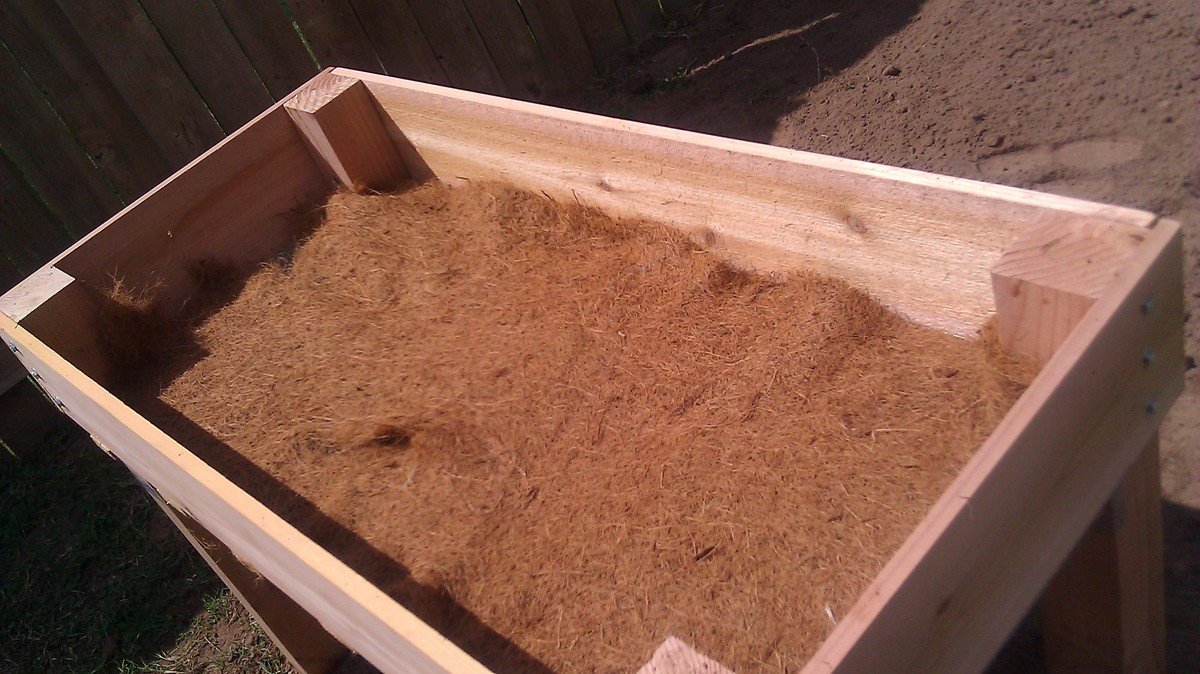
used coconut cloth in the bottom however you could use newspaper, compost or anything that isn't harmful to the soil and your plants to keep the dirt in.
Step 10
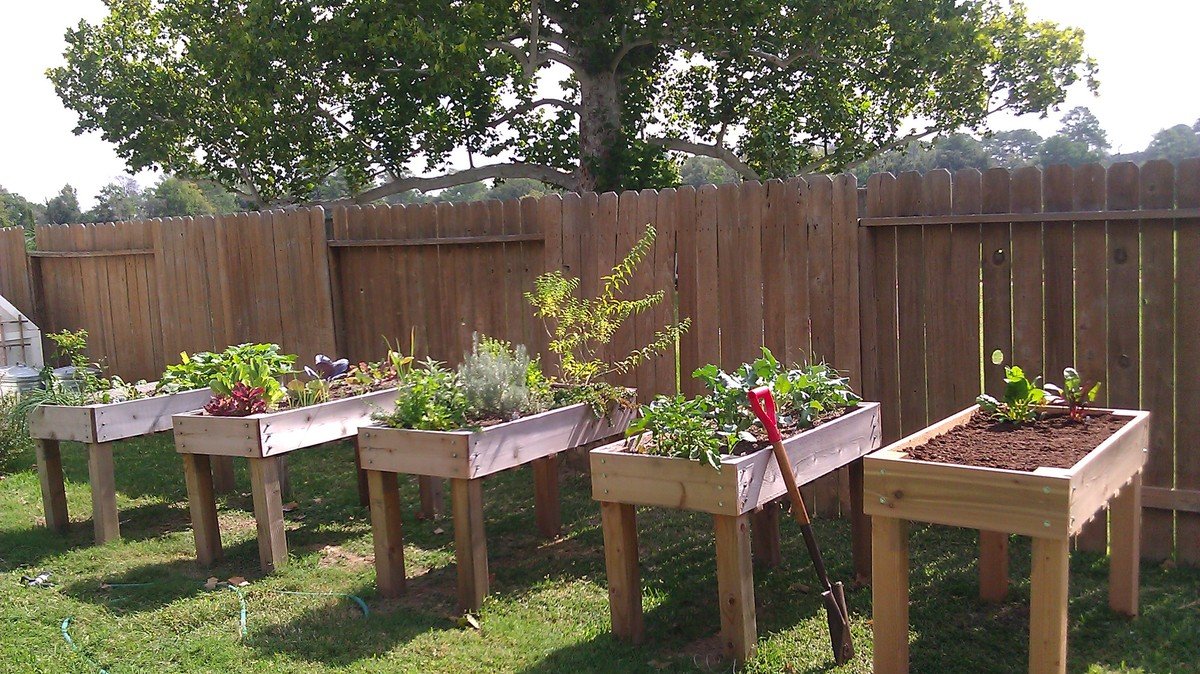
And this is how my garden grows.
Finishing
Sand all surfaces, starting with a medium grit and finishing with fine. Wipe off the dust, fill any holes or gaps with wood filler, and sand smooth once dry. Apply primer if you're painting, then finish with your choice of paint or stain and seal with a durable clear topcoat. For outdoor projects, use exterior-rated primer, paint or stain, and sealer so the piece stands up to the weather.
Source (temporary): https://www.ana-white.com/woodworking-projects/simple-raised-garden-boxes-janet-fox