Stocking Name Tags
Quick and easy DIY stocking name tags - so you can have personalized Christmas stockings! Easy to add a name, change names, or change stockings since it's just a stocking name tag (instead of embroidered stockings). We also love these name tags for place settings, on the backs of chairs, or gift tags. Free tutorial from
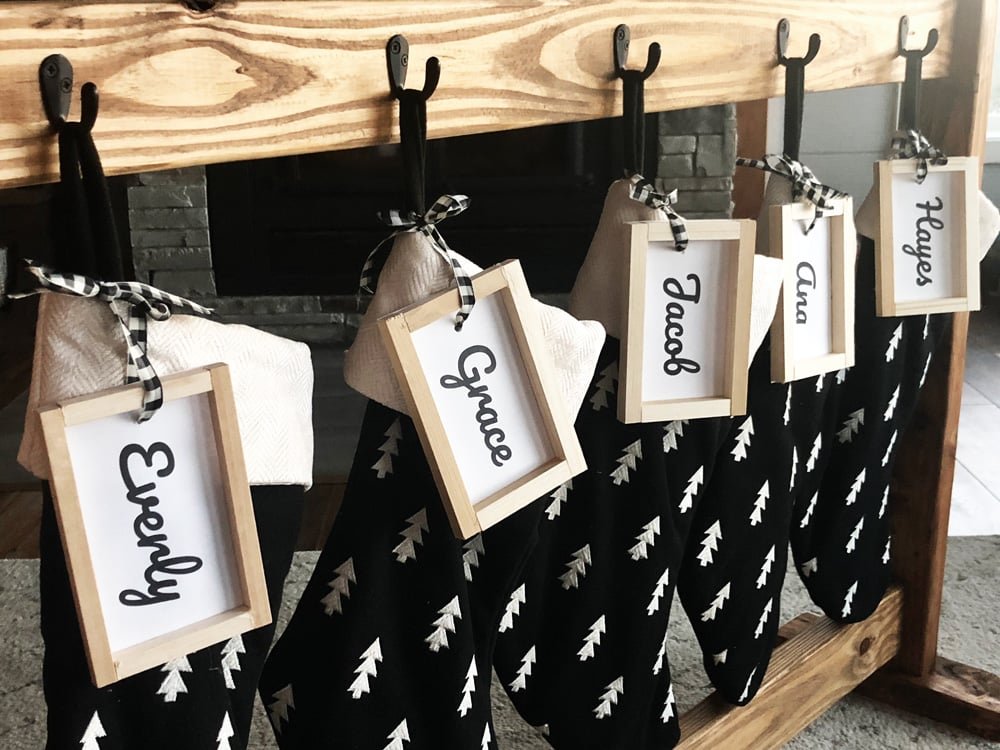
Specifications
| Project type | Home DIY |
|---|---|
| Room | living room |
| Difficulty | Starter Projects |
Dimensions
Use the size-specific shopping and cut lists below.
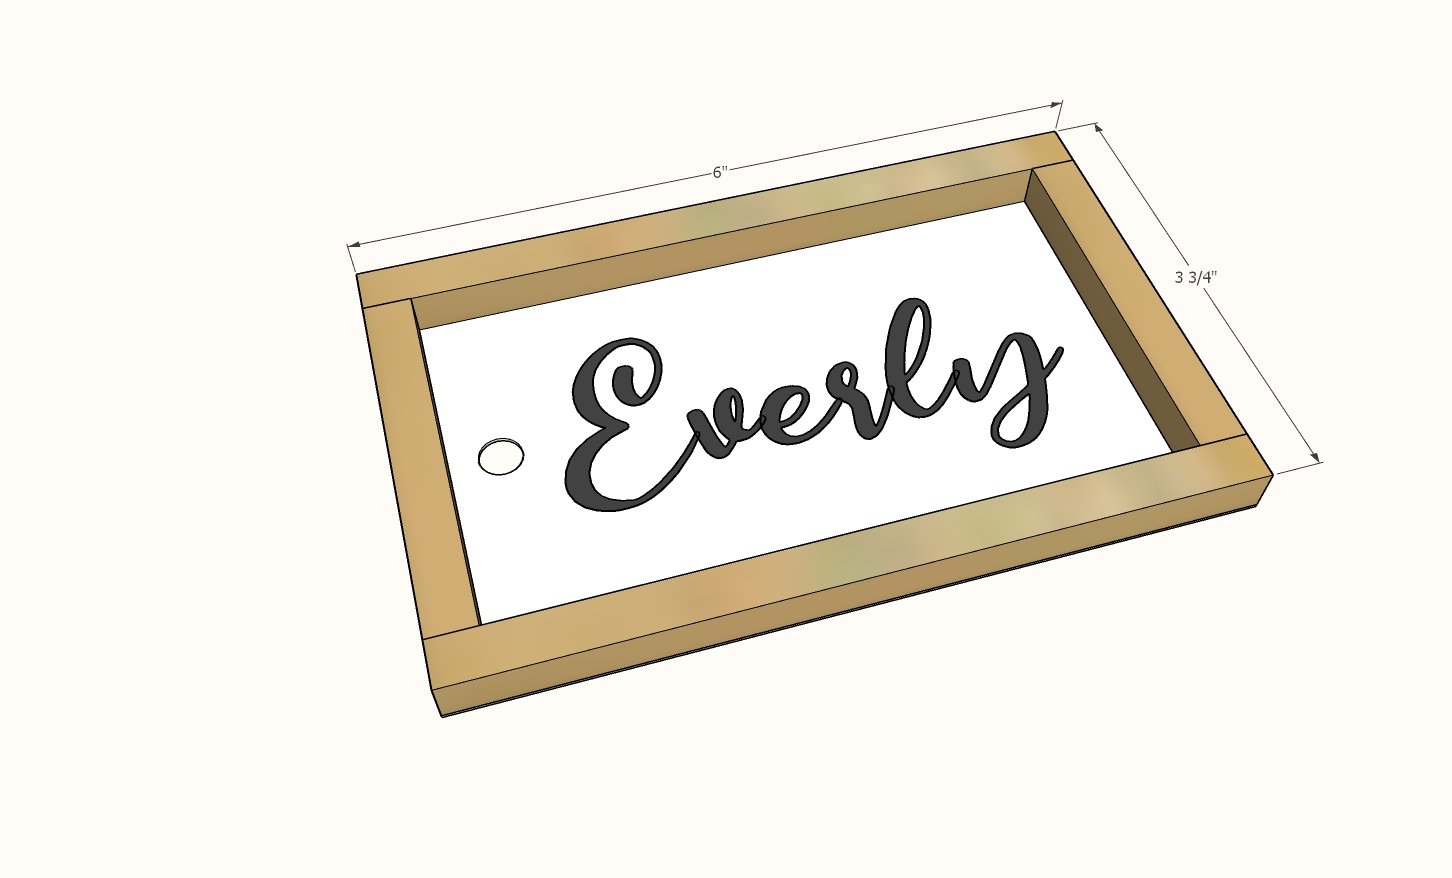
Shopping List
- 18" of 3/8" x 3/8" square dowel ( $1.48 for 3 feet at Lowes - will make two name tags)
- Card Stock
- Printer
- Hot glue gun and hot glue
- Ribbon
- Saw for cutting the wood (can use a hand saw)
- Ruler or Tape Measure
- Stain or paint (optional)
Cut List
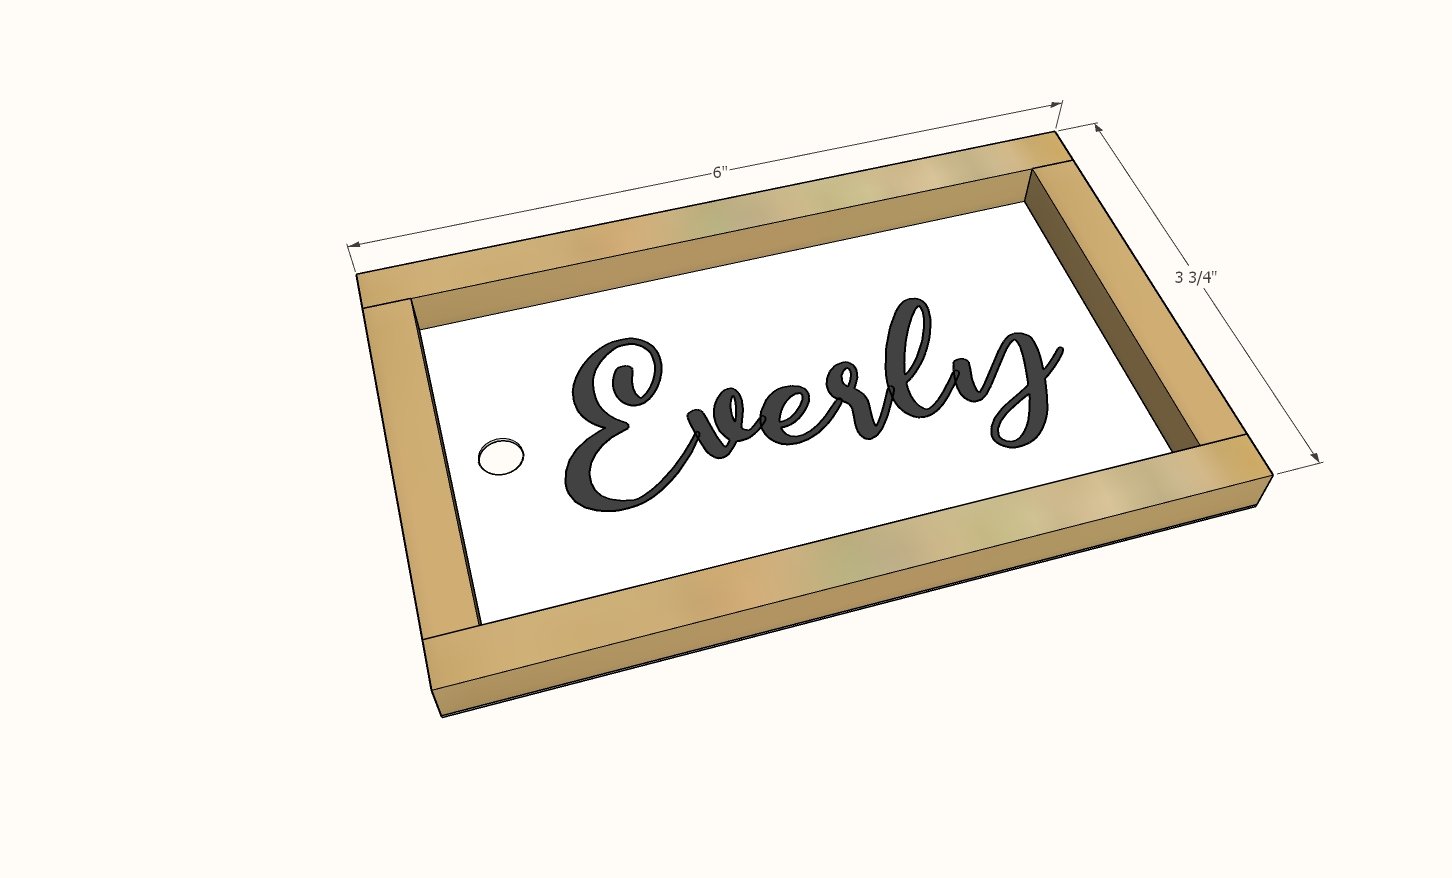
- 2 - 3/8" x 3/8" square dowels @ 5-7/8" long
- 2 - 3/8" x 3/8" square dowels @ 2-7/8" long
NOTE: The pieces are an 1/8" smaller in the cut list to allow all the cuts to fit on 36" long square dowels.
Step-by-step Instructions
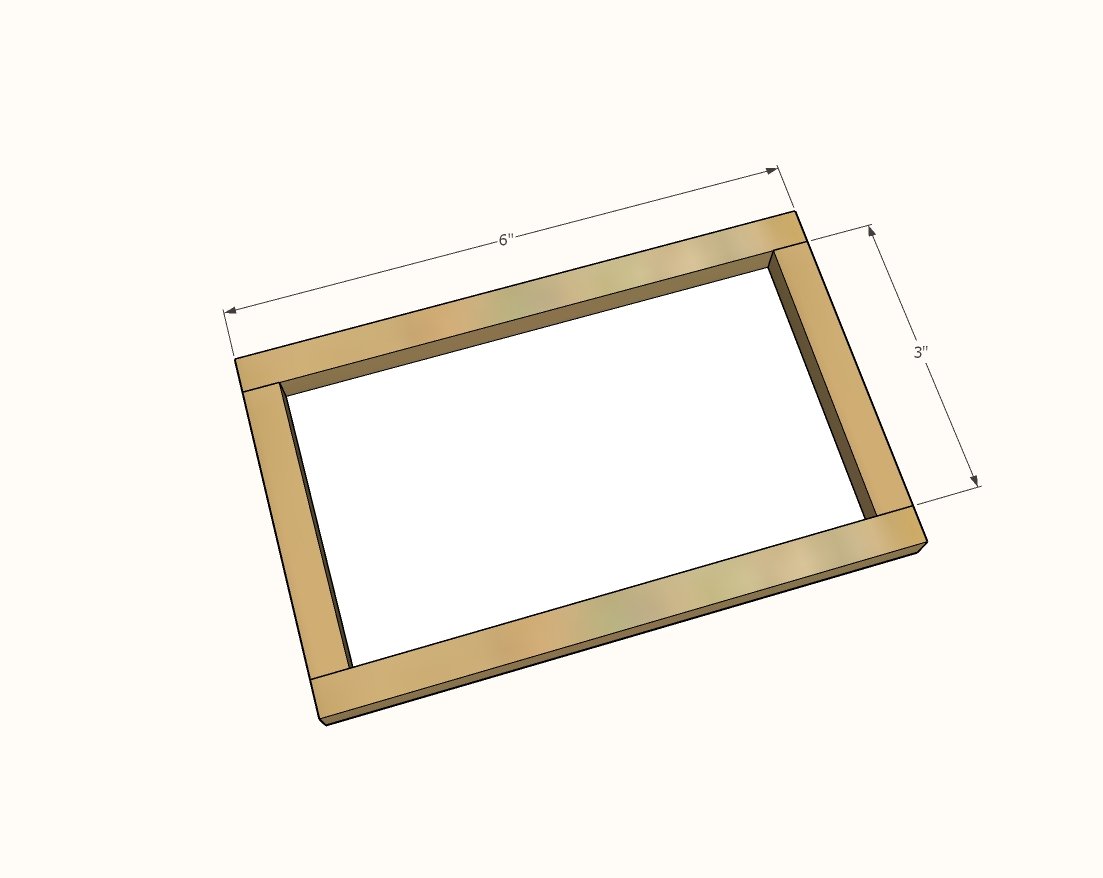
Use hot glue to glue the corners together of the frames.
The smaller pieces fit inside the larger pieces.
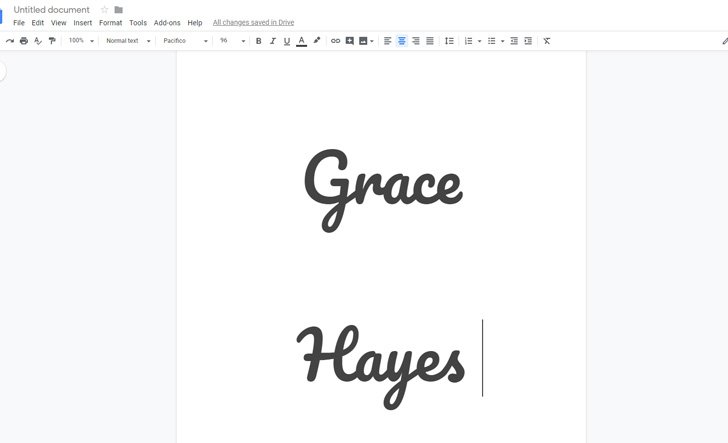
Print out names on cardstock.
I used 96pt font, font name Pacifico You can use my google doc here to create your name tags. Place a frame over the cardstock, with the name centered in the inside of the frame. Trace the outside of the frame on to the cardstock.
Hot glue the cardstock to the back of the frame.
Punch a hole in the cardstock and thread a ribbon through the cardstock.
Finishing
Sand all surfaces, starting with a medium grit and finishing with fine. Wipe off the dust, fill any holes or gaps with wood filler, and sand smooth once dry. Apply primer if you're painting, then finish with your choice of paint or stain and seal with a durable clear topcoat. For outdoor projects, use exterior-rated primer, paint or stain, and sealer so the piece stands up to the weather.
Source (temporary): https://www.ana-white.com/woodworking-projects/stocking-name-tags