Storage Tower
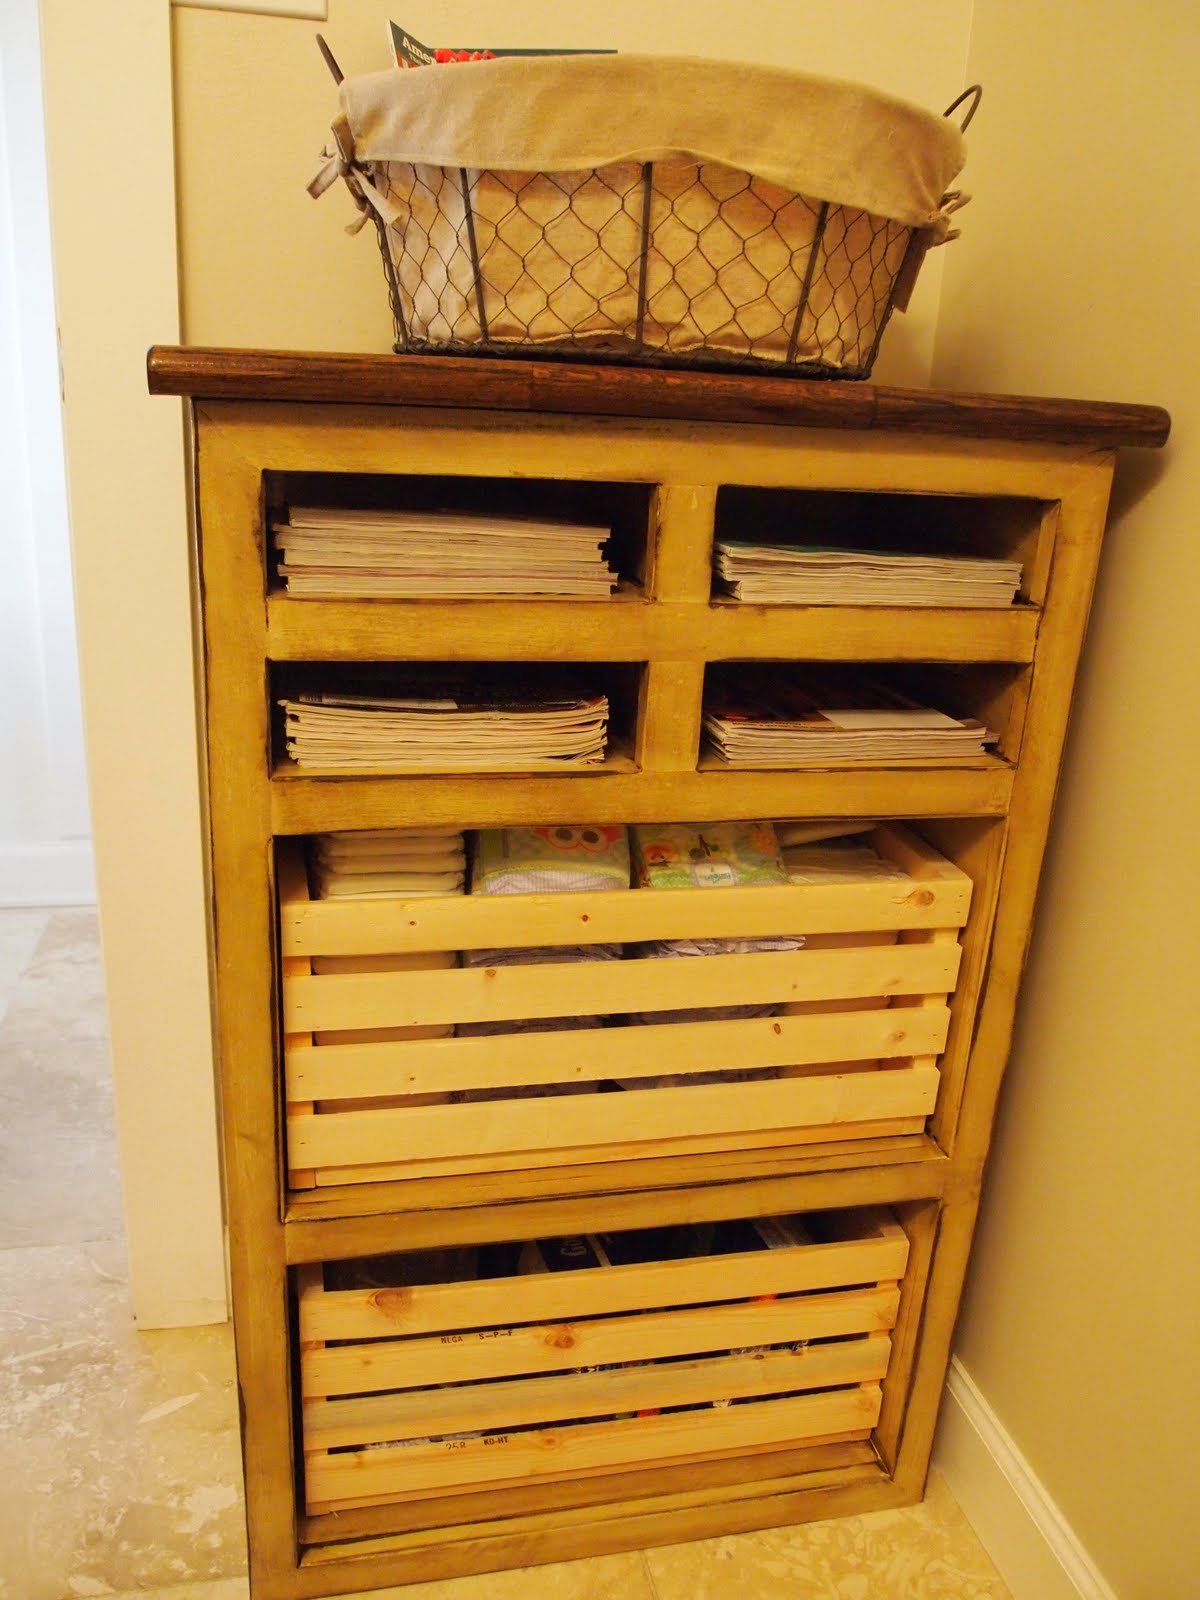
Our little half bath on the main level was seriously lacking on storage. Our house needed a place for extra hand towels, magazines and diapers. Once I was sick of looking at the packs of wet wipes and diapers on the floor everyday, I decided to build this narrow multiple purpose storage tower. The basket at the top is handy to display rolled up hand towels for guests. Just under is the always popular bathroom magazine storage. At the bottom, I made room for large crates to hold pull ups, diapers and wet wipes. I made the wooden top out of left over ends of oak stair treads from a previous project when I had ripped out the carpet and rough 2x12 lumber on the staircase leading to the second floor. If you have any reclaimed lumber or pieces of wood you were saving for a project, this plan allows for you to use your imagination on the top.
Specifications
| Project type | Bookshelf and Bookcase Plans |
|---|---|
| Room | Entryway and Mudroom |
| Style | Cottage Style Furniture Plans |
| Difficulty | Beginner Projects |
| Estimated cost | $20 - $50 |
Dimensions
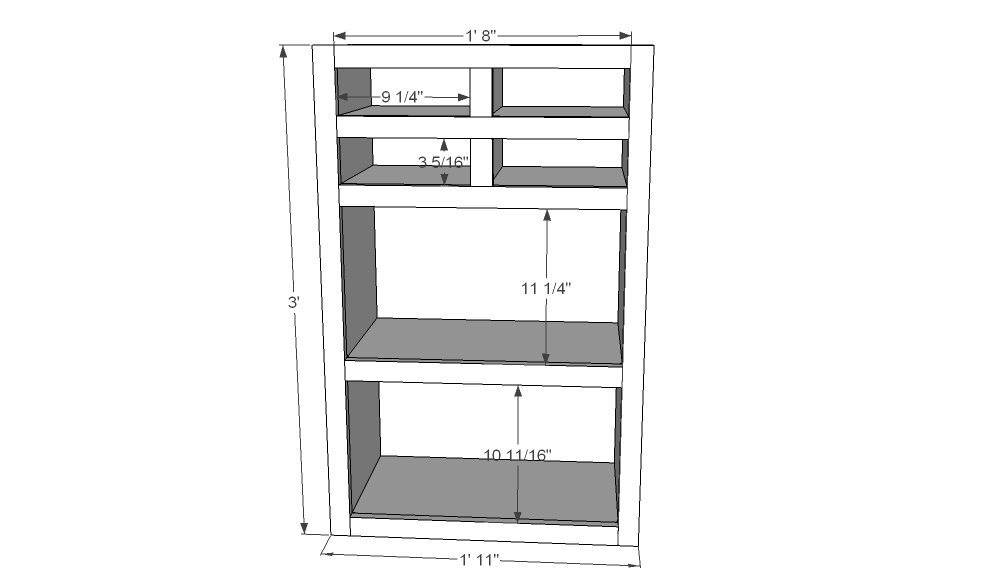
Use the size-specific shopping and cut lists below.
Shopping List
2 1"x12" (8') - Cut Down to 36" (2), 4" (2), 20" (5)
4 1"x2" (8') - Cut Down to 36" (6), 8 11/16" (4), 20" (5), 3 5/16" (2)
Optional back 36"x21.5"
Reclaimed, distressed or fun top - 12" x 25"
Nails, Paint, Wood Glue, Sand Paper
Cut List
2 1"x12" (8') - Cut Down to 36" (2), 4" (2), 20" (5)
4 1"x2" (8') - Cut Down to 36" (6), 8 11/16" (4), 20" (5), 3 5/16" (2)
Optional back 36"x21.5"
Reclaimed, distressed or fun top - 12" x 25"
Tools
- measuring tape
- square
- pencil
- hammer
- safety glasses
- hearing protection
- kreg-jig
- drill
- circular saw
Step-by-step Instructions
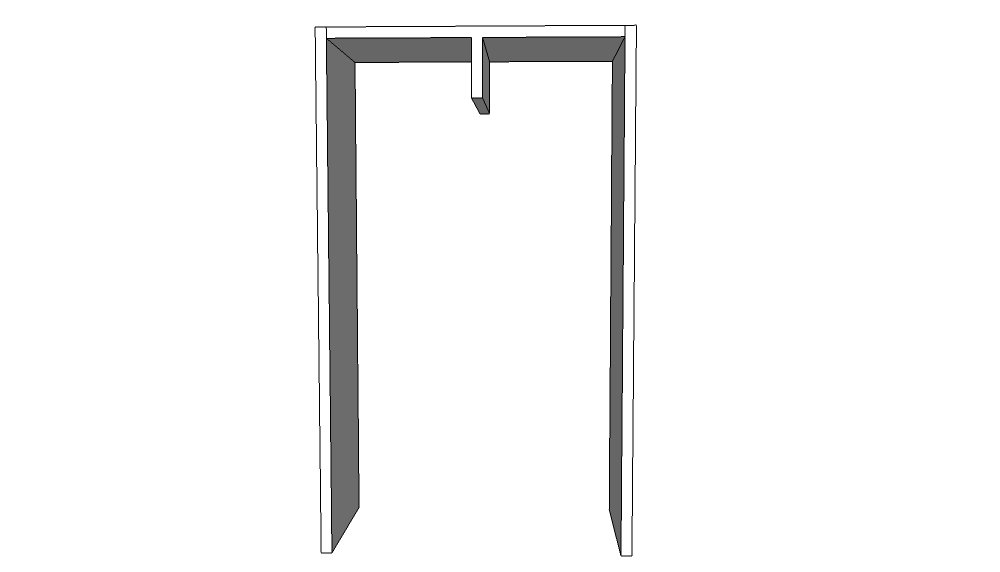
Start out with a 1"x12" (8') board cut down to 2-36" boards (sides) and 1-20" top. Connect.
Use the left over 4" piece in the center of the top piece (screw or nail in place).
Step 2
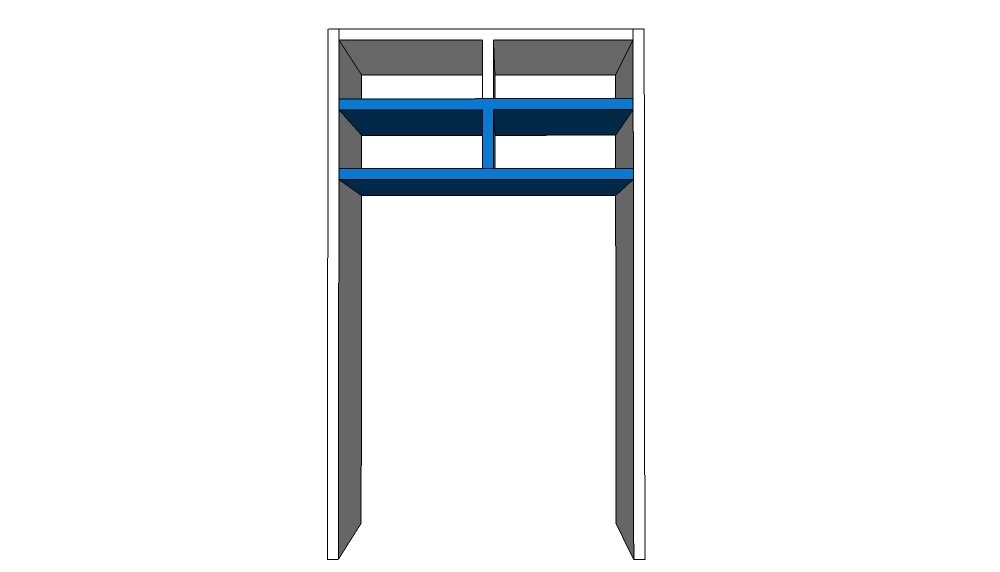
Then grab another 1"x12" (8') board and cut 2 - 20" and another 4" piece. Build an "H" with the pieces and then secure to the main structure.
Step 3
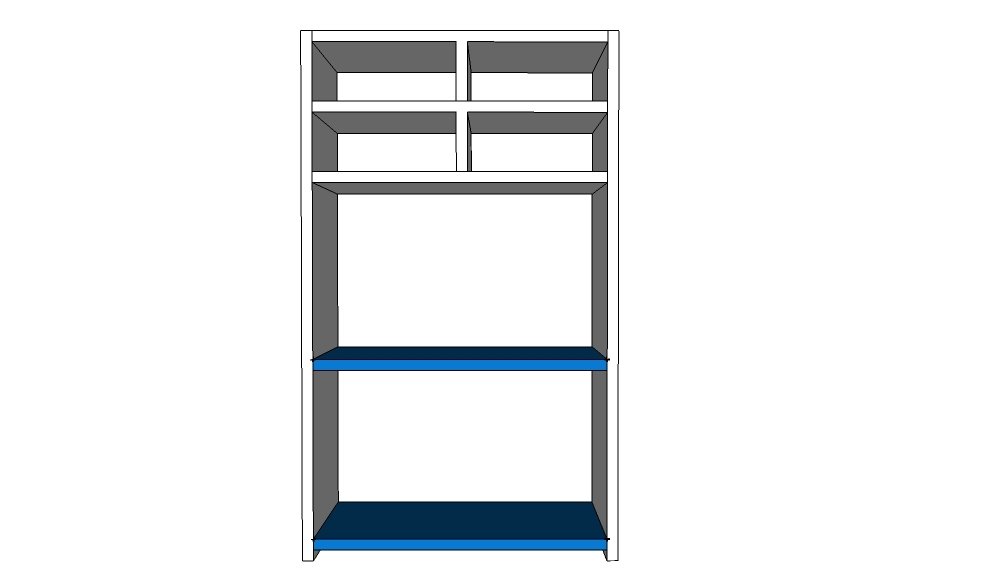
Cut 2 more 20" pieces. Attach to the main structure. Bottom one should be 1.5 inched up from the bottom. Middle shelf should be about 11" up from bottom shelf.
Step 4
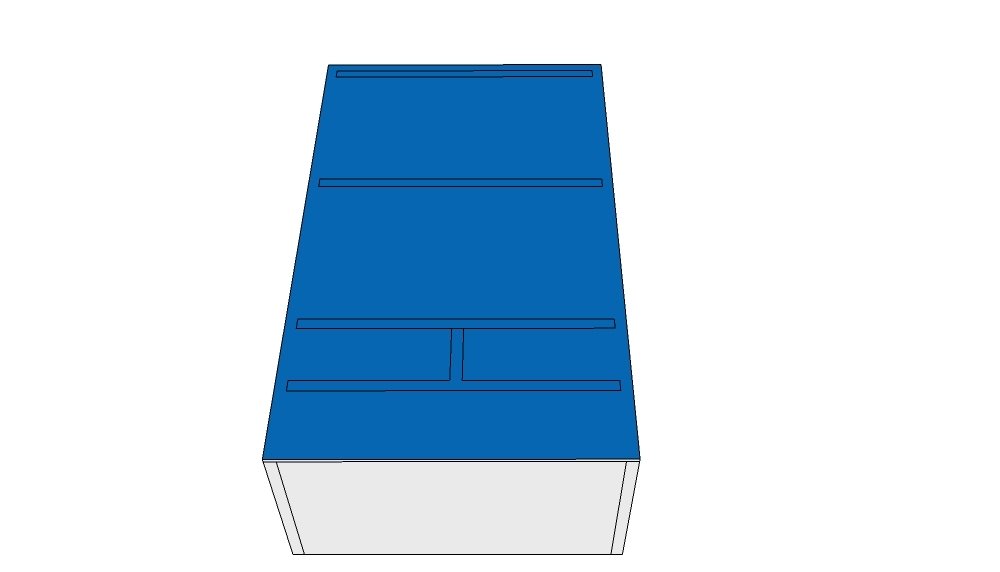
Attach optional back piece
Step 5
Step 6
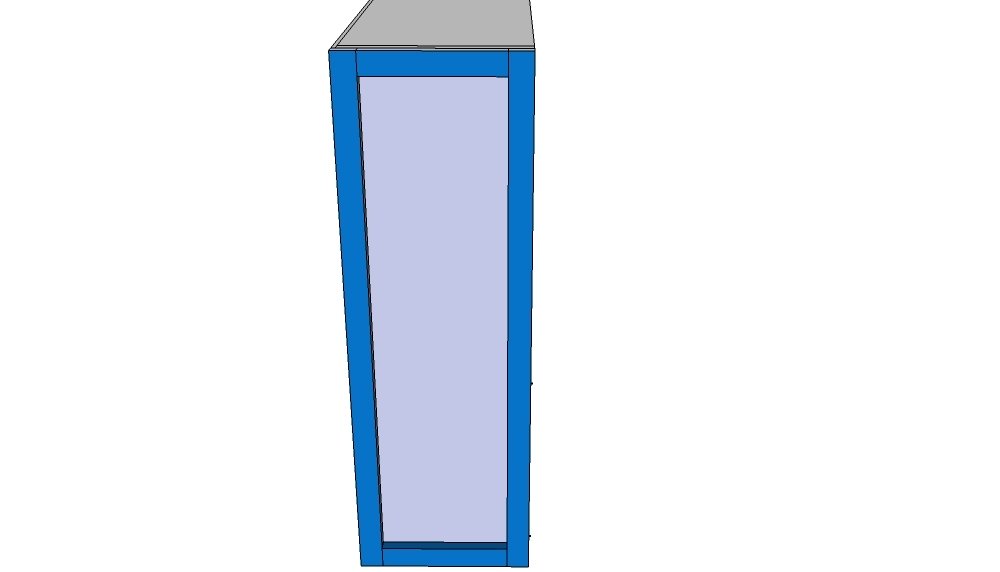
Trim front (overlap the side trim you just installed) with 1"x2" 2-36"
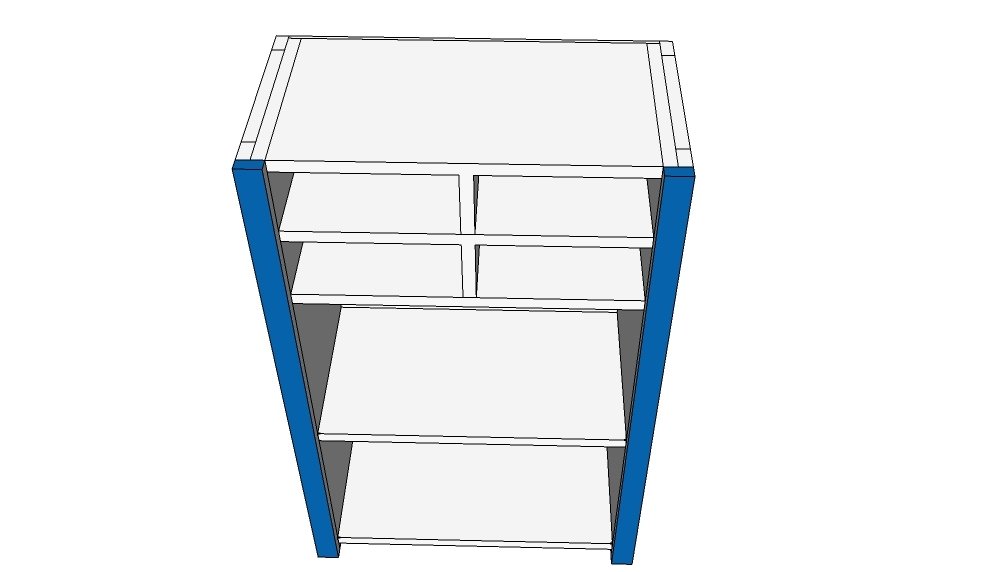
Cut 5 - 1"x2" 20" long and trim out the horizonal front trim pieces.
Optional to trim the two little strips in the middle of the magazine storage. I did just to keep the overall look.
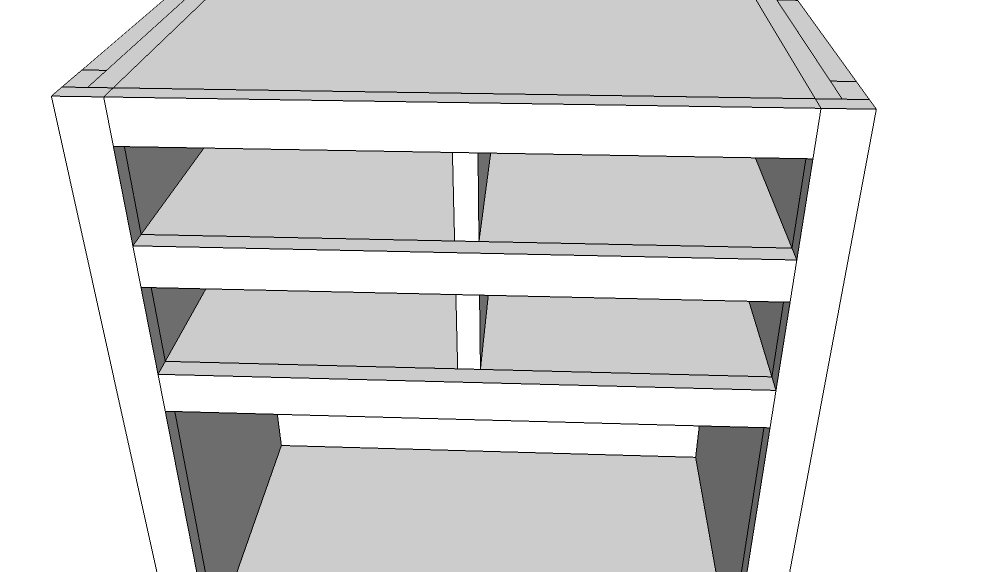
Step 8
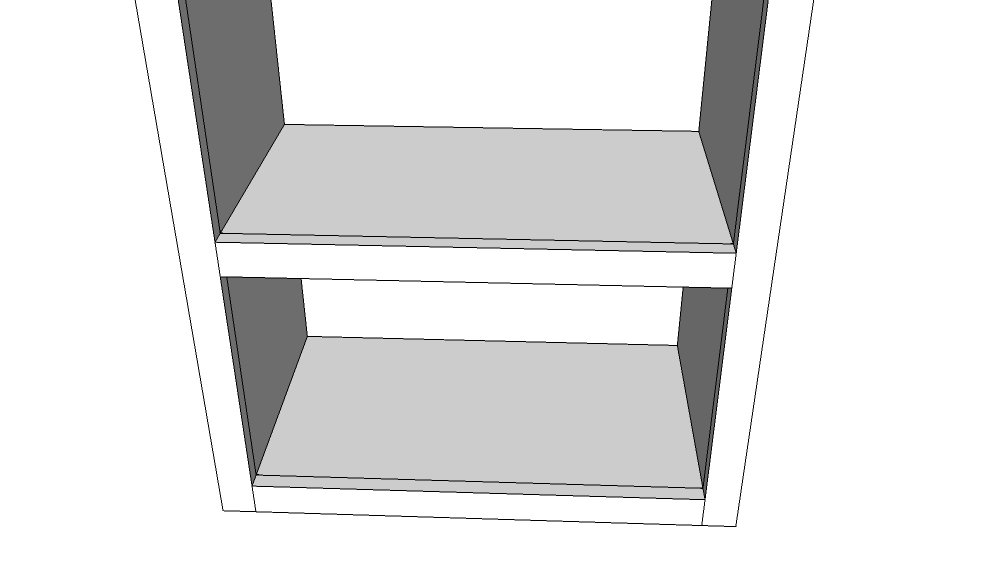
Step 9
Assemble a top piece to attach
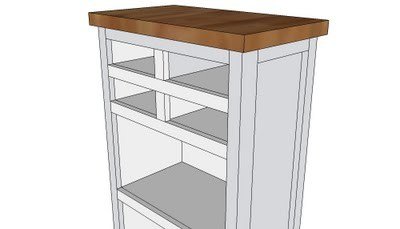
Step 10
Sand and finish.
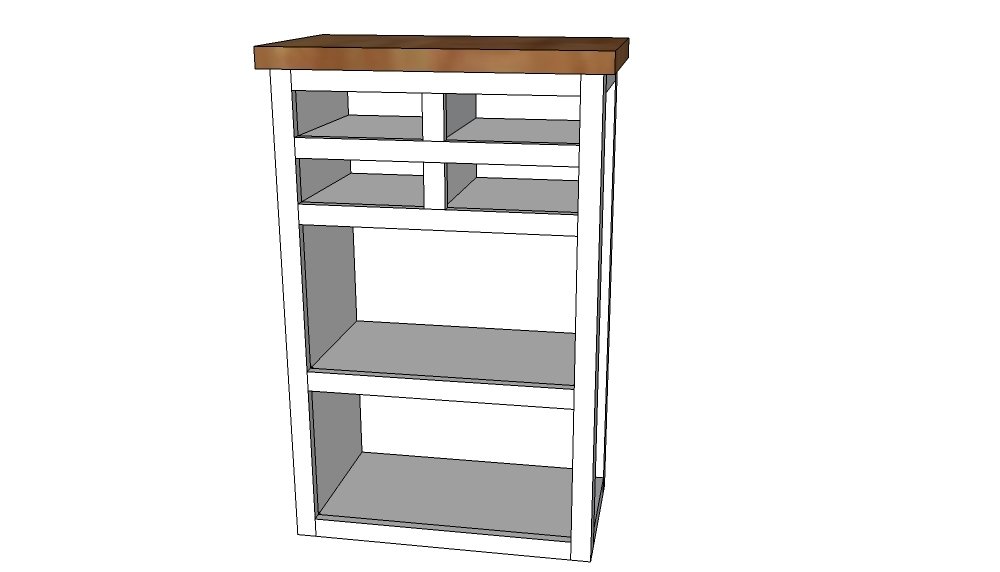
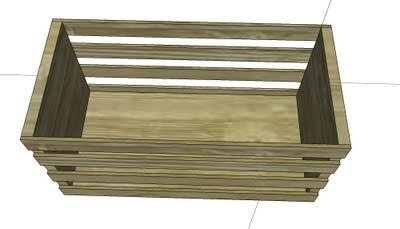
Simple plans for storage crates for the lower shelves.
Finishing
Sand all surfaces, starting with a medium grit and finishing with fine. Wipe off the dust, fill any holes or gaps with wood filler, and sand smooth once dry. Apply primer if you're painting, then finish with your choice of paint or stain and seal with a durable clear topcoat. For outdoor projects, use exterior-rated primer, paint or stain, and sealer so the piece stands up to the weather.
Source (temporary): https://www.ana-white.com/woodworking-projects/storage-tower