Sturdy Work Bench
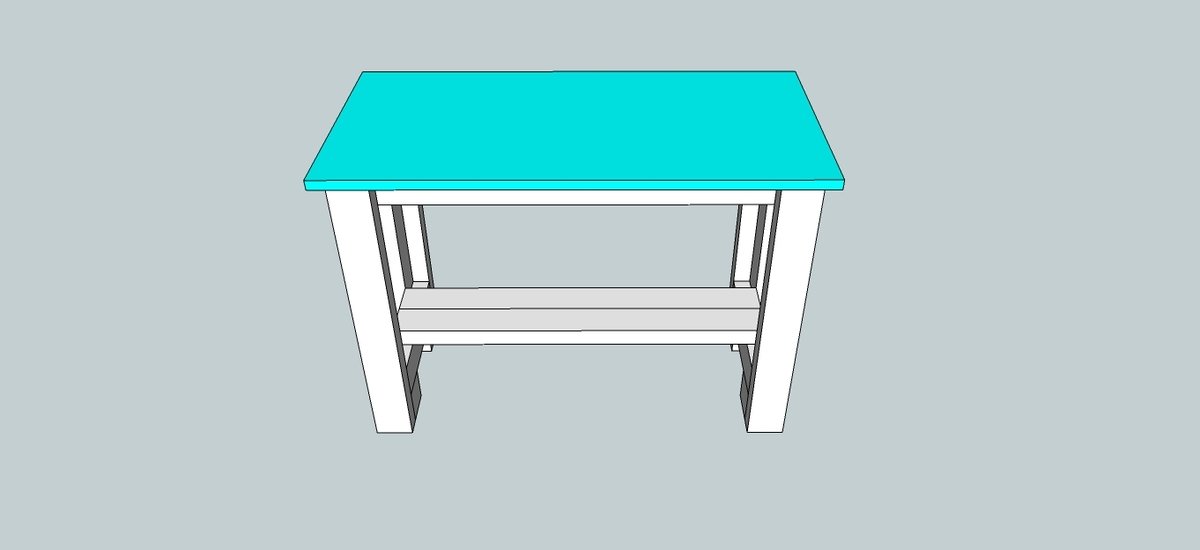
I've built a few of Ana's projects so far, and a couple of my own as well. When I work on them, though, I've had to drag my saws and drills all over the house, and sawdust gets everywhere. What I've needed, is a work-bench.
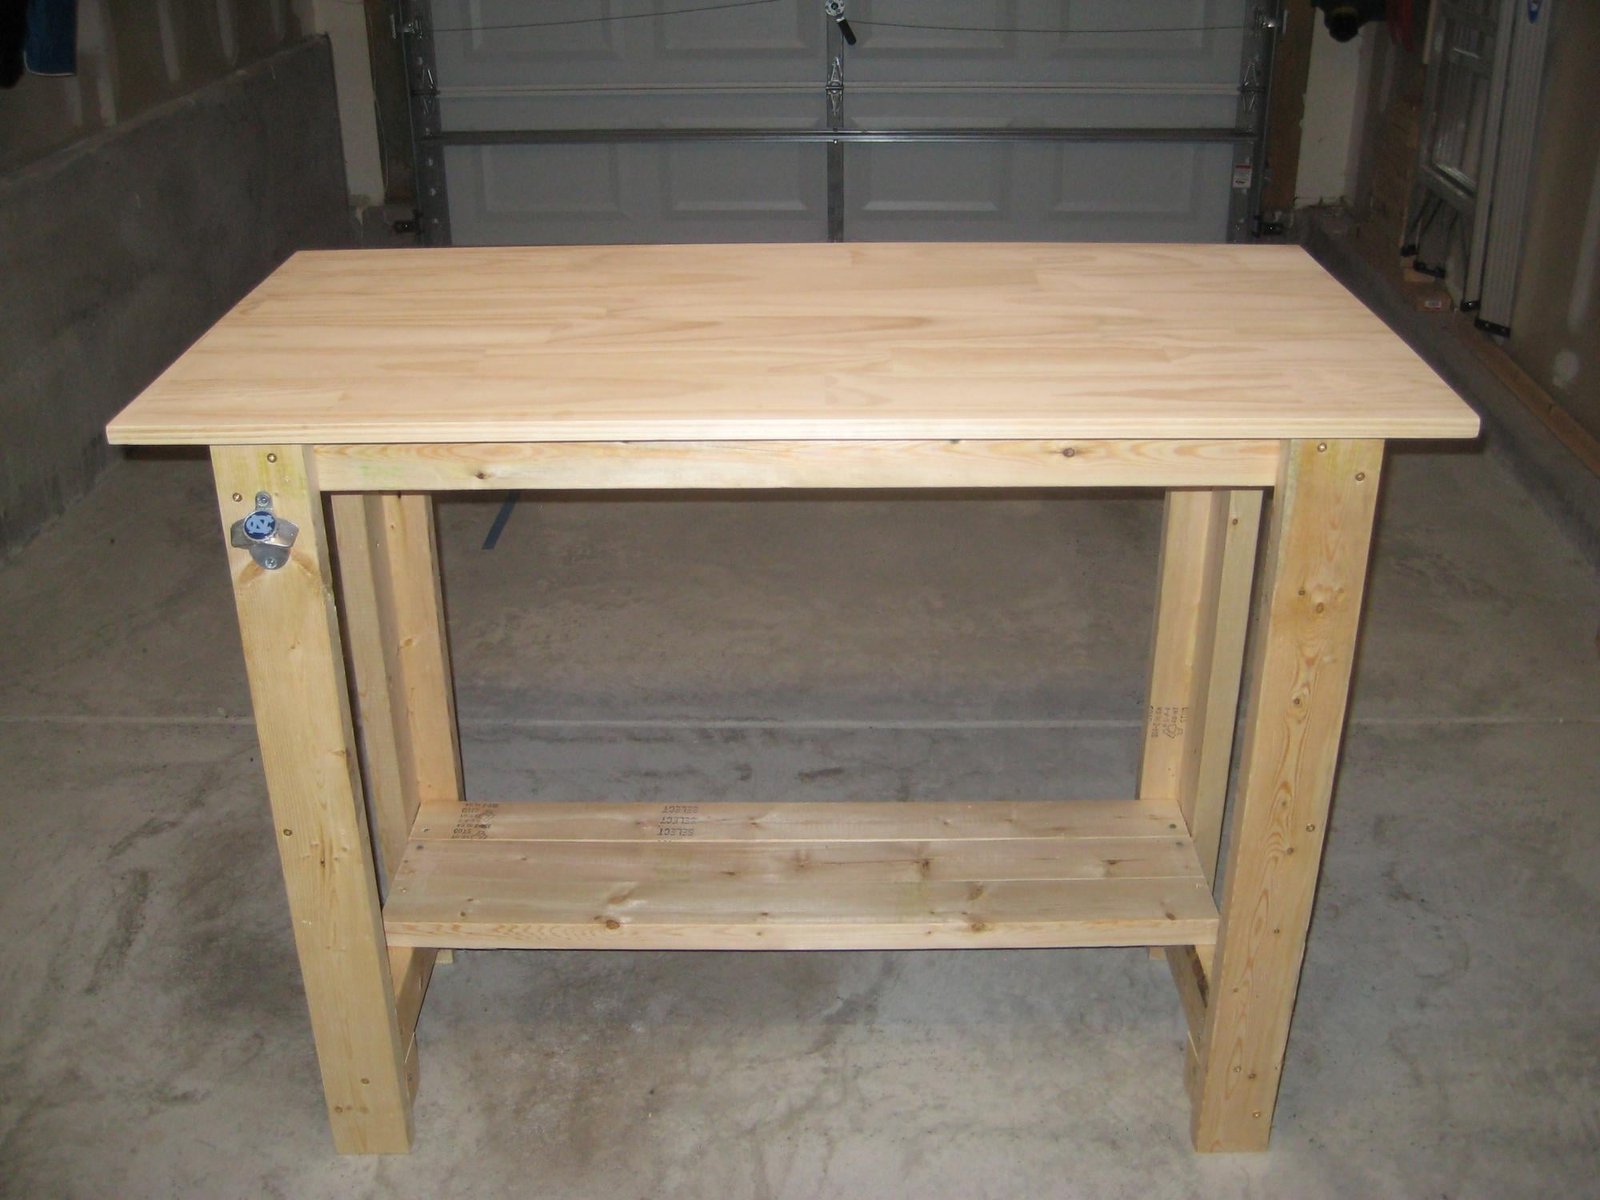
Specifications
| Project type | Workbench Plans |
|---|---|
| Room | Garage and Workshop |
| Style | Primitive or Early American Style Furniture Plans |
| Difficulty | Starter Projects |
| Estimated cost | $20 - $50 |
Dimensions
Use the size-specific shopping and cut lists below.
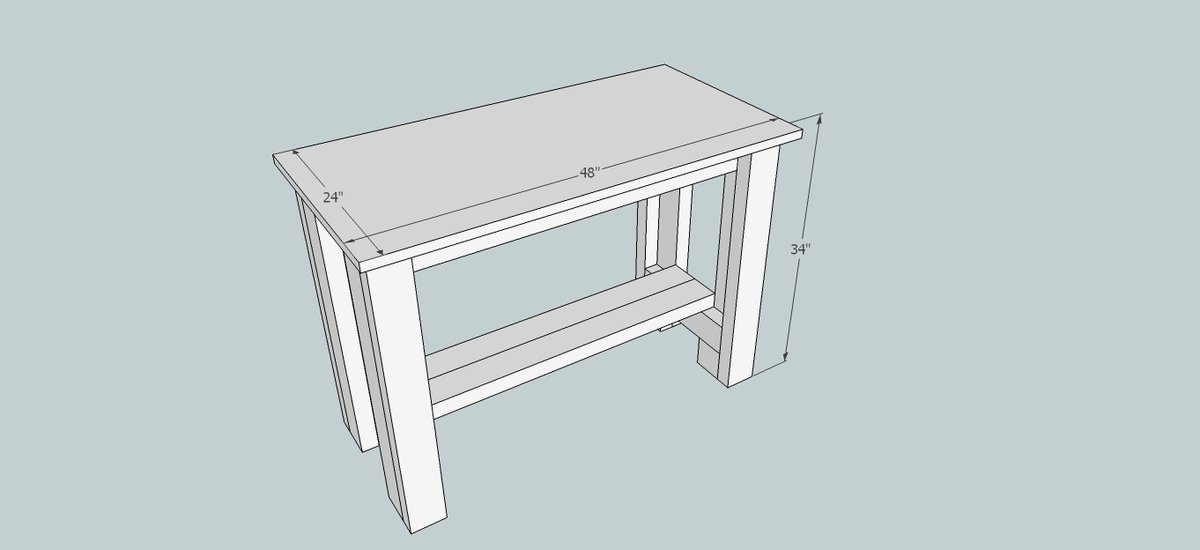
Shopping List
9 - 2"x4"x8' (about $2 a stick)
1 - 24"x48"x1" laminated pine board from the Home Depot (about $20)
Cut List
8 - 2x4 @ 33"
4 - 2x4 @ 3"
2 - 2x4 @ 16
4 - 2x4 @ 40
4 - 2x4 @ 12
Tools
- measuring tape
- pencil
- drill
- circular saw
- countersink drill bit
Step-by-step Instructions
Step 1
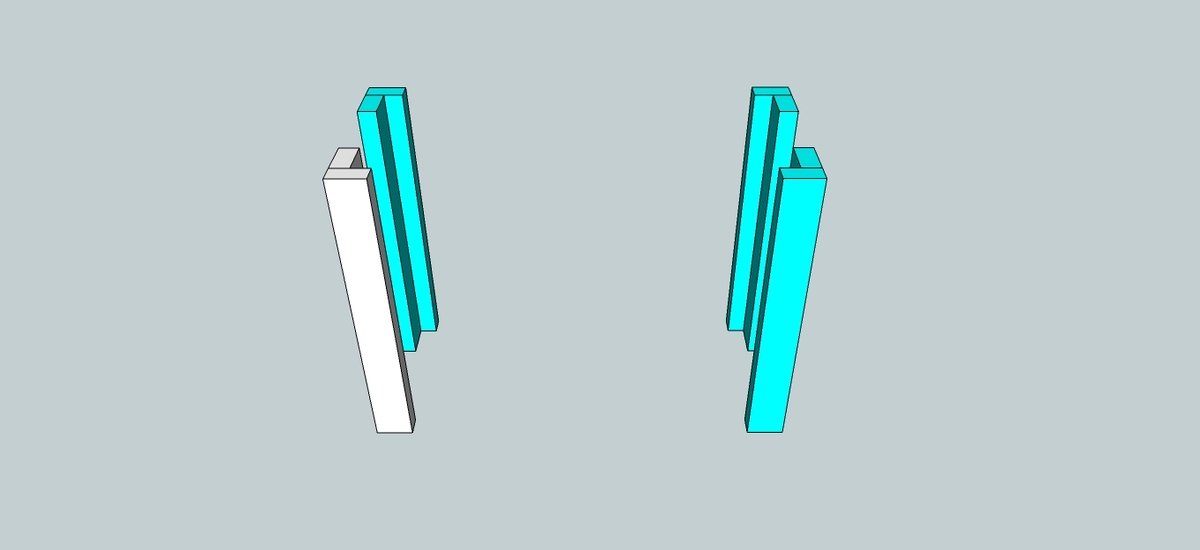
First, cut two 2x4s to length (I picked 33 inches). Fasten them together at a ninety-degree angle (I used three equally spaced 2.5 inch construction screws).

Step 2
Lather, rinse, repeat: you need three more legs to build the bench.
Step 3
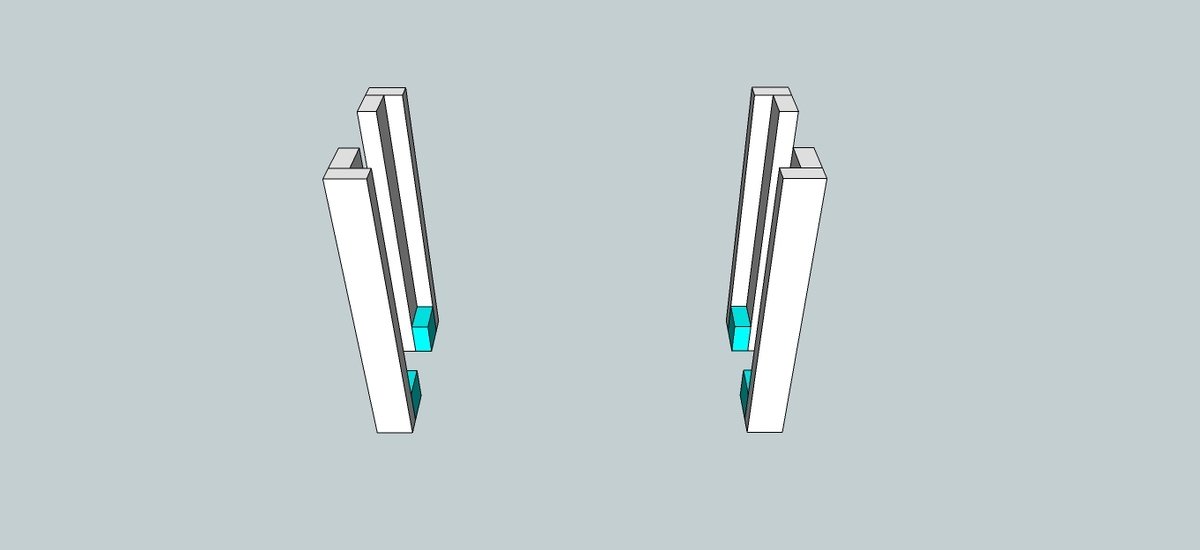
Next, cut a 2x4 into four sections, each three inches in length. Secure them to the bottoms of the legs using two construction fasteners to keep them in place. If you'd like, you can skip this step. I find, though, that adding cleats to the bottom of the legs is helpful for three reasons: (1) because it's easy to make sure every cleat is the same size, it makes leveling the stretchers easy; (2) they support the stretchers better than screws would by themselves, and (3) they add surface area to the feet of the legs, which makes the whole project sturdier.
Step 4
Now it's time to add shelf supports. The length of your shelf supports will determine the width of your project, so consider how long you want them to be. I knew that I would be using a 24"x48" top, and wanted a two-inch overhang on the front and back so, subtracting four inches for the legs, I cut my shelf supports to 16-inches each.
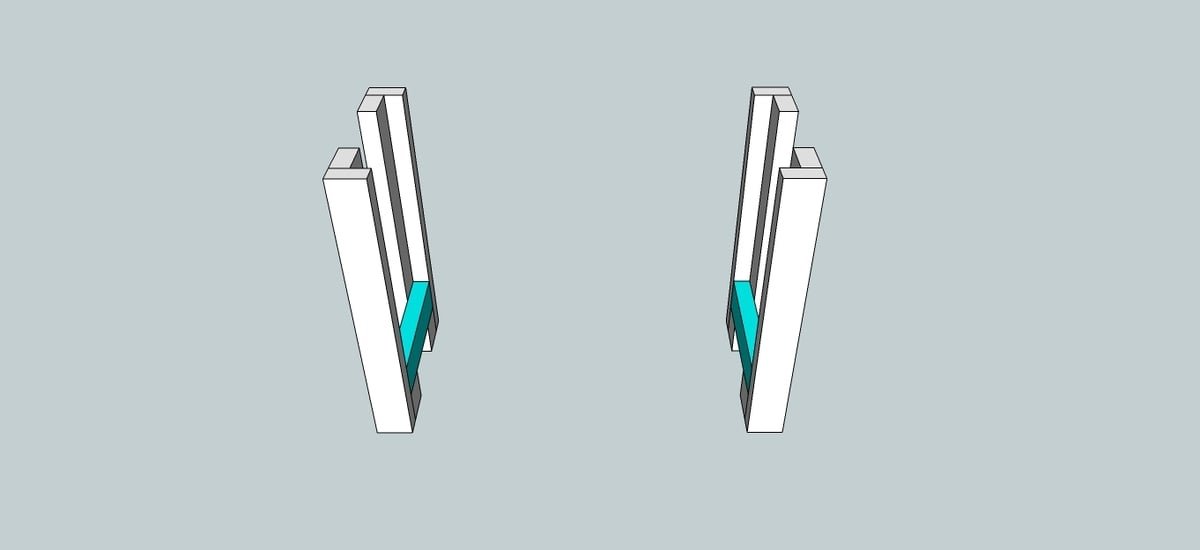
Step 5
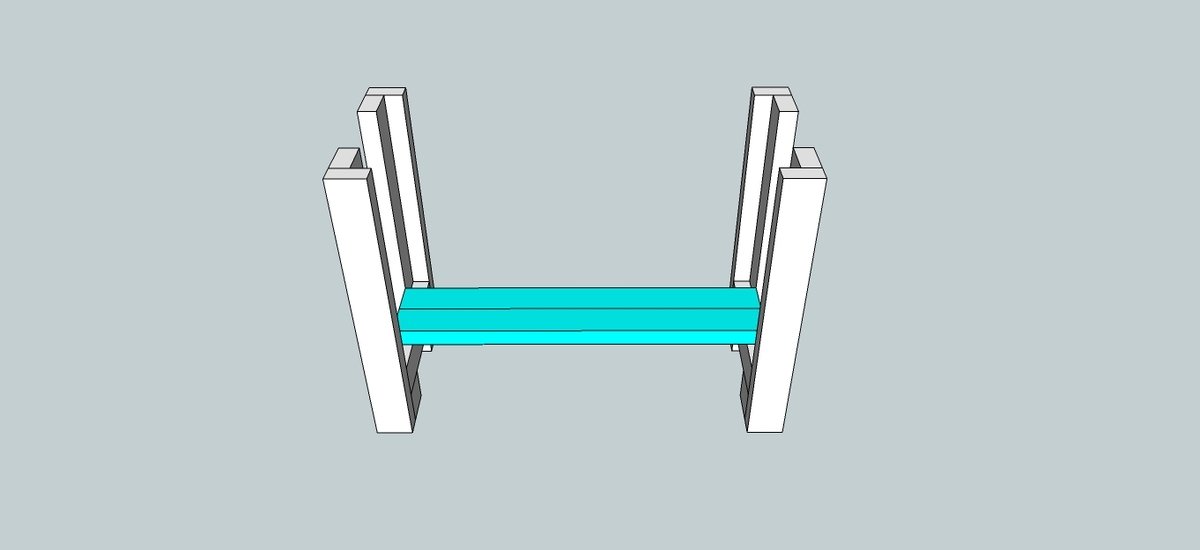
Step 6
Next, cut stretchers to the same length as you chose for the shelves, and fasten them to the top of the legs.
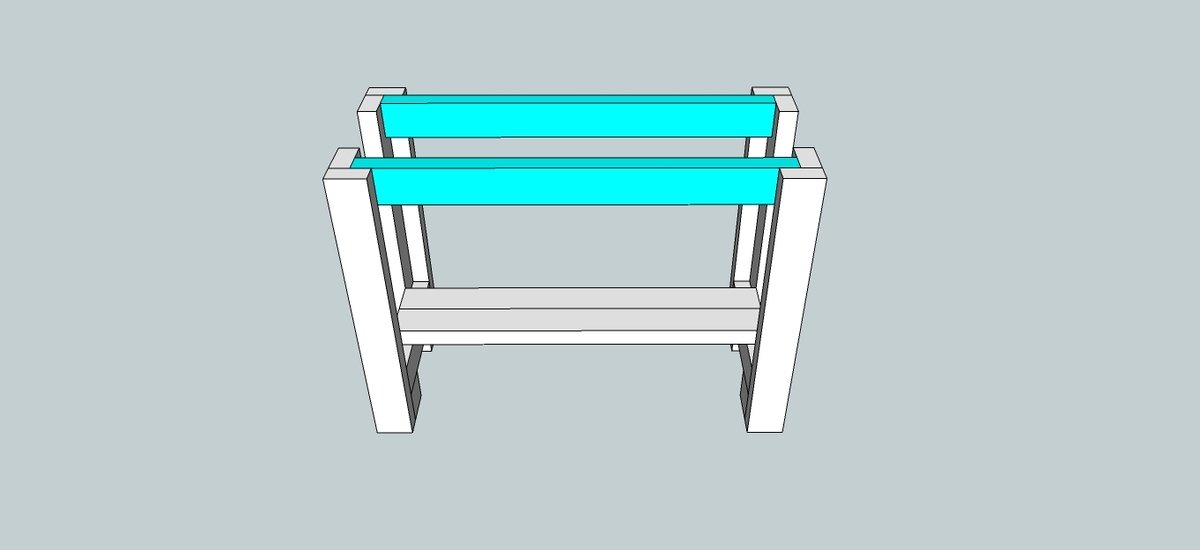
Step 7
Now add supports for the top. These should be four inches shorter than the shelf supports you originally cut so, in my case, 12 inches each. I've found, thus far, that four were sufficient to keep my pretty flimsy top secure but, depending on the material you use, you might prefer more (or less). Space them evenly, and secure with two screws..
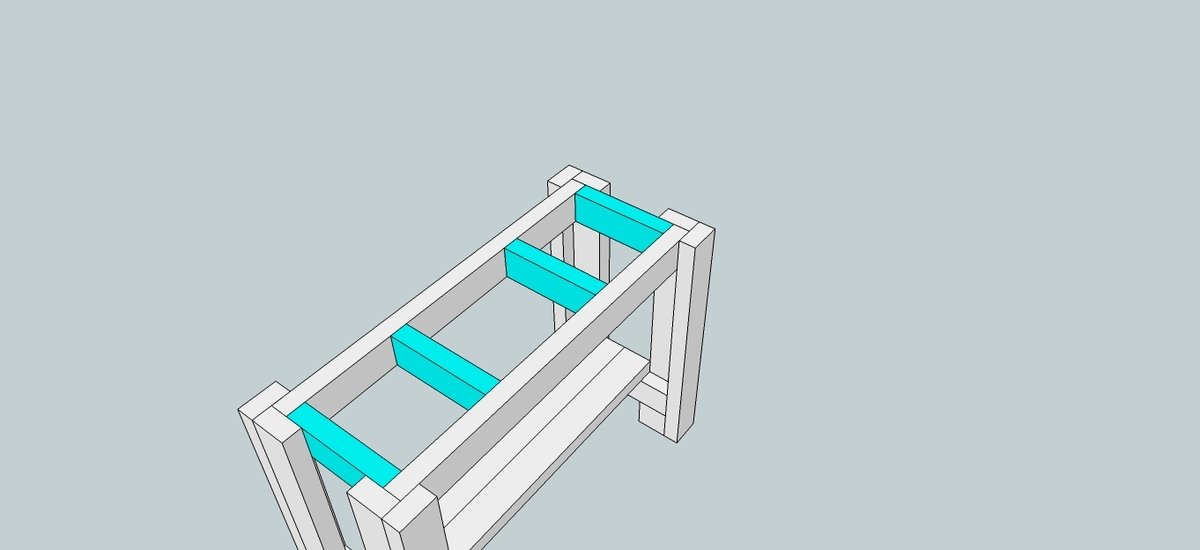
Step 8
I added a 24"x48" top made out of laminated pine 1x2s from the Home Depot. They're cheap and, after I varnished it, reasonably hard. I was also in a bit of a hurry to get the project done, so speed and ease of construction were issues for me. I joined the top to the stretchers and supports with counter-sunk screws that I filled with wood-putty and sanded flush. If you'd prefer, you can build a top yourself, in any of a number of ways. I considered using 2x4s joined to one another, but was concerned that the grooves would trap nails and saw-dust. Another idea would be to stack three pieces of plywood on top of one another, cut to size. That would provide strength and durability that my flimsy one-inch top will ultimately lack.
Finishing
Sand all surfaces, starting with a medium grit and finishing with fine. Wipe off the dust, fill any holes or gaps with wood filler, and sand smooth once dry. Apply primer if you're painting, then finish with your choice of paint or stain and seal with a durable clear topcoat. For outdoor projects, use exterior-rated primer, paint or stain, and sealer so the piece stands up to the weather.
Source (temporary): https://www.ana-white.com/woodworking-projects/sturdy-work-bench