Tall Wood Photo Display
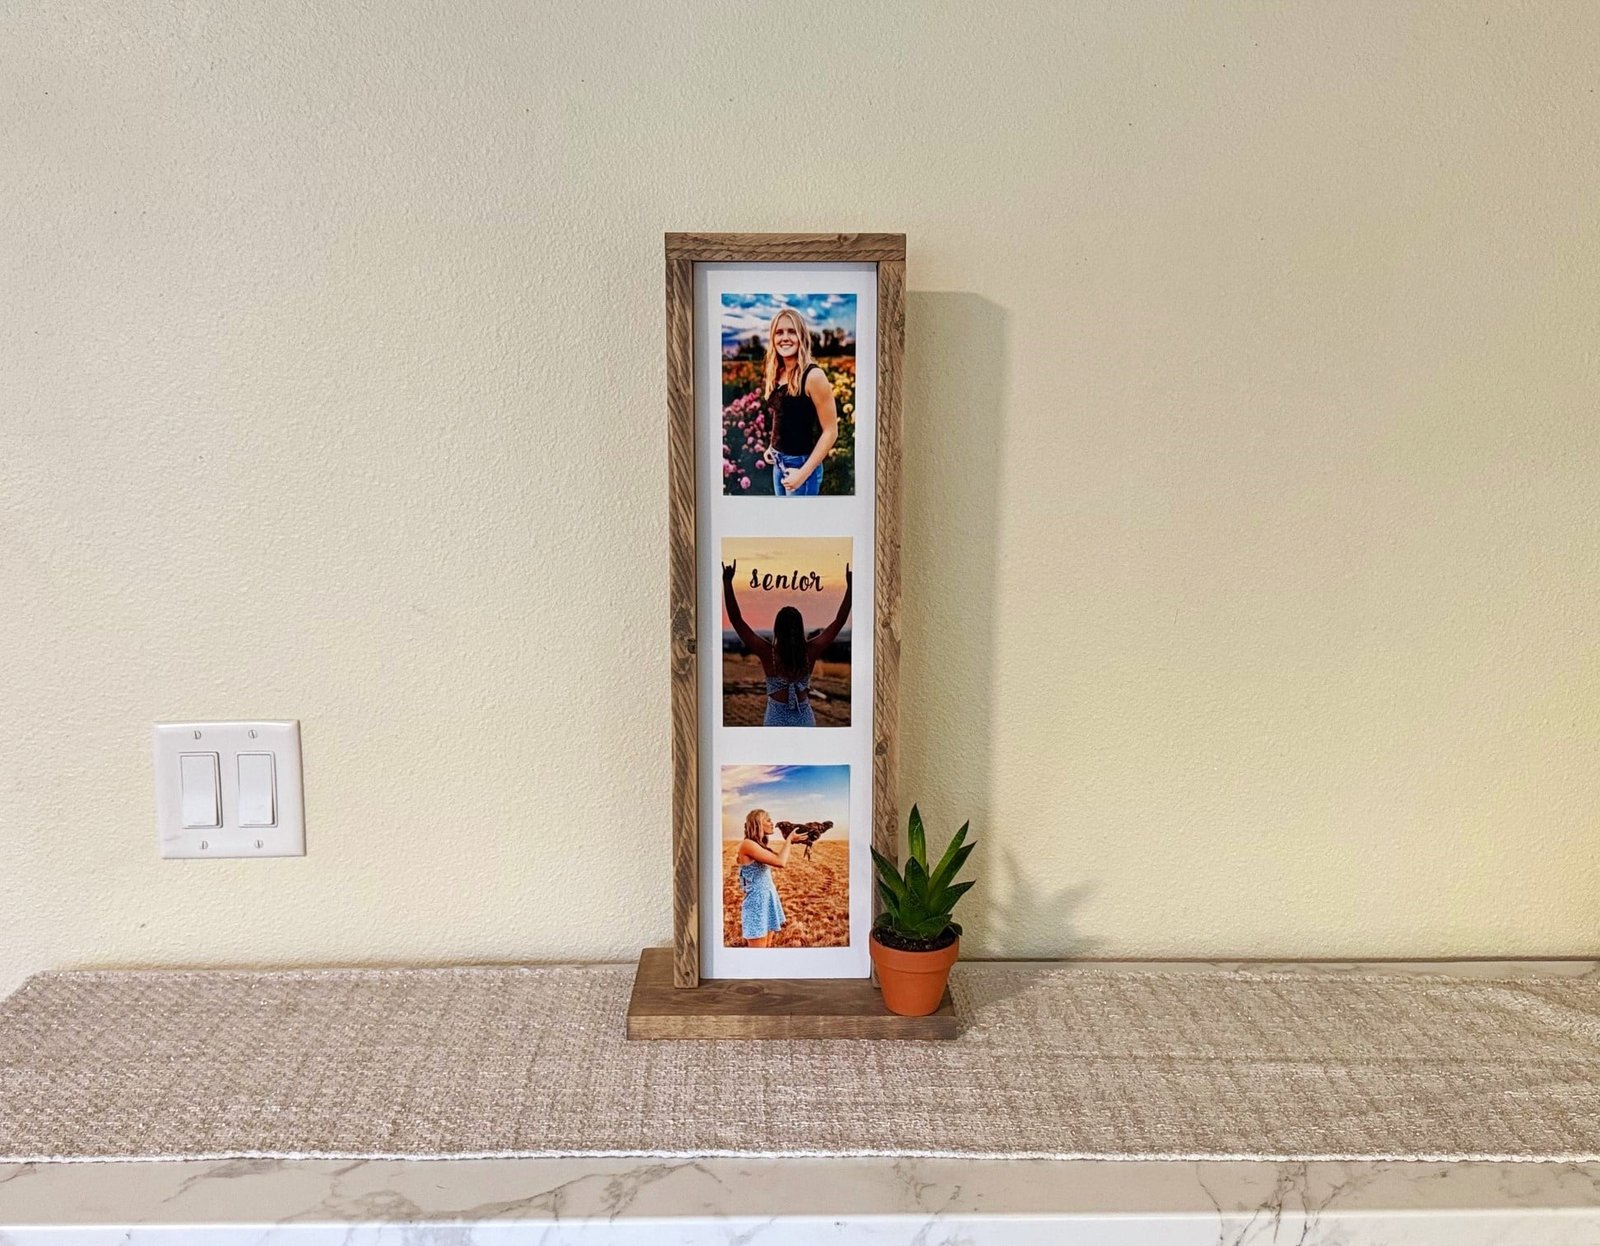
Tell the whole story with this tall wood photo display! Standing on it's own, displaying up to six 4x6 photos, this beautiful wood photo holder brings news heights to photo displays. This uses simple materials and easy techniques, so you can build this yourself in just an afternoon! Sure to be loved, this wood photo display makes a great gift or decor piece. Step by step plans include video tutorial, shopping list, cut list, detailed diagrams, and lots of photos - everything you need to build this yourself.
Specifications
| Project type | Home Decor |
|---|---|
| Room | Decor for Any Room |
| Style | Farmhouse Furniture |
| Difficulty | Starter Projects |
| Estimated cost | Under $20 |
Dimensions
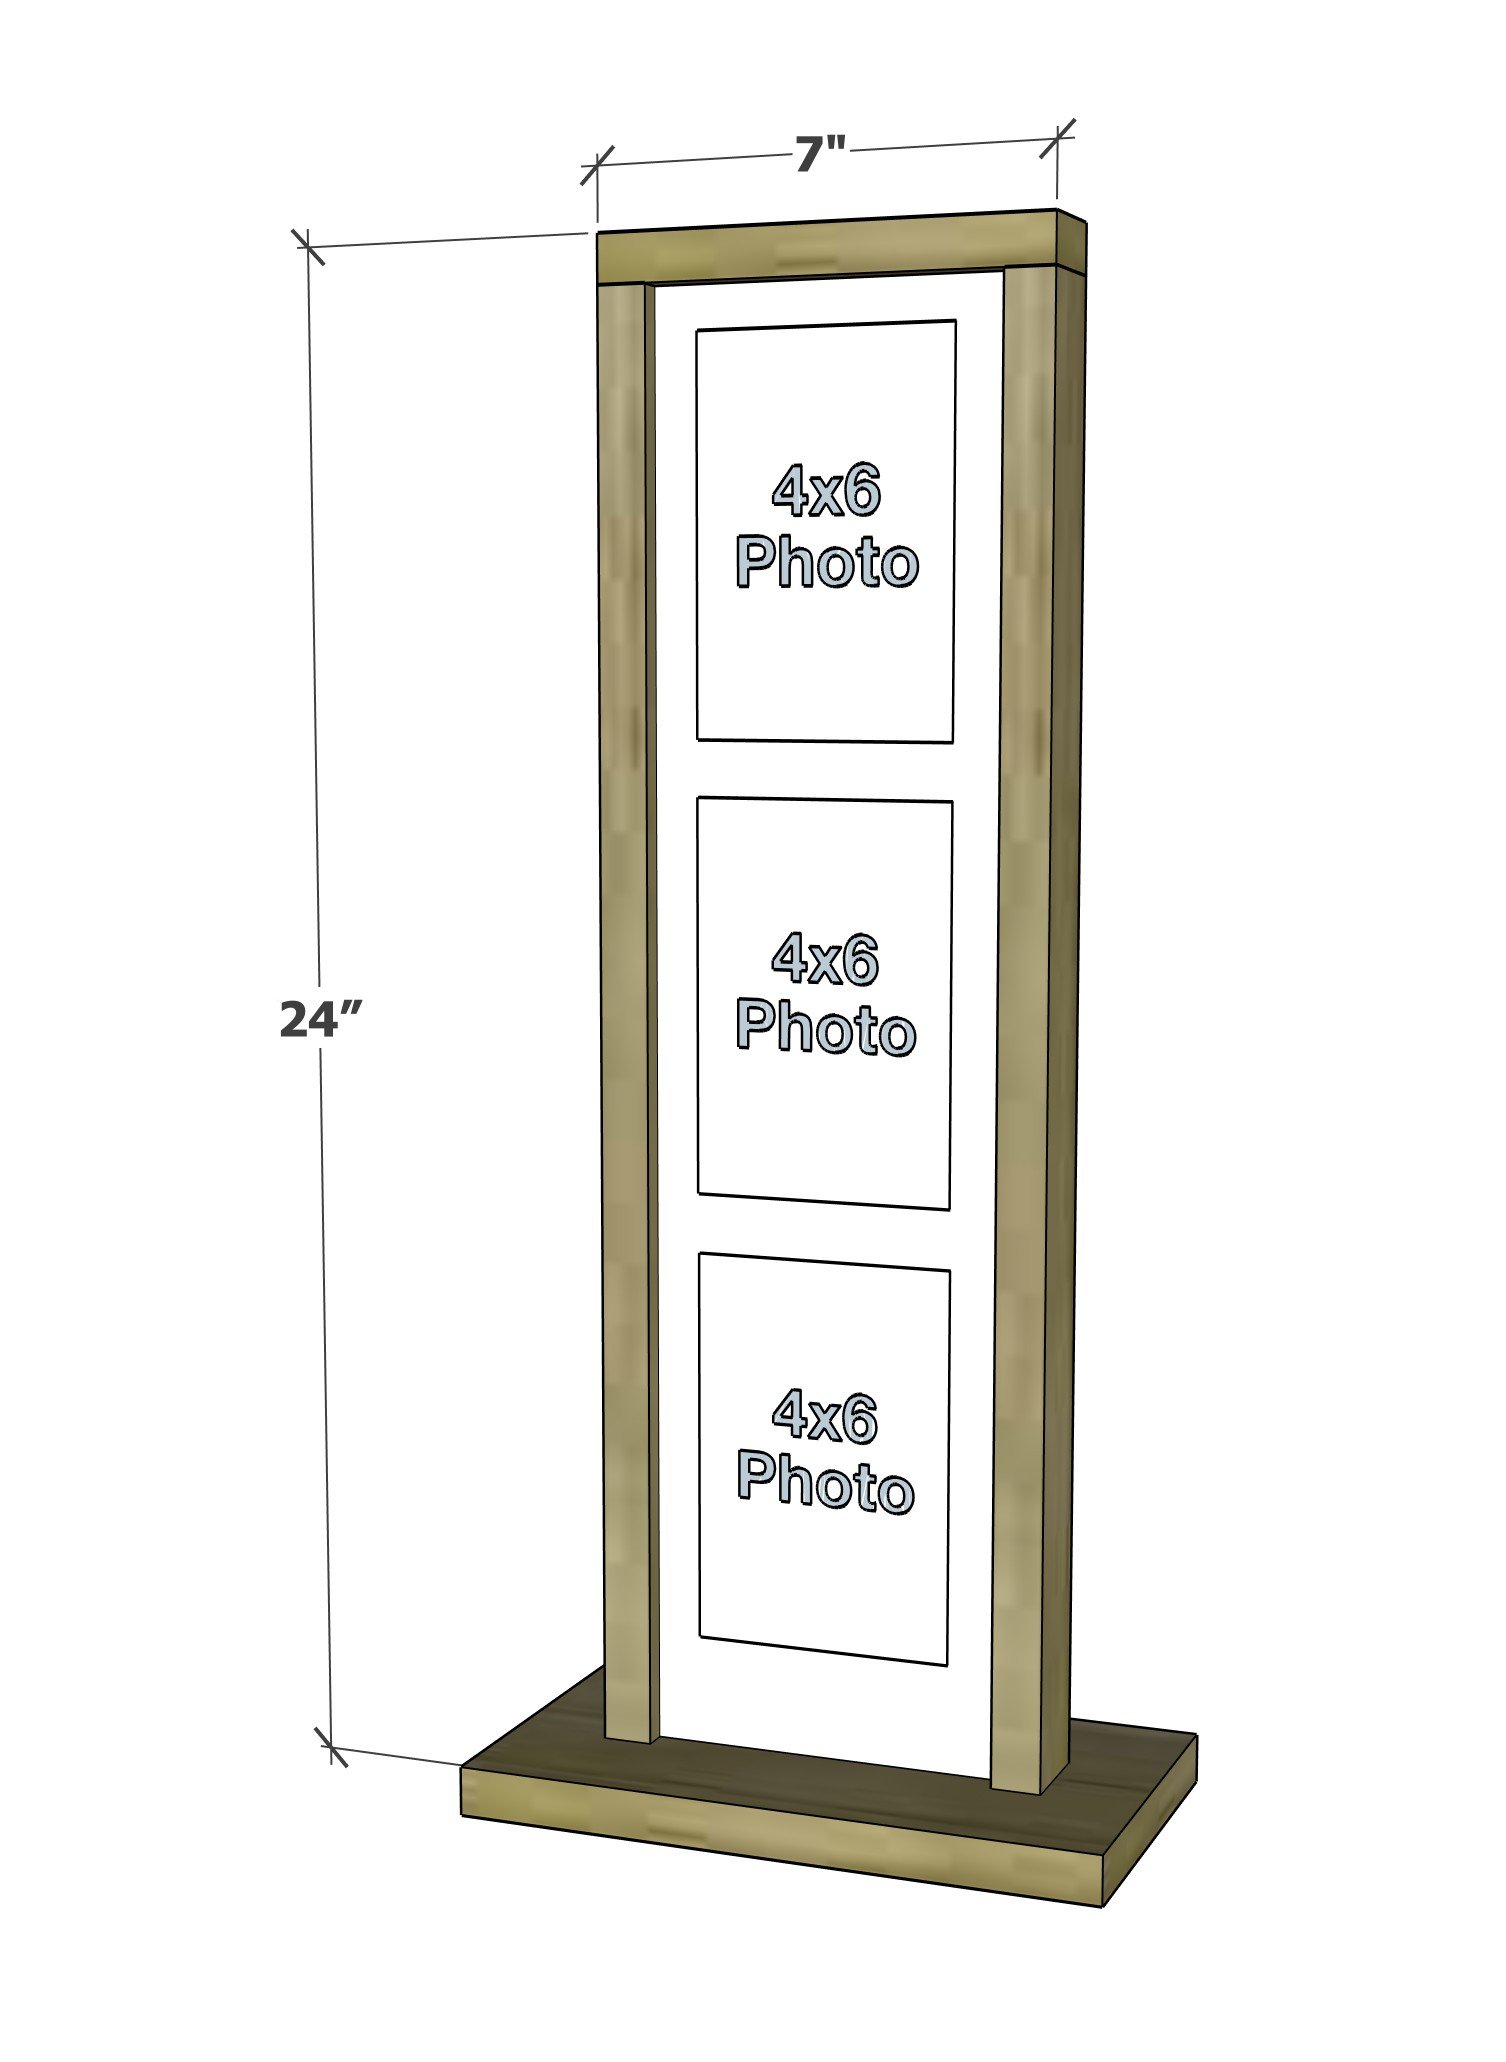
Use the size-specific shopping and cut lists below.
Shopping List
- 3 feet of 1x6 board
- 5 feet of 1x2 board
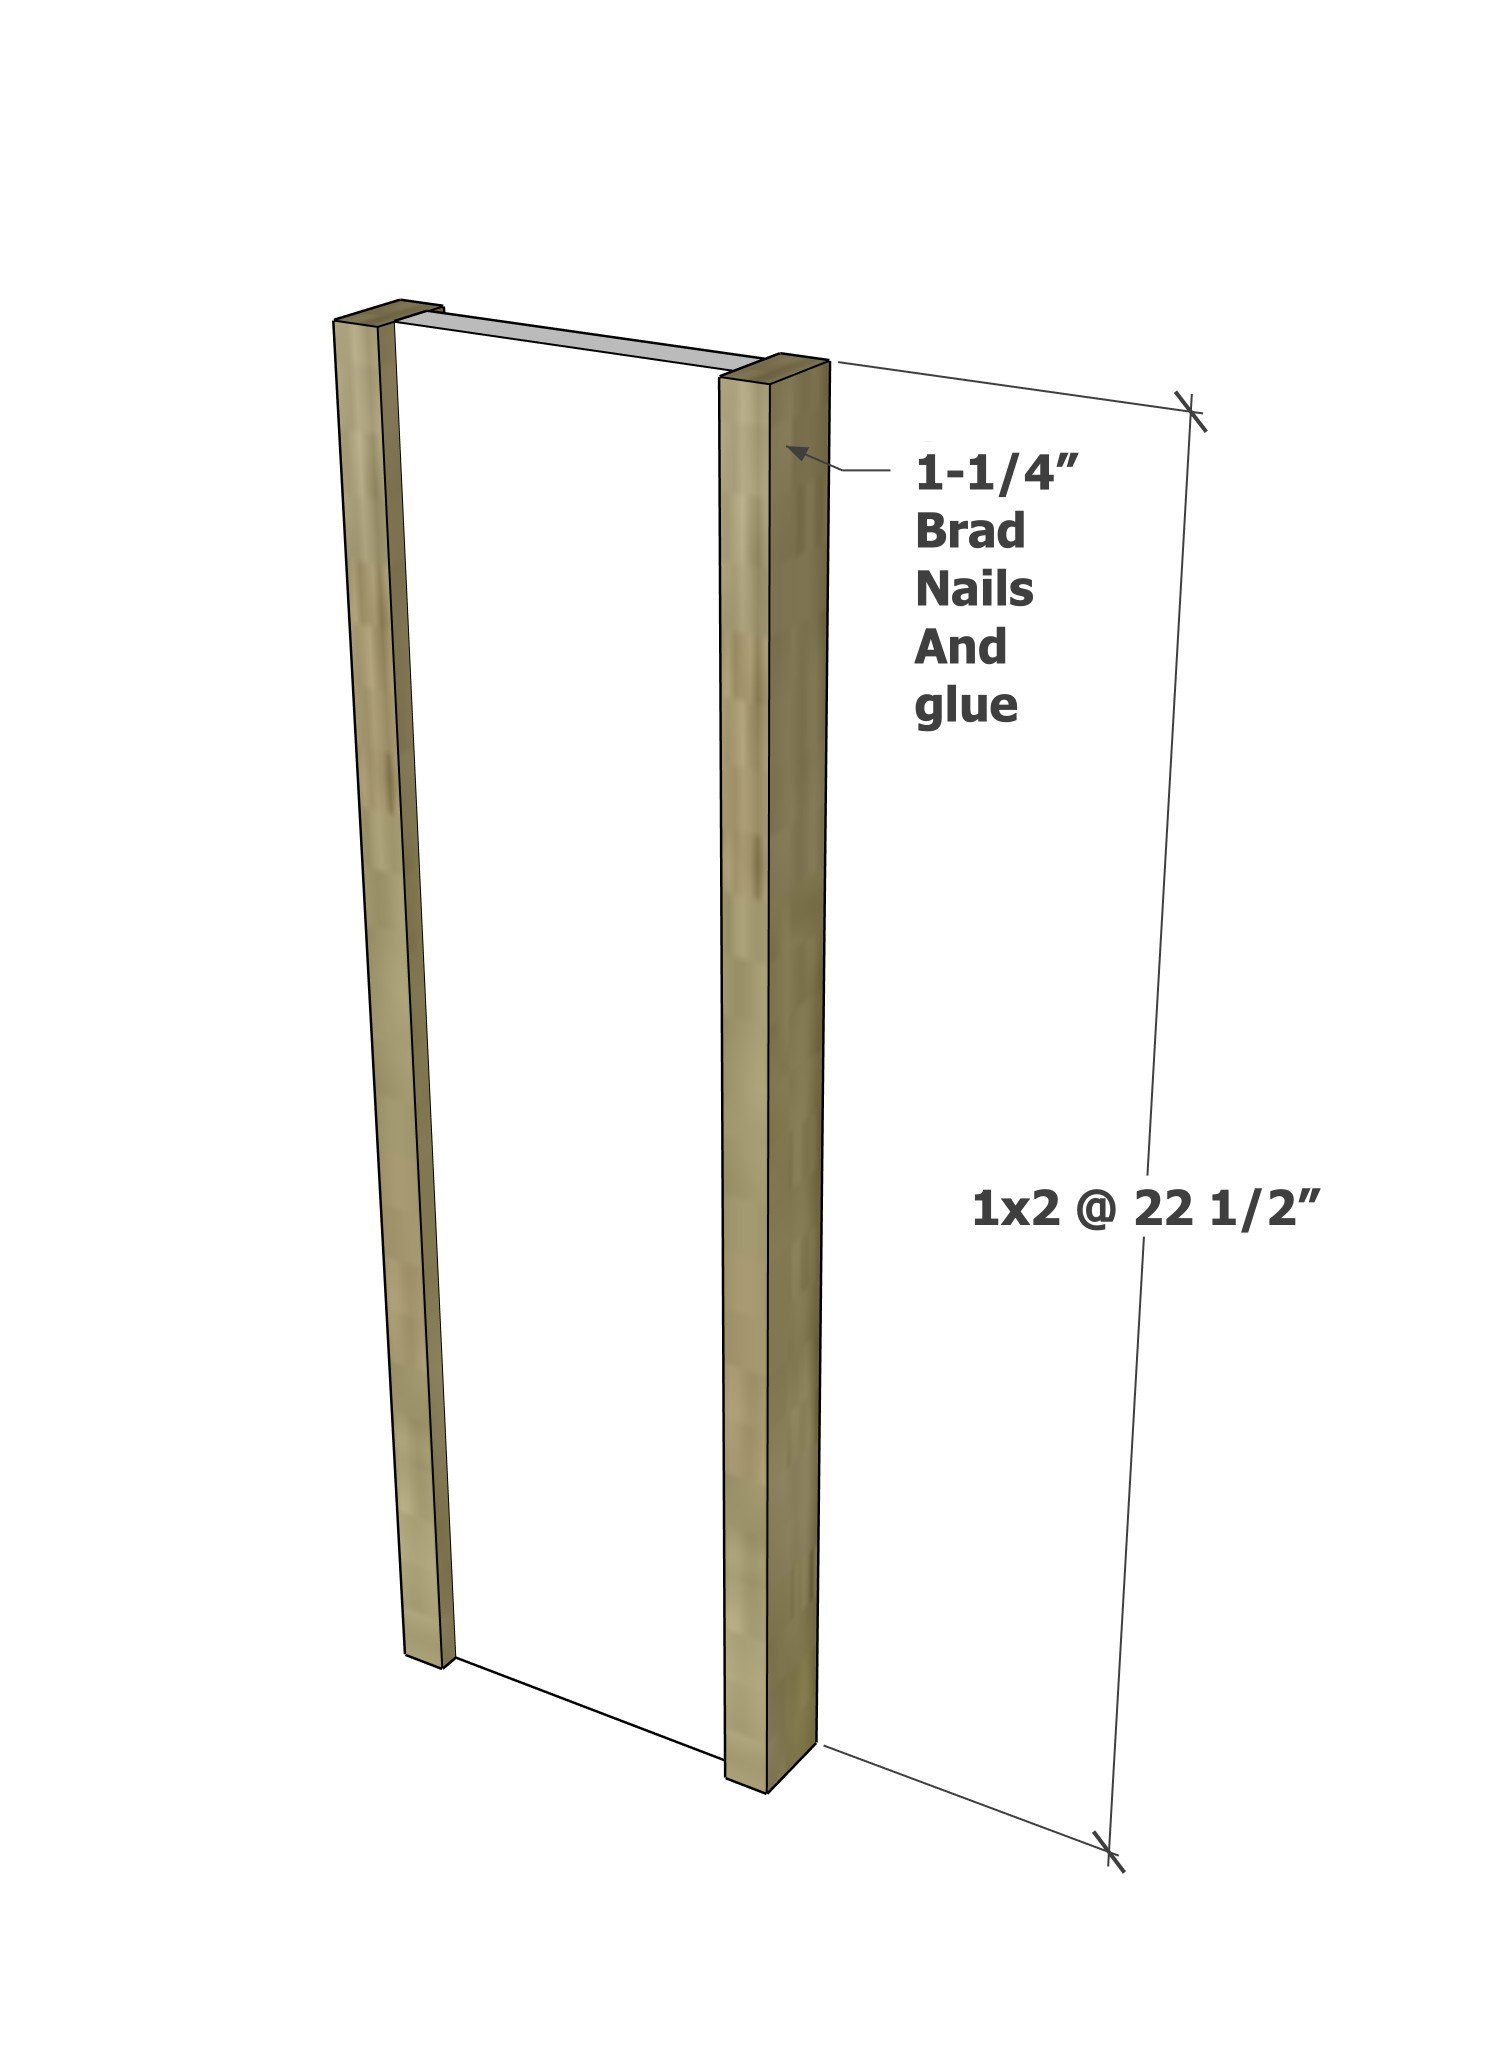
- 1-1/4" brad nails
- wood glue
- finishing supplies
Cut List
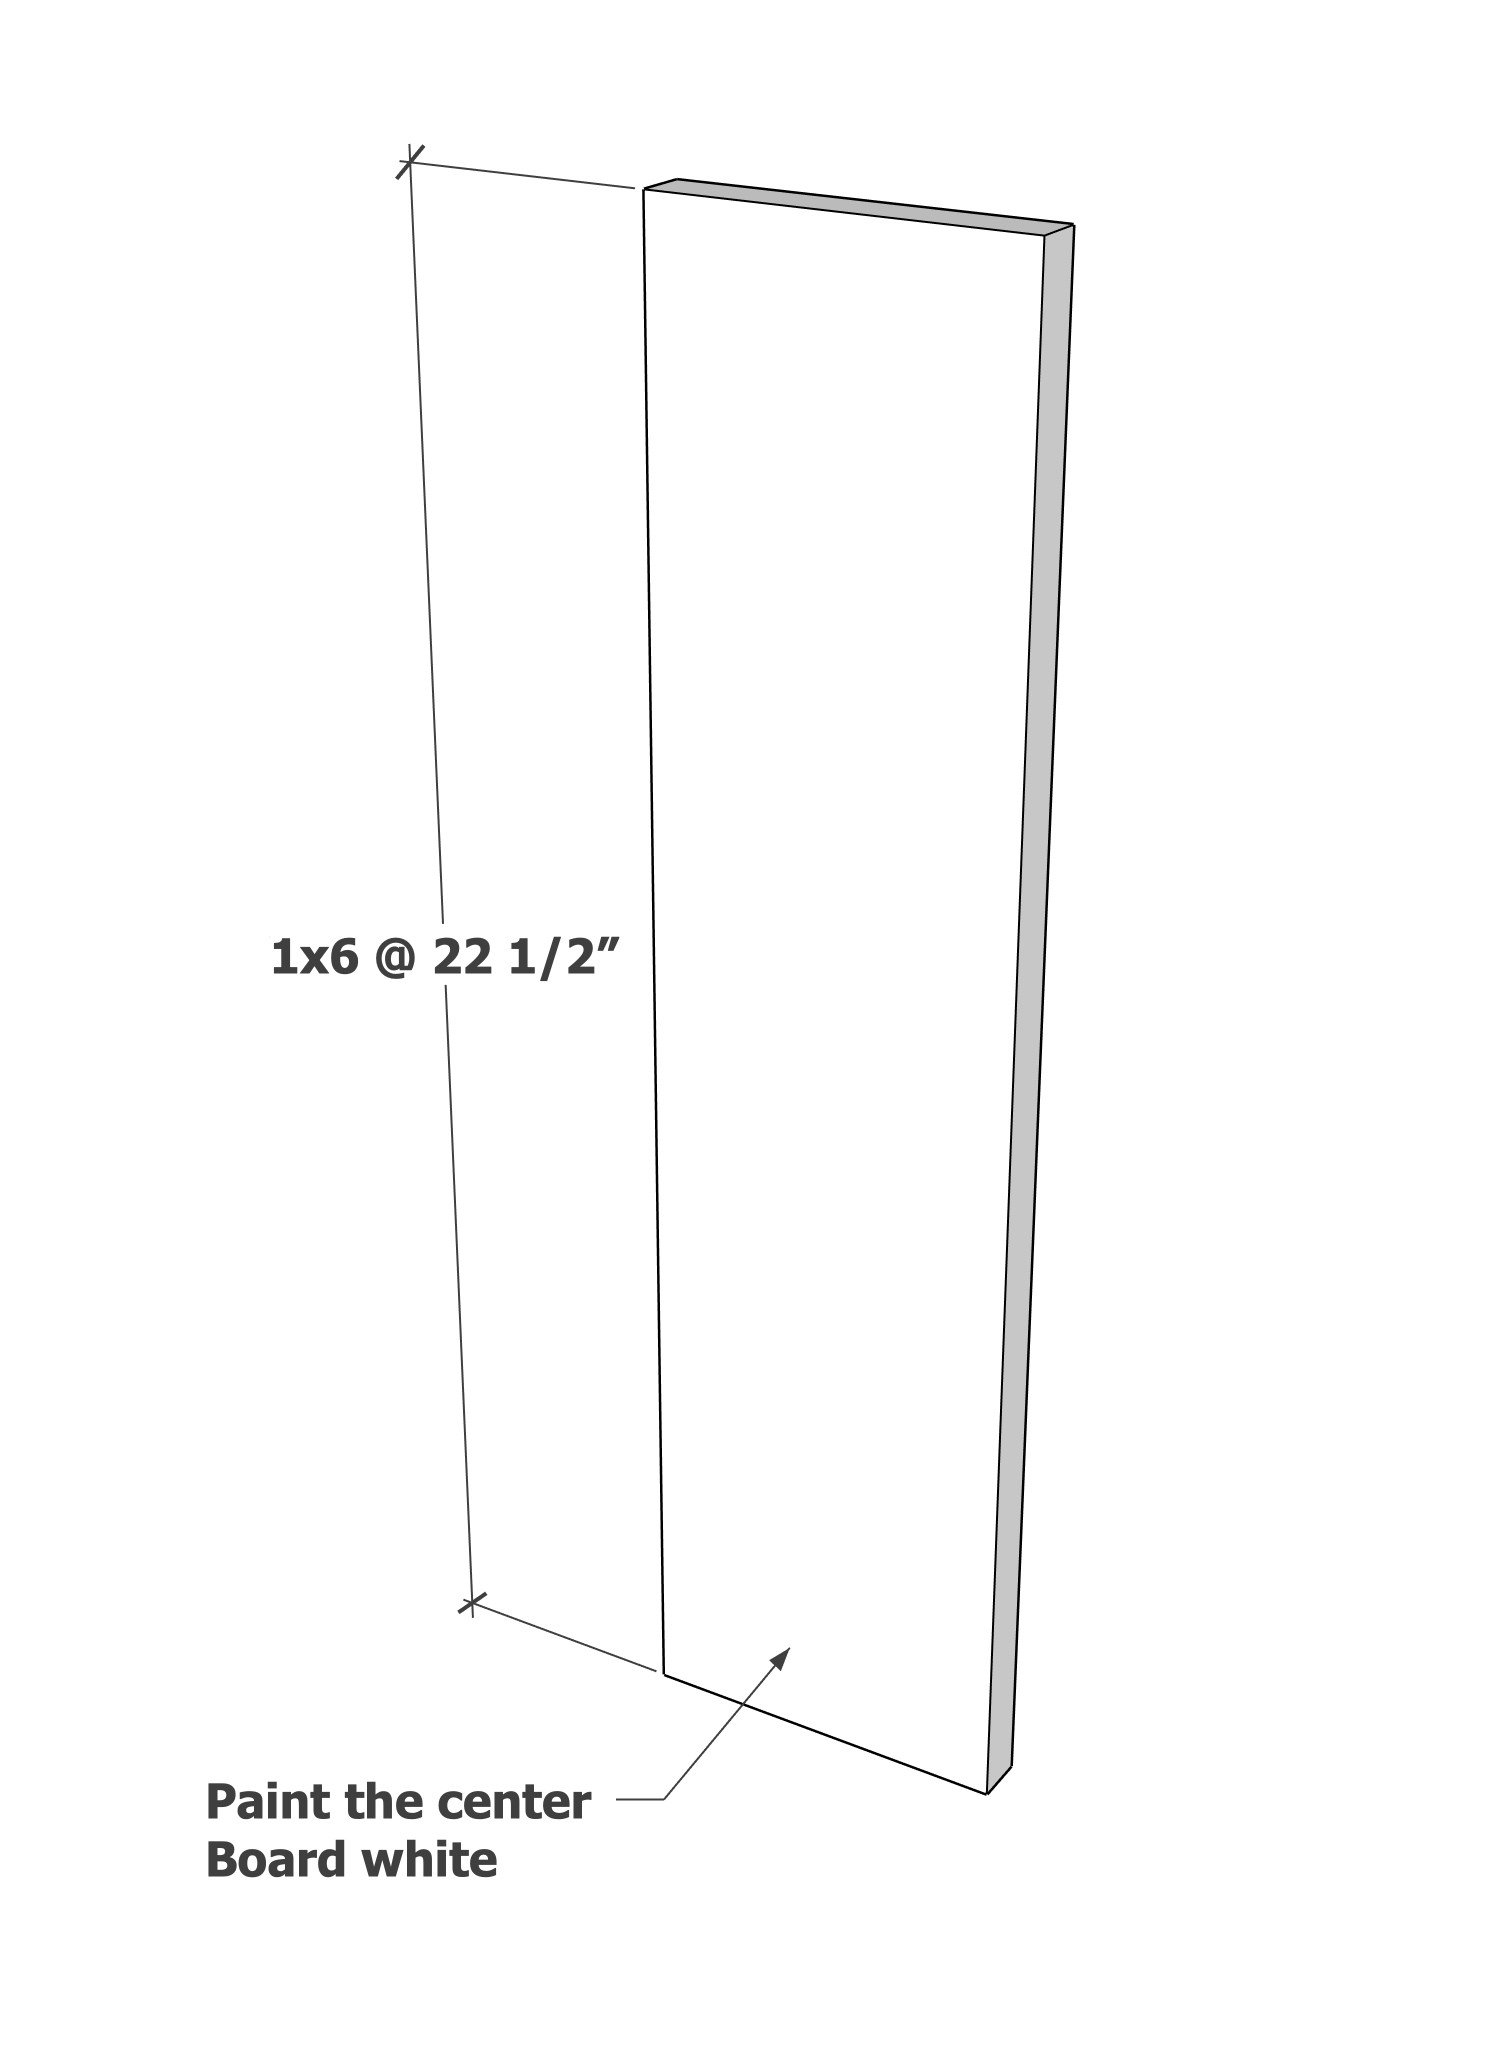
- 1 - 1x6 @ 22-1/2"
- 2 - 1x2 @ 22-1/2"
- 1 - 1x2 @ about 7" - measure and cut to fit
- 1 - 1x6 @ 10" - base
Tools
- measuring tape
- pencil
- safety glasses
- circular saw
- nailer
- sander
Step-by-step Instructions
Step 1
Step 2
Step 3
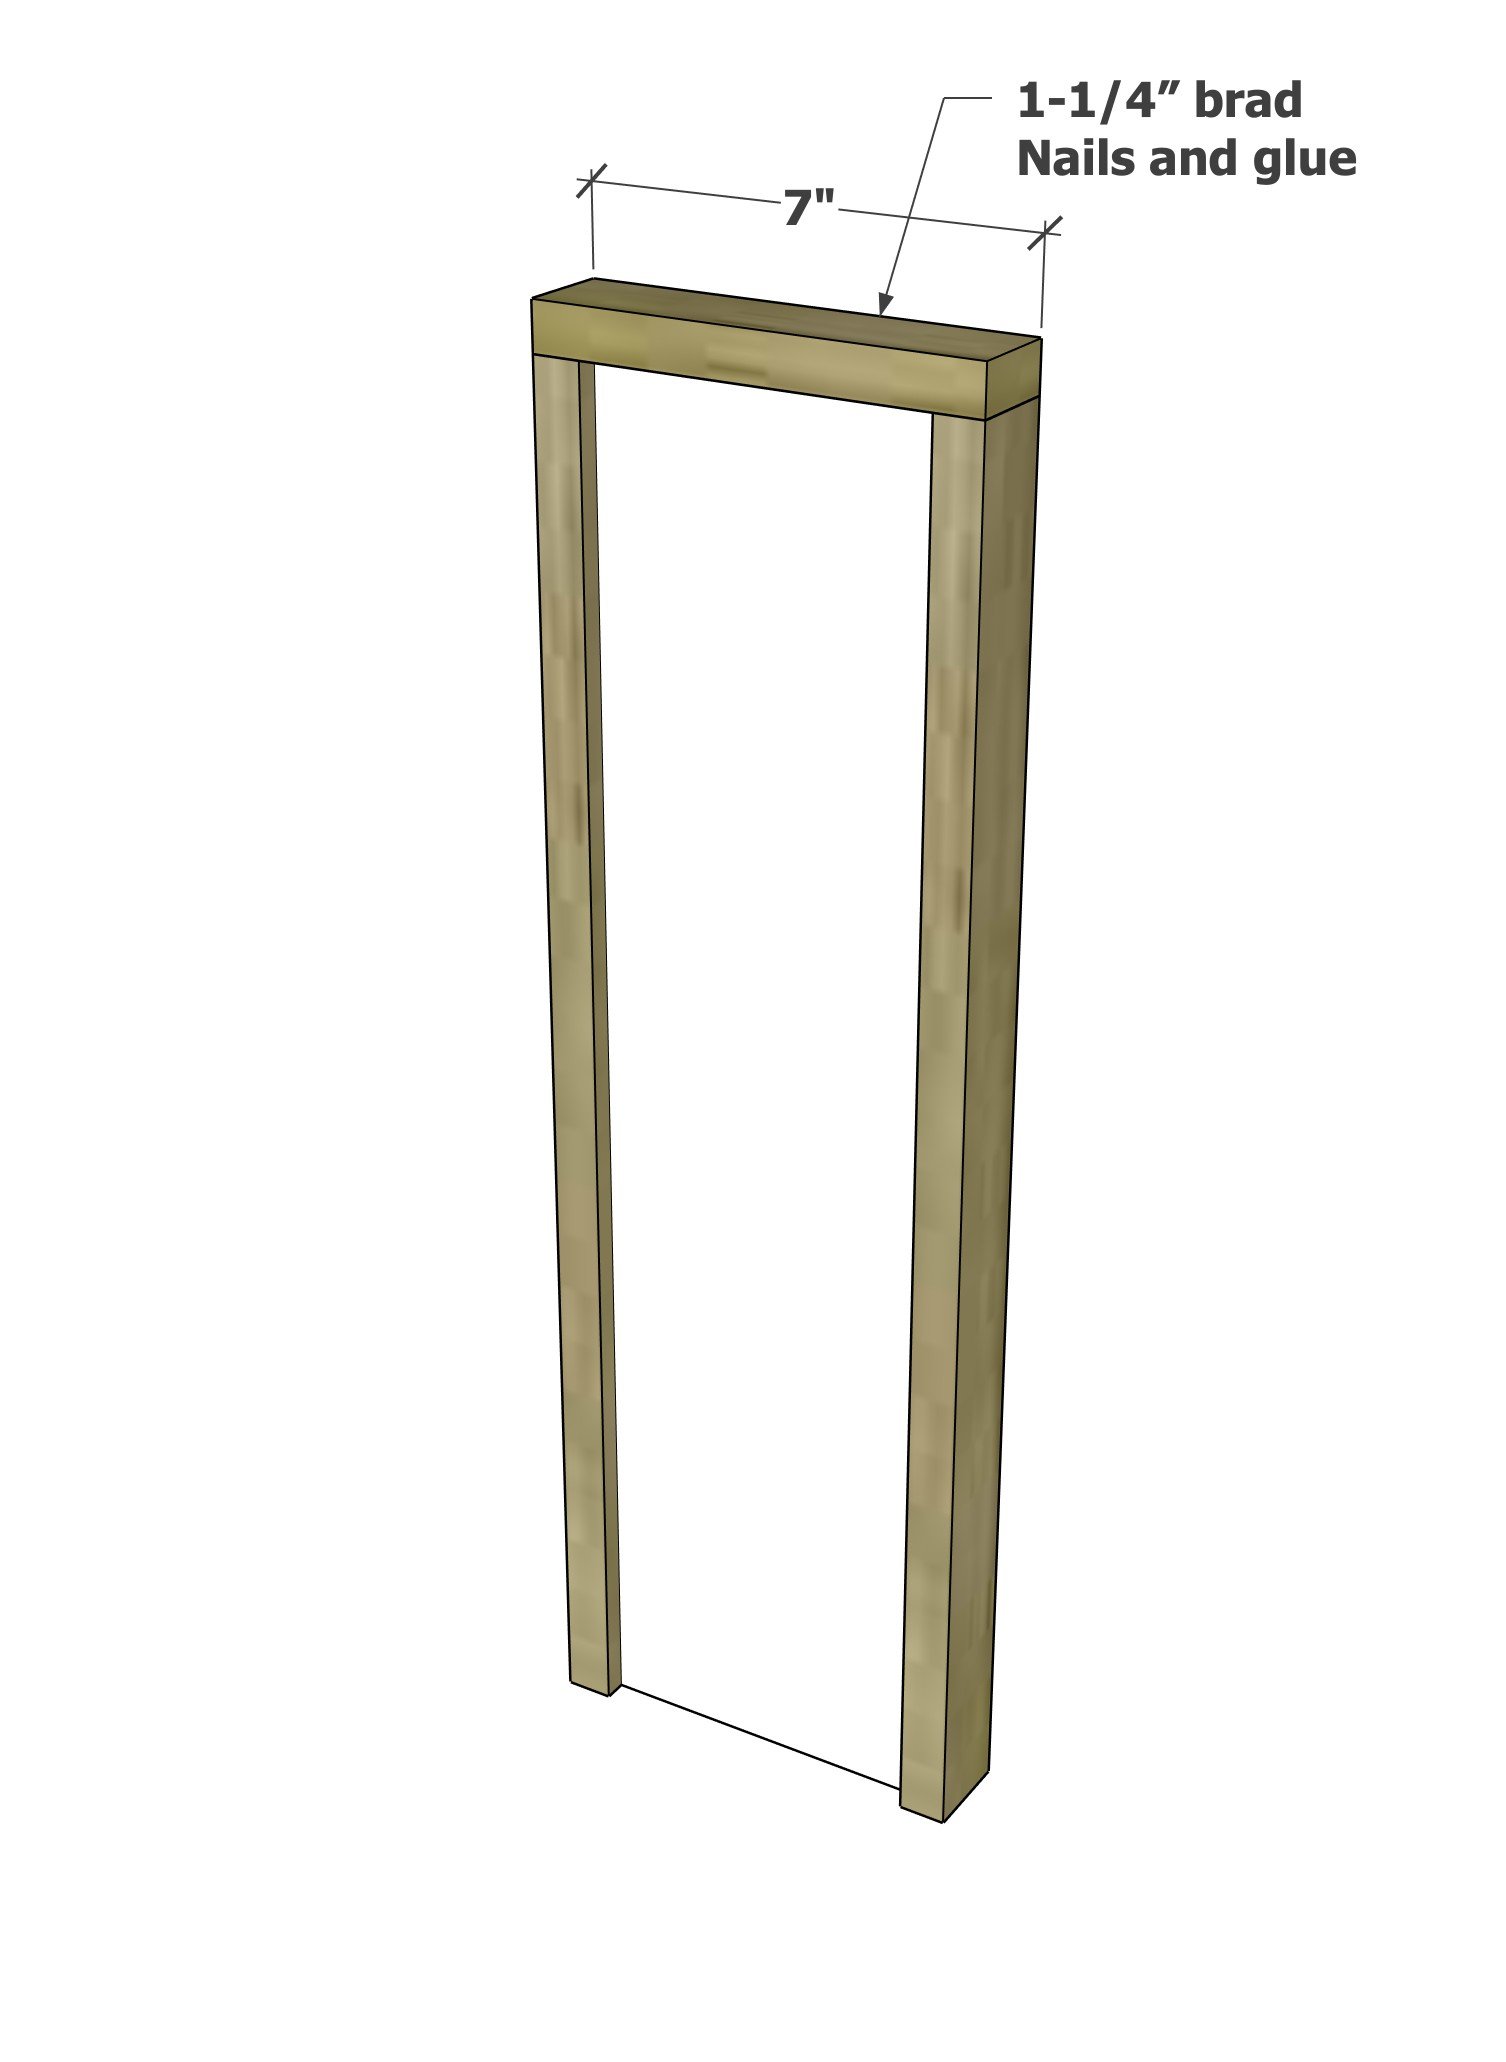
Step 4
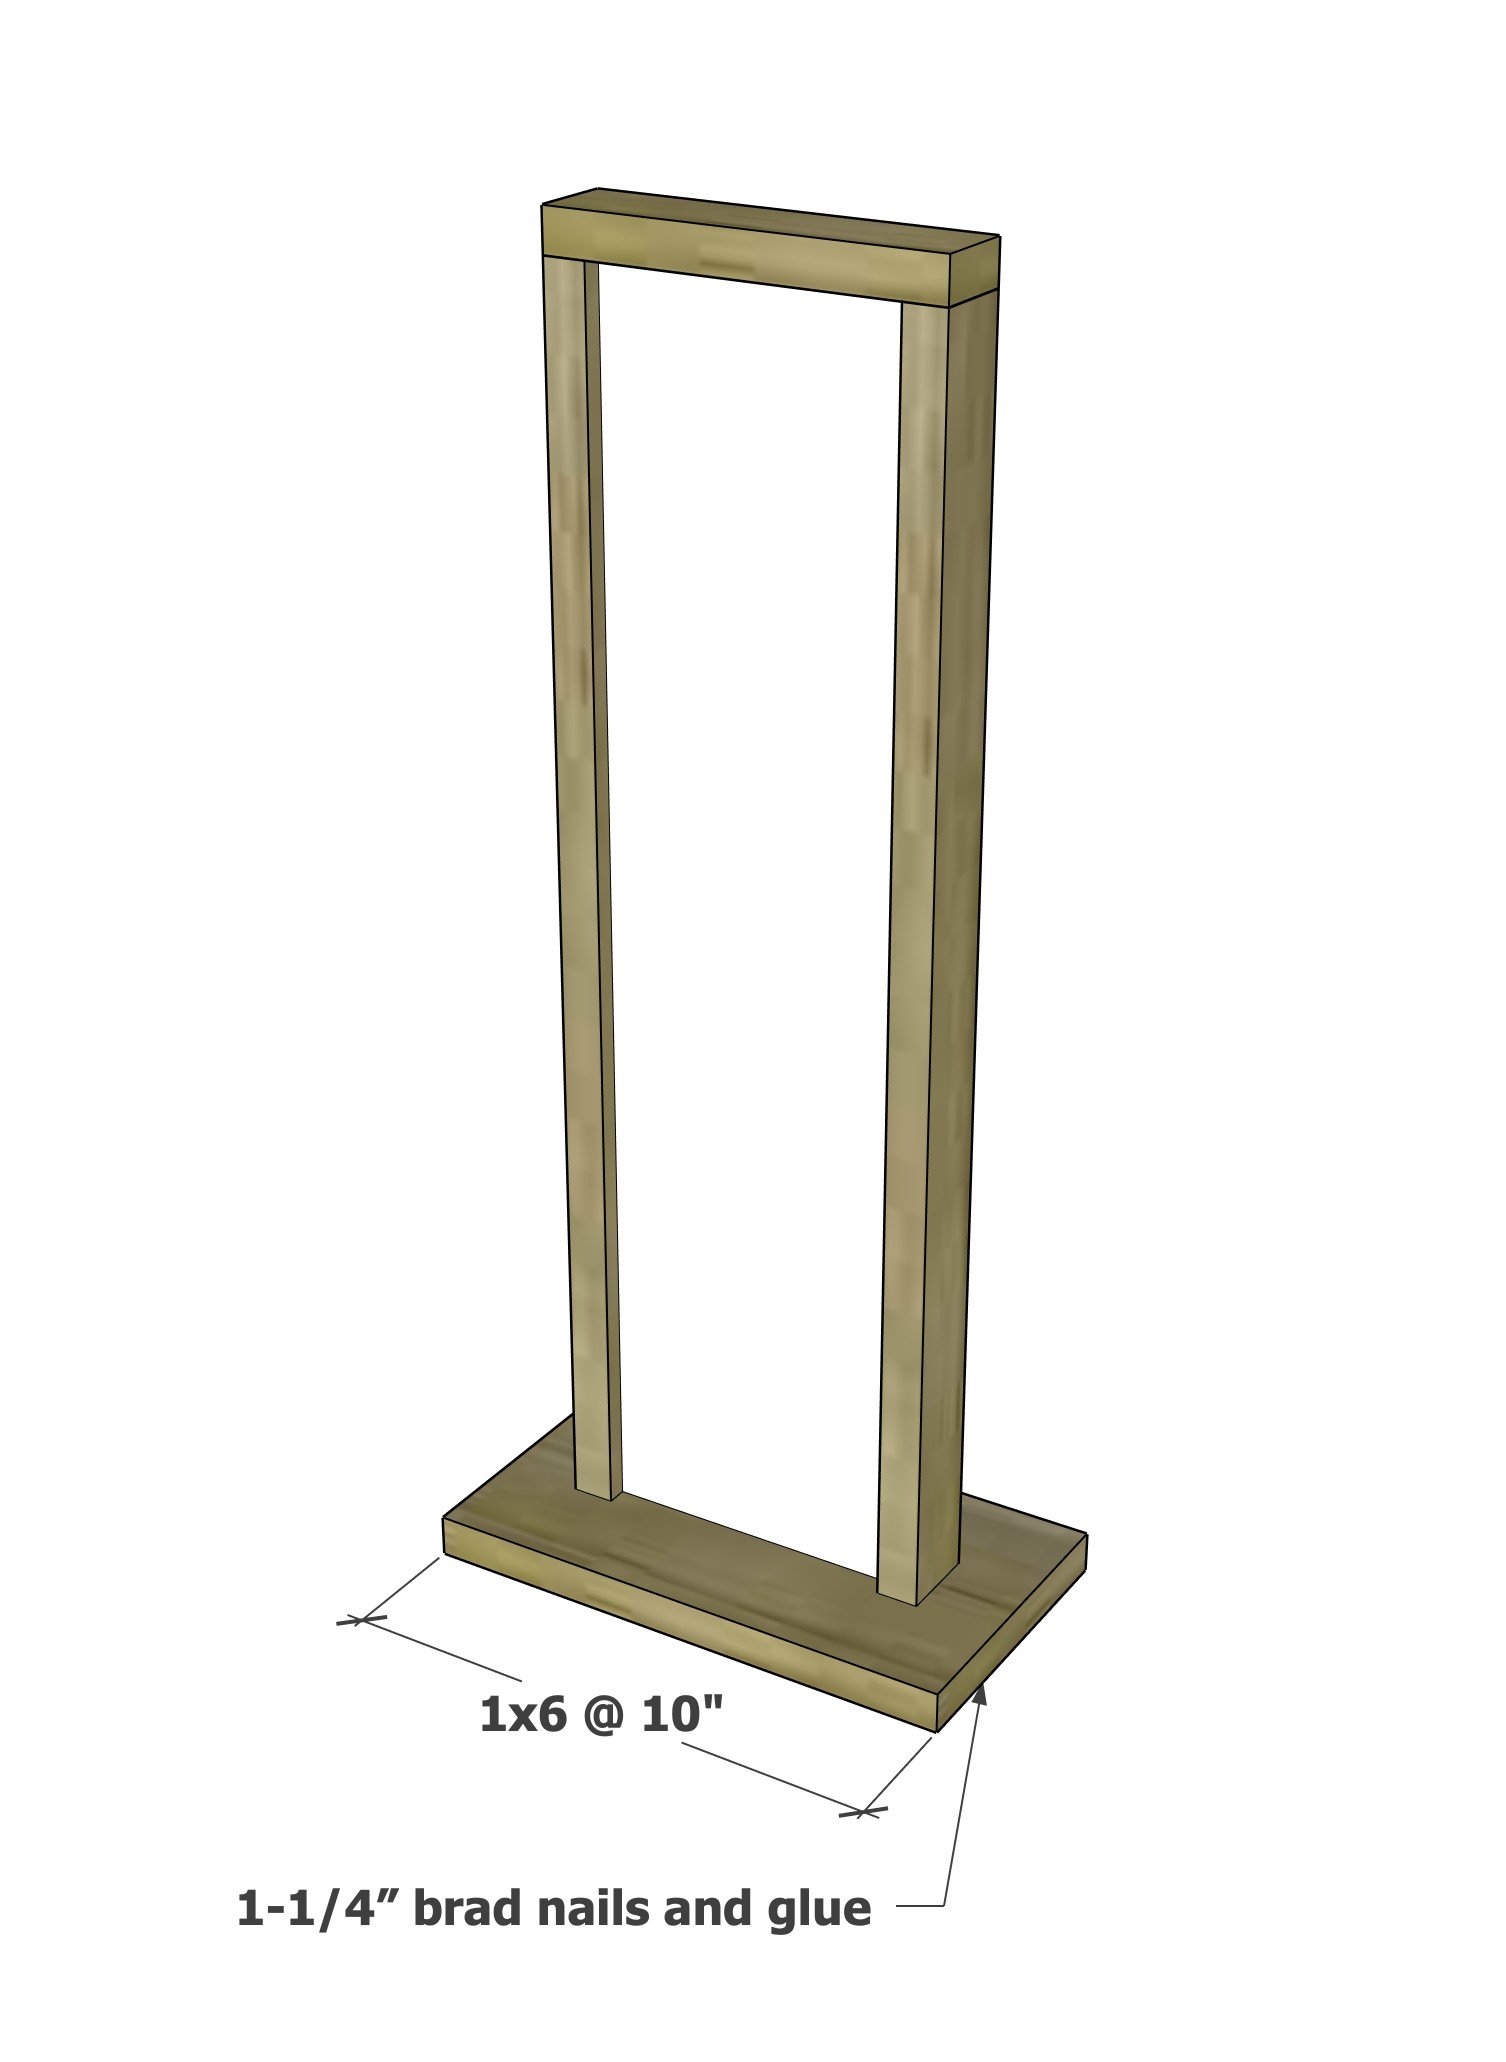
Step 5
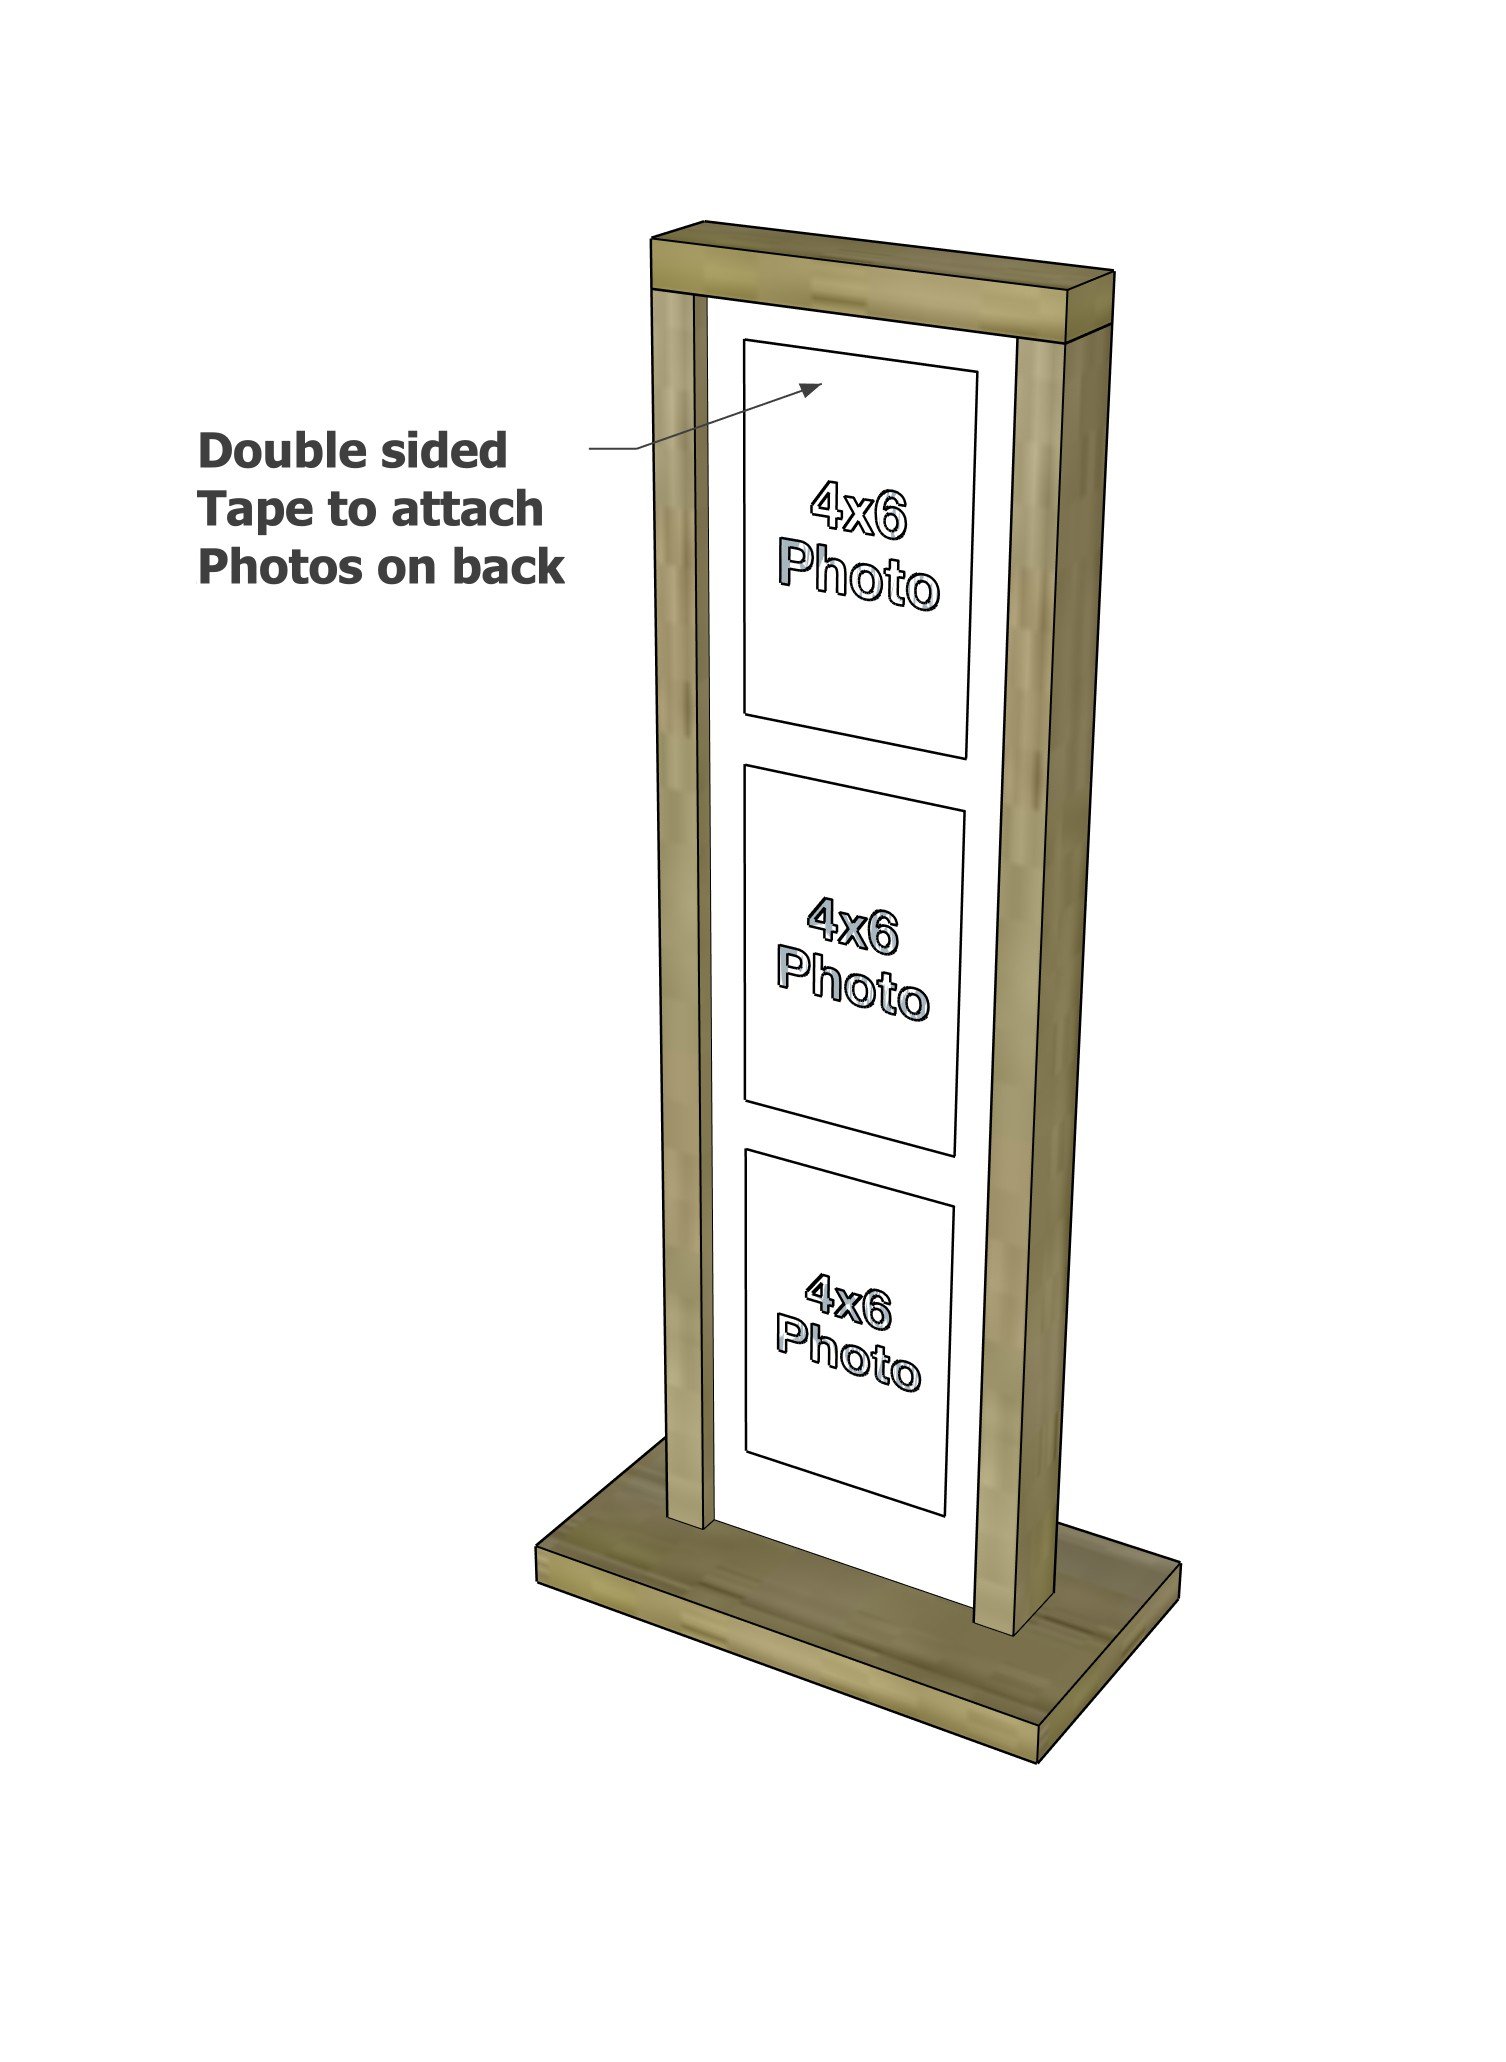
Finishing
Sand all surfaces, starting with a medium grit and finishing with fine. Wipe off the dust, fill any holes or gaps with wood filler, and sand smooth once dry. Apply primer if you're painting, then finish with your choice of paint or stain and seal with a durable clear topcoat. For outdoor projects, use exterior-rated primer, paint or stain, and sealer so the piece stands up to the weather.
Source (temporary): https://www.ana-white.com/woodworking-projects/tall-wood-photo-display