Under Kitchen Sink Organizer Shelf
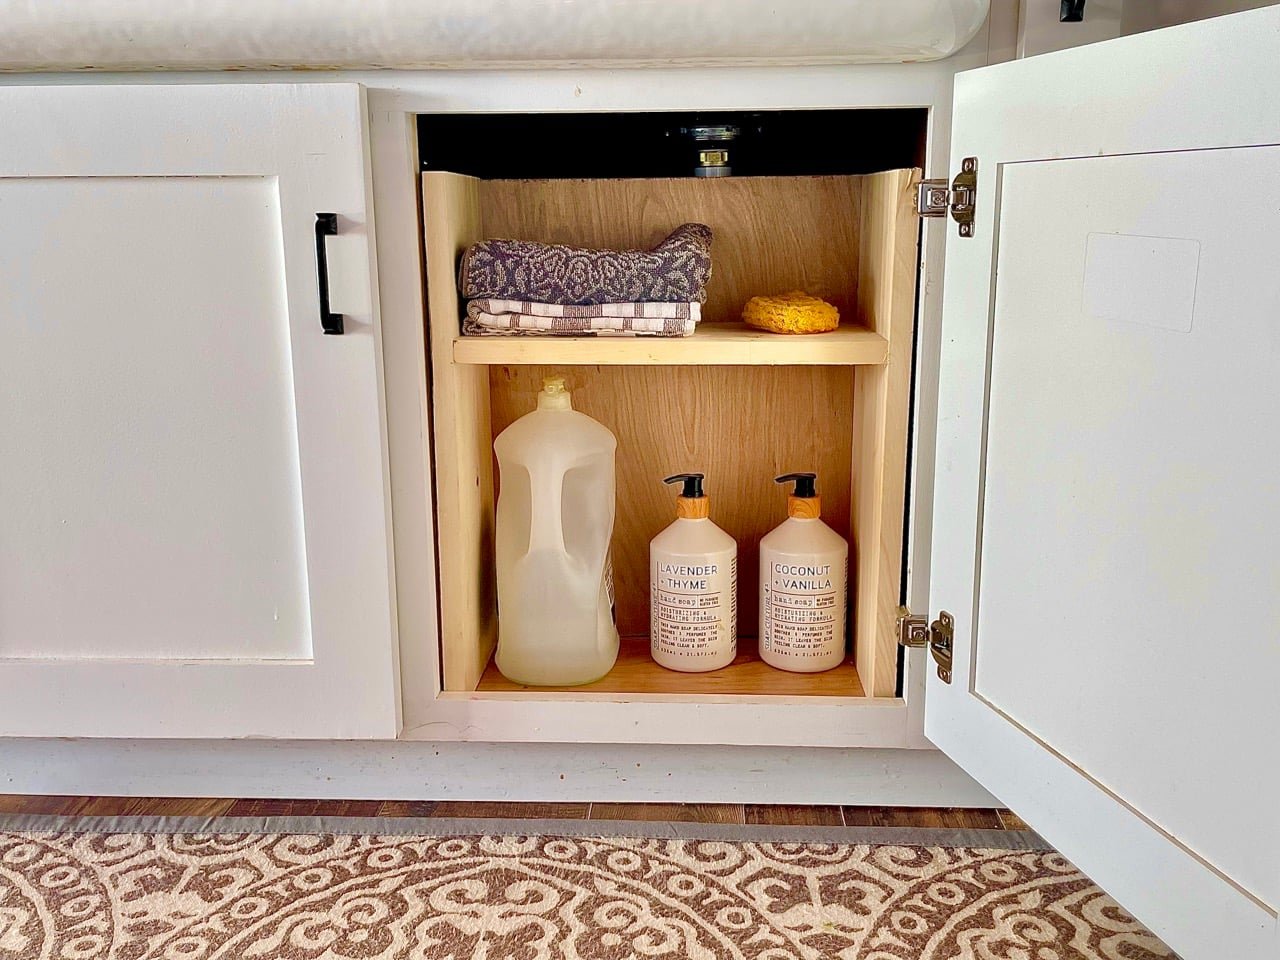
Organize under your sink with our DIY wood shelf. This is a super easy project that will transform under your sink and give you more storage options. The bottom can be left as a pass through if your sink plumbing allows too. with video from
Specifications
| Project type | Kitchen Cabinet Plan, Accessories and Serving |
|---|---|
| Room | kitchen |
| Difficulty | Starter Projects |
Dimensions
Use the size-specific shopping and cut lists below.
Shopping List
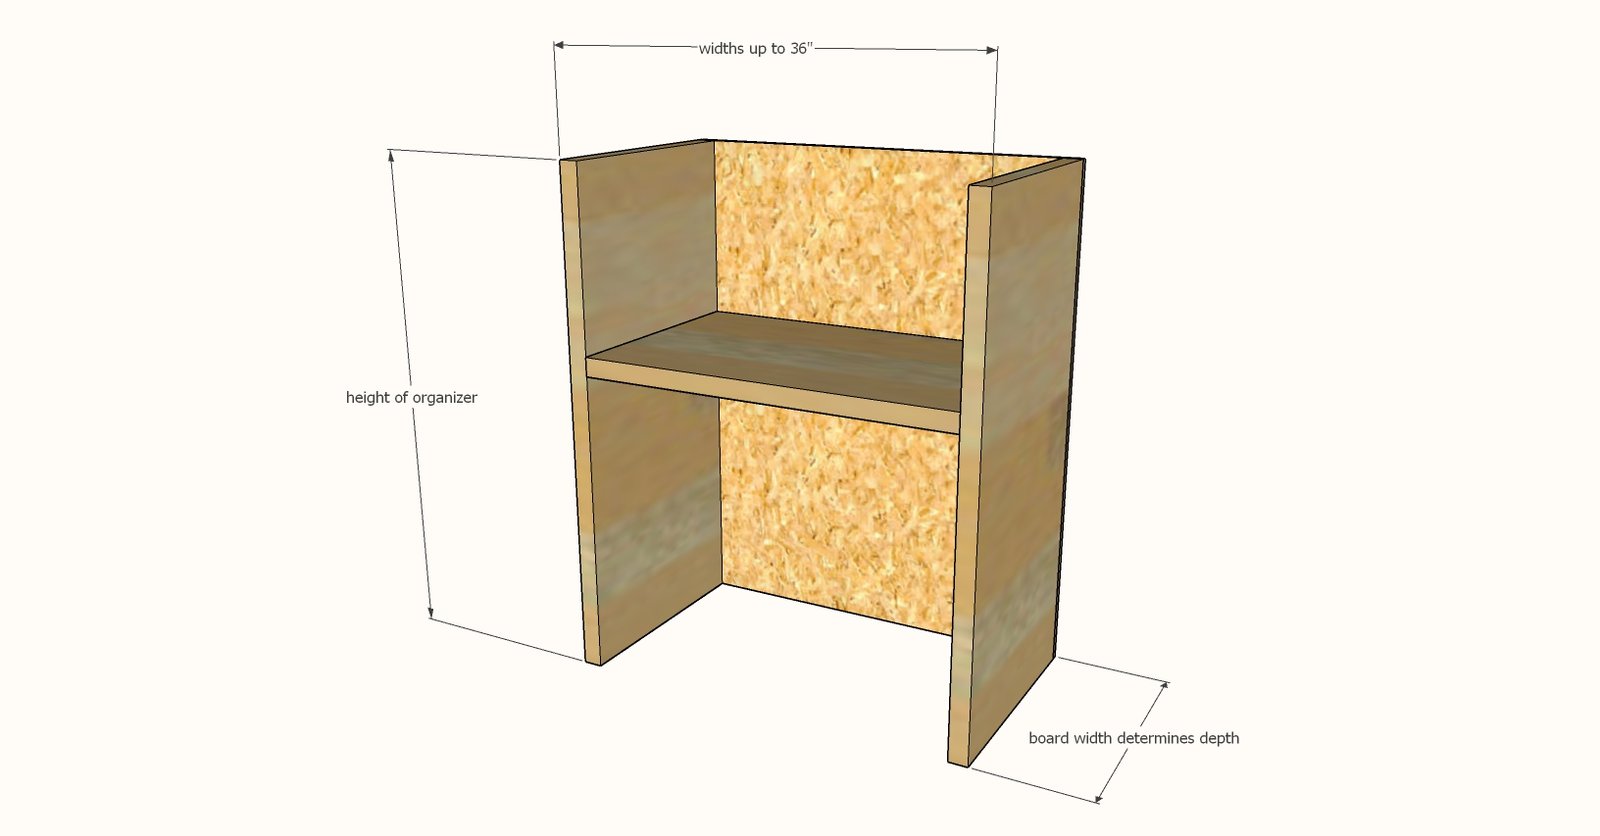
- 1x boards in desired depth (ie 1x12 for 12" or depth, 1x10 for 10" depth, 1x8 for 8" depth)
- 1x8 if using a pass through option on bottom, or 1/4" plywood if covering entire back (as shown in my photos)
- Brad nails in 1-1/4" length and 18 gauge brad nailer OR 1-1/2" long SPAX self tapping screws or similar (about 10 screws) if you don't have a brad nailer
Tools
- measuring tape
- pencil
- drill
- circular saw
Step-by-step Instructions
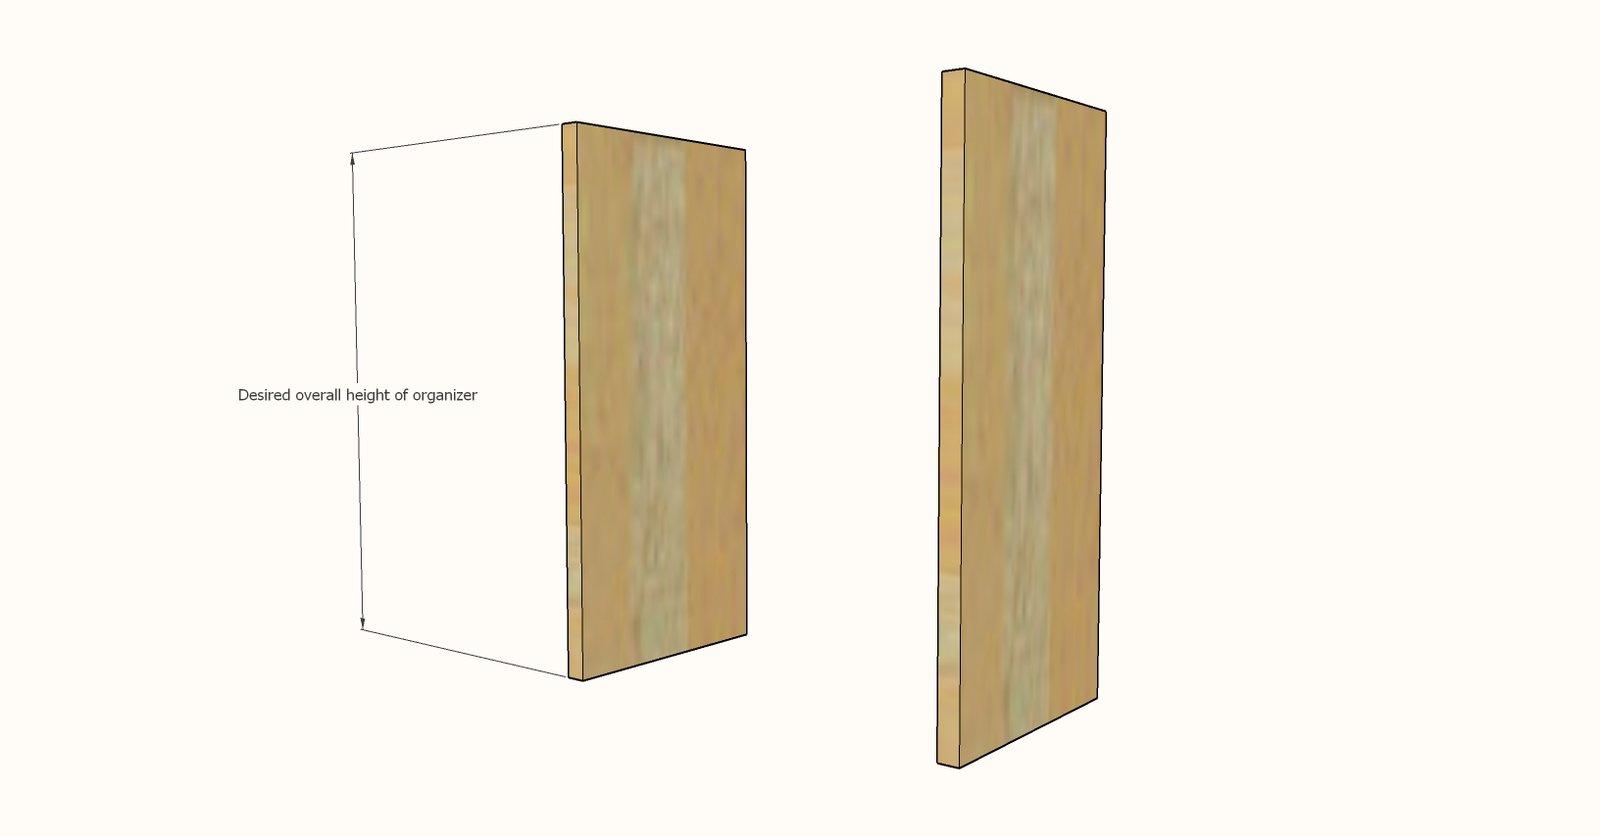
Cut two boards to match the desired height of your under sink storage organizer.
NOTE: The overall height should be about 1" less than opening to be able to easily place the organizer under your sink.
Step 2
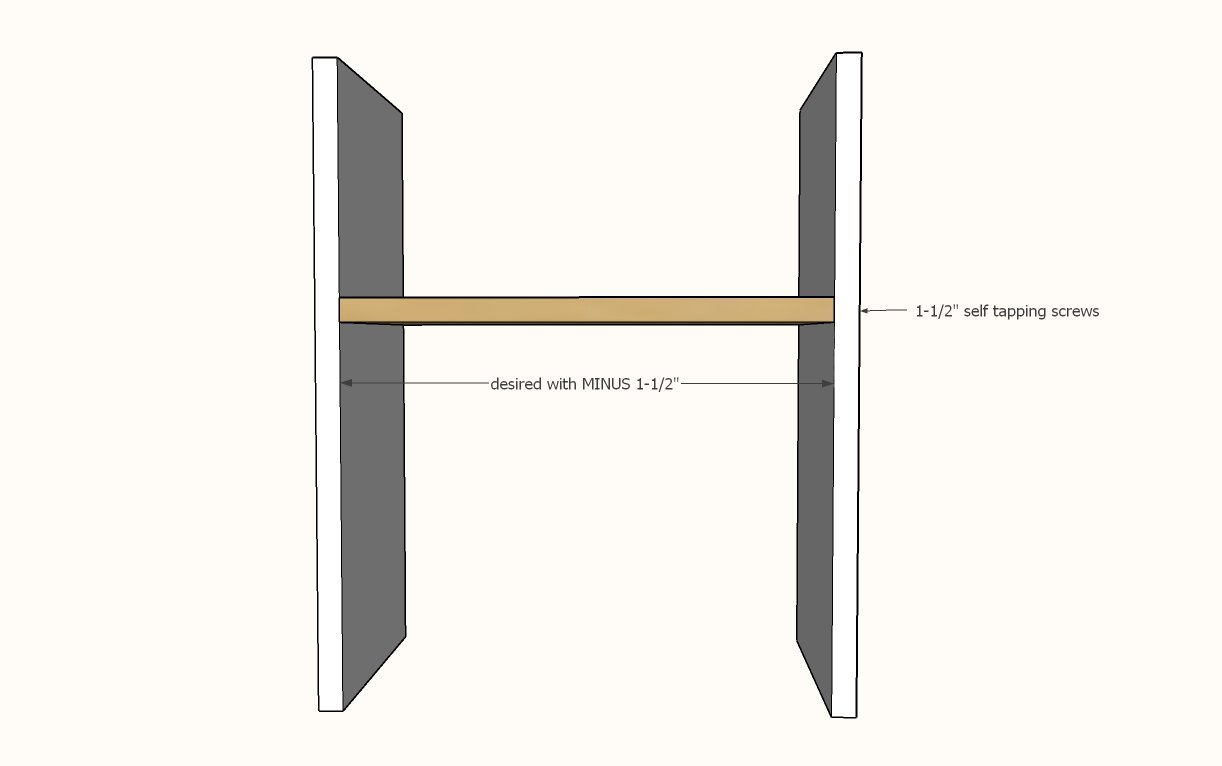
Cut a third board for the shelf, 2" less in width than your desired final width of the organizer. This will give you about 1/2" to fit your organizer under your sink Attach with the screws or 1-1/4" brad nails and glue. If using a pass through design on the bottom, place the shelf so a 1x8 board can fit above it for the back.
Step 3
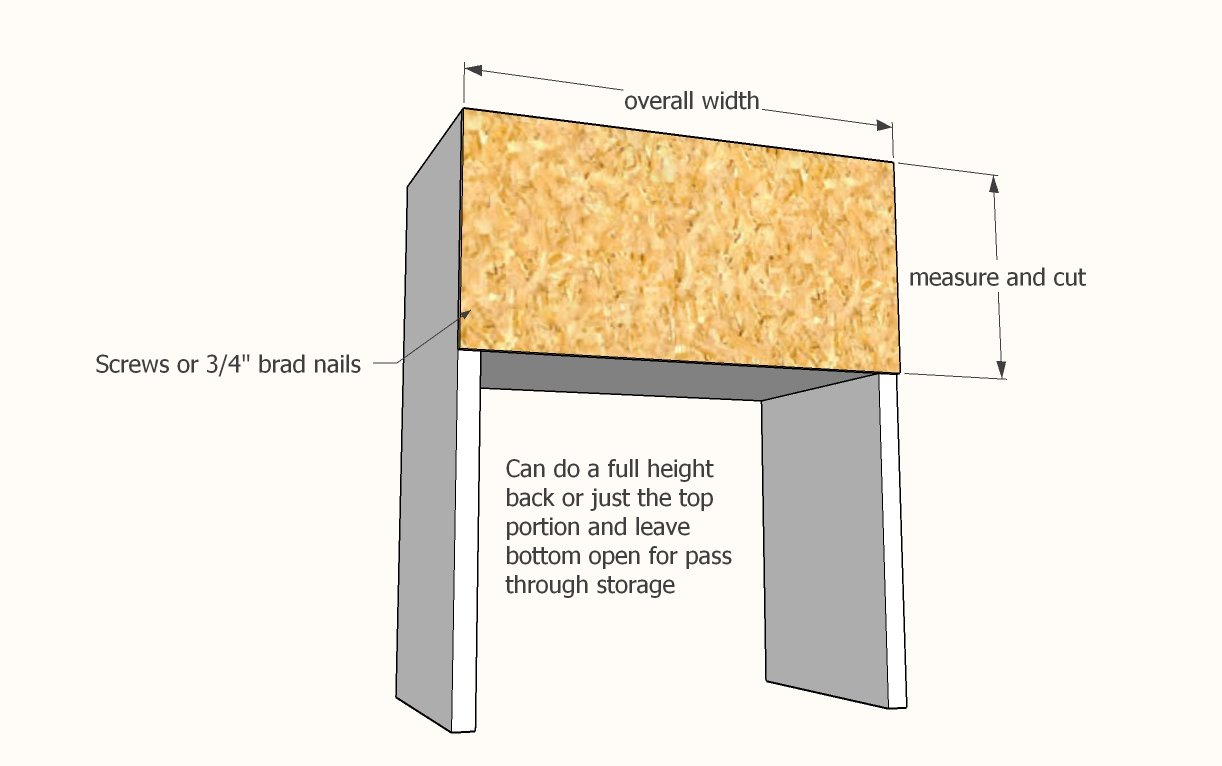
Alternatively, if using plywood, cut a piece of 1/4" plywood to fit the upper part of the back or the full back. Attach with the brad nails or the screws and glue.
Finishing
Sand all surfaces, starting with a medium grit and finishing with fine. Wipe off the dust, fill any holes or gaps with wood filler, and sand smooth once dry. Apply primer if you're painting, then finish with your choice of paint or stain and seal with a durable clear topcoat. For outdoor projects, use exterior-rated primer, paint or stain, and sealer so the piece stands up to the weather.
Source (temporary): https://www.ana-white.com/woodworking-projects/under-kitchen-sink-organizer-shelf