Vintage Step Stool
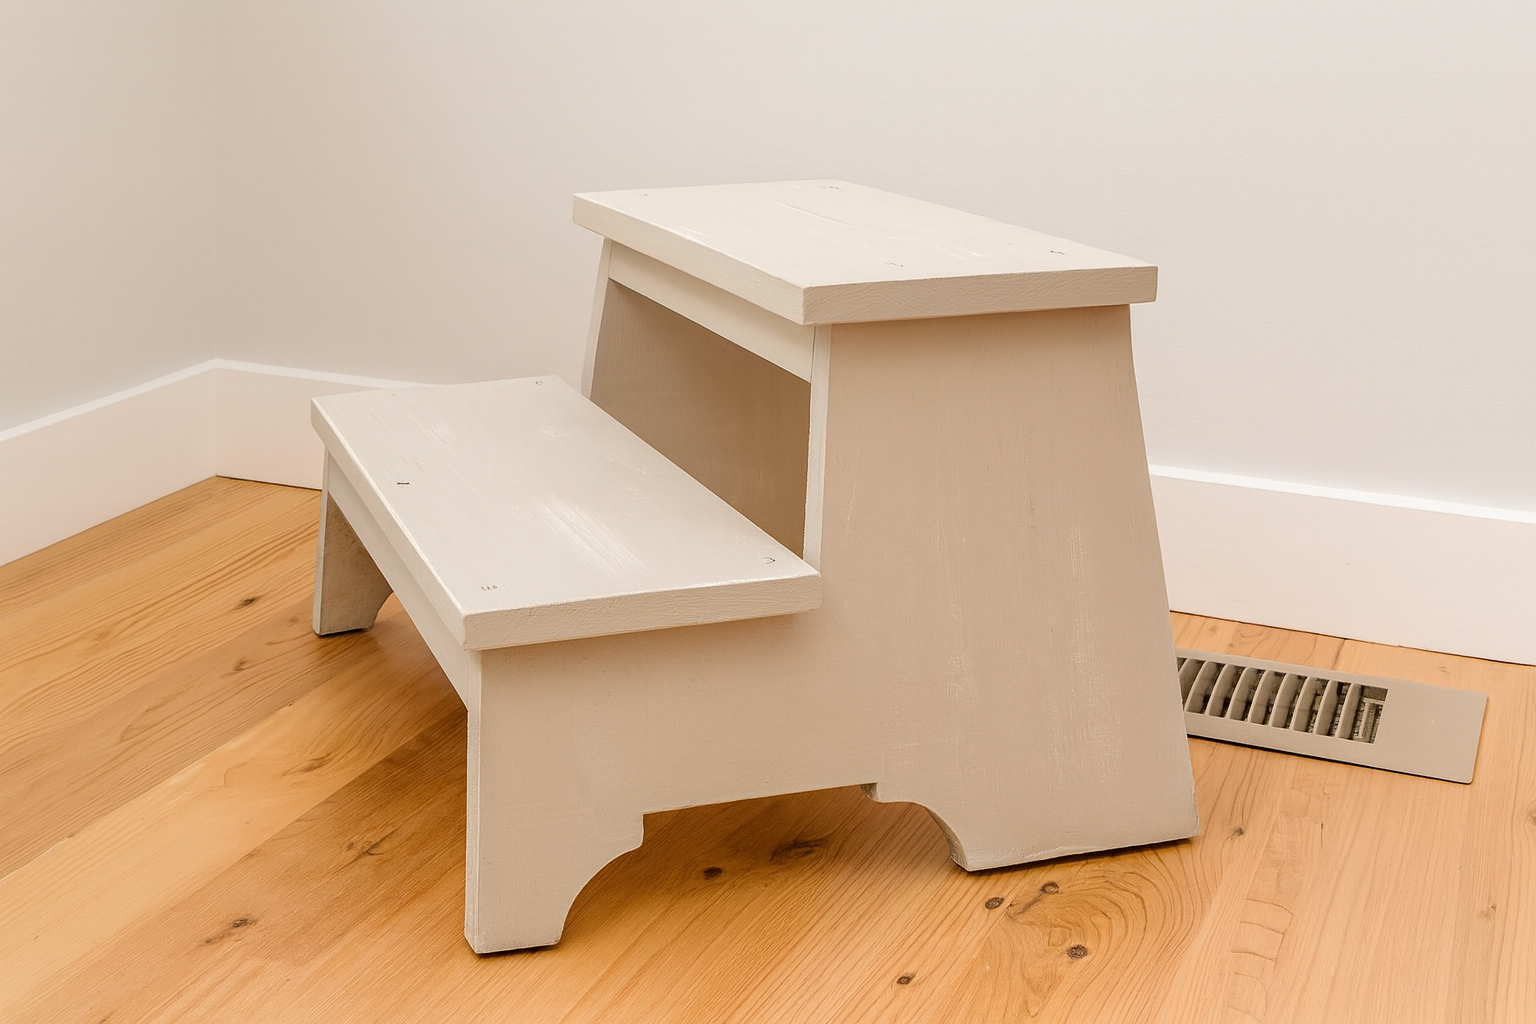
Vintage-Style Step Stool – Looking for a small project with big charm? This vintage-inspired two-step stool looks like something you'd uncover at an antique market—but you get the satisfaction of building it yourself. With its splayed legs, arched side cutouts, and layered profile, this piece is more than just practical—it’s full of character and beauty. The subtle design details give it that well-worn, heirloom feel, while the compact size makes it perfect for a weekend build. It’s an ideal challenge for woodworkers ready to hone their skills on angles, precision cuts, and classic joinery. Why You’ll Love This Project: • Authentic vintage silhouette with a “found object” look • Splayed legs and shaped sides for added visual interest • Great way to practice intermediate techniques on a small scale • Perfect as a step stool, plant stand, or decorative accent • with full cut list and assembly steps Build it distressed or clean—it’s guaranteed to add interest and character to any space. Related: Simple two step stool plans
Specifications
| Project type | Toys |
|---|---|
| Room | Kids and Toys |
| Style | Farmhouse Furniture |
| Difficulty | Beginner Projects |
| Estimated cost | Under $20 |
Dimensions
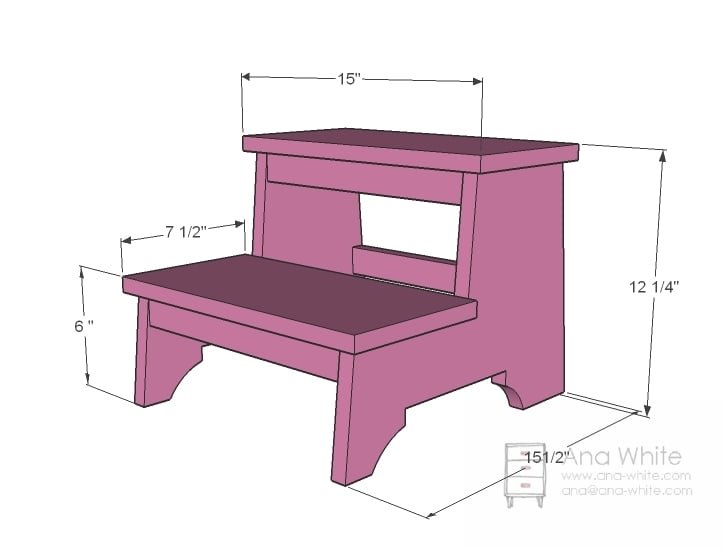
Use the size-specific shopping and cut lists below.
Shopping List
- 1 – 1×12 @ 32″ (Sides)
- 1 – 1×2 @ 50″
- 1 – 1×8 @ 32″ (Treads)
- 2″ self tapping star bit screws or 1 1/4″ pocket hole screws
- wood glue, wood filler and finishing supplies
Cut List
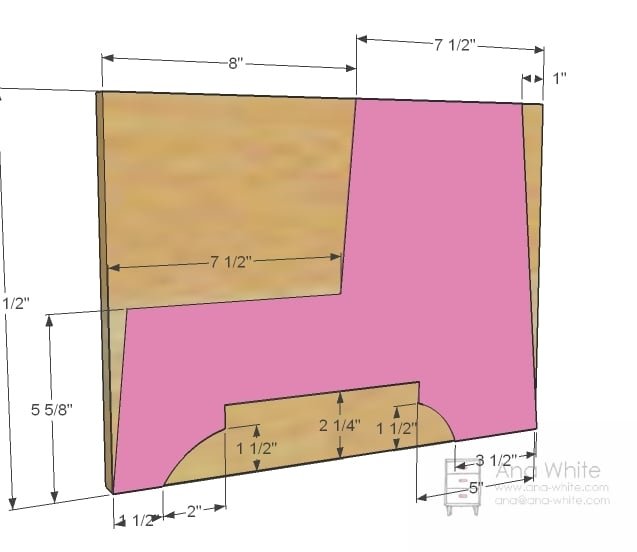
- 2 – 1×12 @ 15 1/2″ (Sides – cut out in step 1)
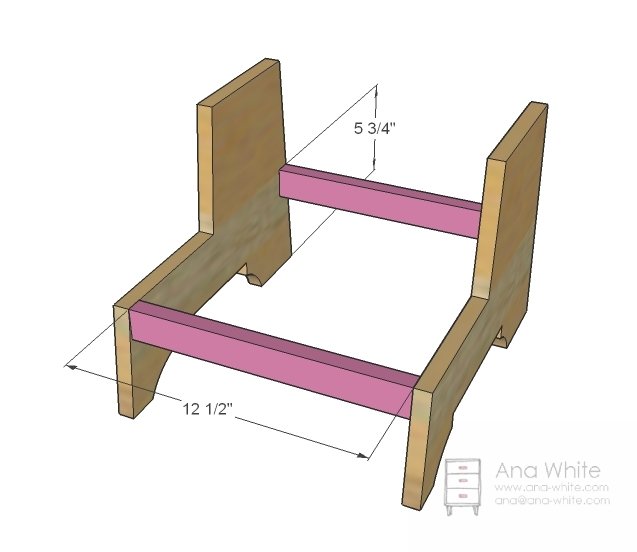
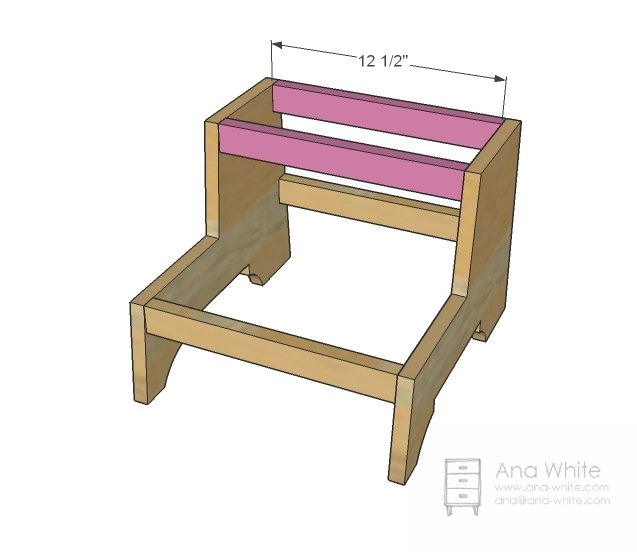
- 4 – 1×2 @ 12 1/2″ (Supports)
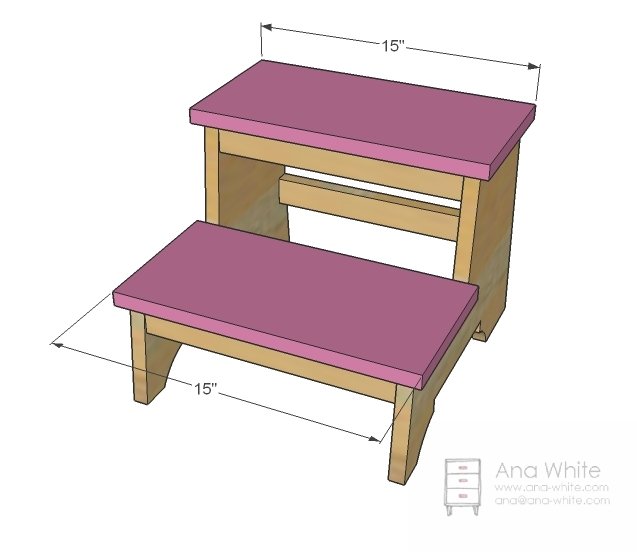
- 2 – 1×8 @ 15″ (Treads)
Tools
- measuring tape
- square
- pencil
- safety glasses
- hearing protection
- drill
- jigsaw
- sander
- level
- countersink drill bit
Step-by-step Instructions
Sides
Use the measurements above to cut from the 1x12s sides as shown above. Use a jigsaw. Once you have on side cut out, use it as a pattern for the other side. Take note of which side of the line you should cut on and take your time cutting. Sand edges so the two pieces are the same.
Bottom Supports
Attach the bottom supports with screws and glue. I used pocket hole screws, but you can also use 2″ wood screws and a good old countersink bit.
Top Supports
Now attach the top supports in the same way as the bottom supports.
Step 4
Step 5
Finishing
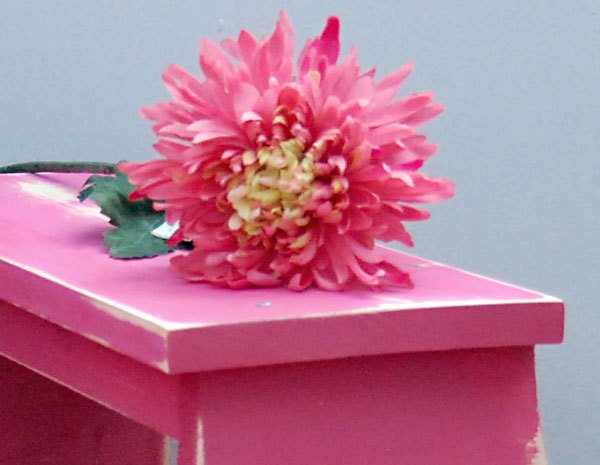
Sand all surfaces, starting with a medium grit and finishing with fine. Wipe off the dust, fill any holes or gaps with wood filler, and sand smooth once dry. Apply primer if you're painting, then finish with your choice of paint or stain and seal with a durable clear topcoat. For outdoor projects, use exterior-rated primer, paint or stain, and sealer so the piece stands up to the weather.
Source (temporary): https://www.ana-white.com/woodworking-projects/vintage-step-stool