Wood Framed Upholstered Headboard
These simple, easy to build, wood framed upholstered headboards can add a touch of luxury and a lot of style to a bedroom in just a few hours. Special thanks to Jill for sharing her photos. Jill also built the storage beds with drawers from the storage daybed and drawer plans.
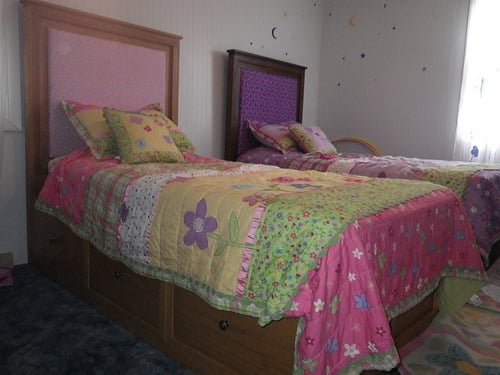
Specifications
| Project type | Headboard |
|---|---|
| Room | Bedroom |
| Style | Cottage Style Furniture Plans |
| Difficulty | Beginner Projects |
| Estimated cost | $50 - $100 |
Dimensions
Use the size-specific shopping and cut lists below.
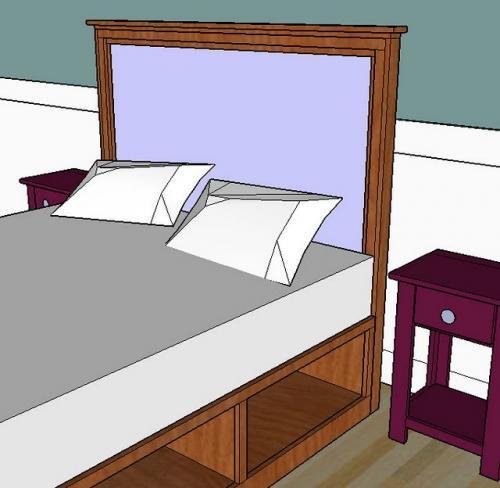
Shopping List
7 - 1x3 @ 6 feet long 1 sheet 1/2" plywood
1 sheet 3/4" plywood
2 - 1x2 @ 8 feet long
1 - 1x4 @ 8 feet long
Cut List
A) 1 - Piece of 1/2" plywood 60" x 36" B) 1 - 1x3 @ 60" (Inside top trim)
C) 2 - 1x3 @ 53 1/2" (Inside side trim)
D) 1 - 1x3 @ 55" (Bottom inside trim)
E) 1 - 1x2 @ 60" (Middle top trim)
F) 2 - 1x2 @ 33" (Middle side trim)
G) 1 - 1x2 @ 60" (Middle bottom trim)
H) 2 - 1x3 @ 20" (Leg Support Piece)
I) 2 - 1x3 @ 56" (Outside trim piece)
J) 1 - 1x3 @ 61 1/2" (Outside top trim piece)
K) 1 - 1x4 @ 63 1/2" (Header)
L) 1 piece of 3/4" plywood 55"x31" (Fabric Covered Panel)
Tools
- measuring tape
- square
- circular saw
- nailer
- sander
Step-by-step Instructions
Step 1
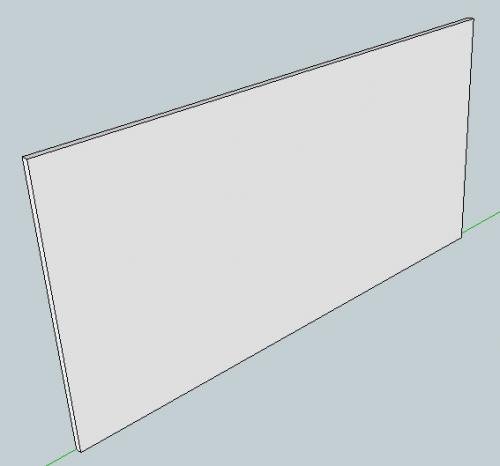
Start with A, the piece of plywood.
Step 2
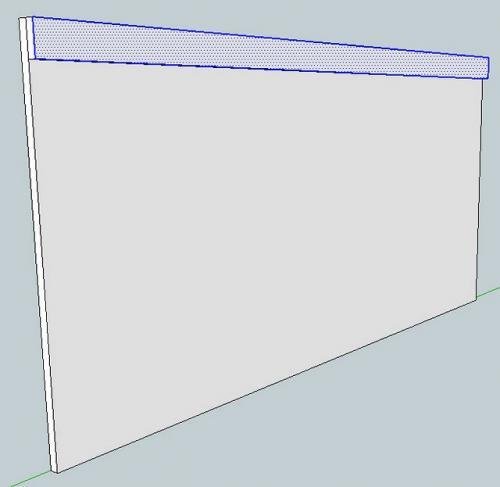
Add Piece B to the top, keeping top edges and sides flush with the plywood. Use glue and 1 1/4" nails. Diagram shown above. AS SHOWN BELOW, add the inner legs, piece C, keeping outside edges flush.
Step 3
Bottom Inside Trim, D. As shown below, add the bottom inside piece, D. Use glue and 1 1/4" nails.
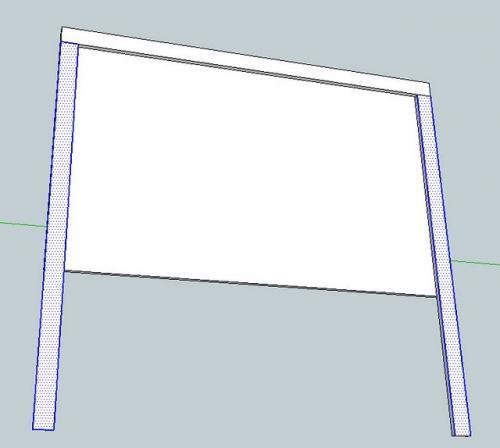
Step 4
Add the middle top trim piece, E, as shown below. Keep the top edges flush with the headboard, and the sides. The diagram shows this. Use 2" nails and glue.
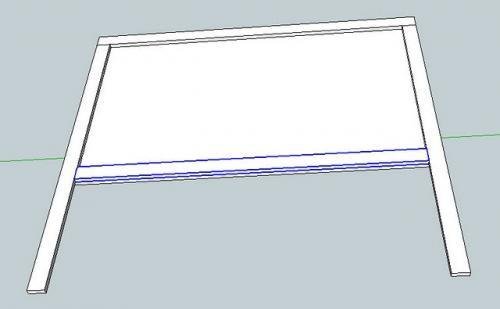
Step 5
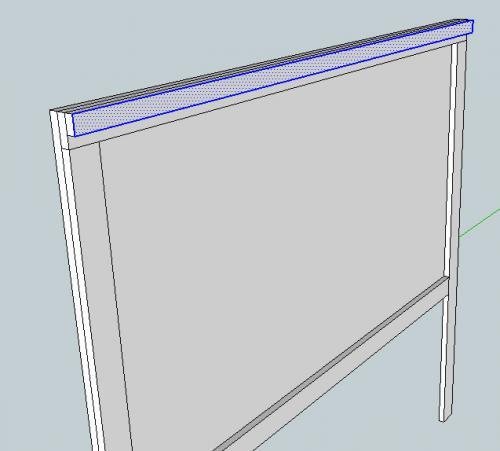
Step 6
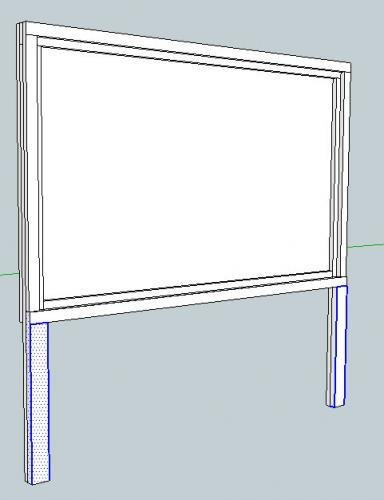
Leg Trim, Pieces H. Use the 1 1/4" Nails and glue and add the leg support pieces, H, as shown below.
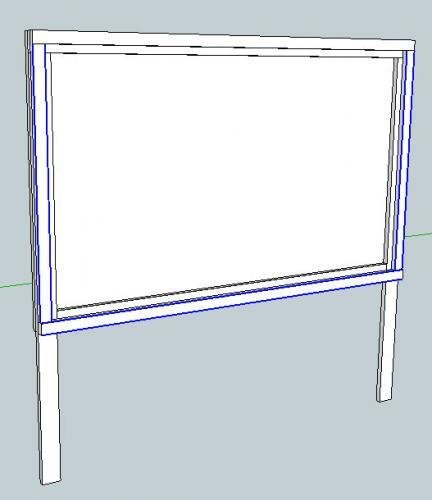
Step 7
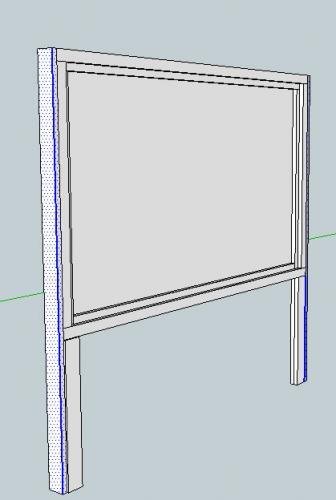
Add the outside trim piece, I, on either side of the headboard, as shown below. Keep the front edges flush. There will be a 1/4" overhang on the back. This is fine. Use 2" nails and glue. This is shown below.
Step 8
Add piece J to the top of the headboard. Keep front edges flush. Use glue and 2" nails. This is shown below.
Step 9
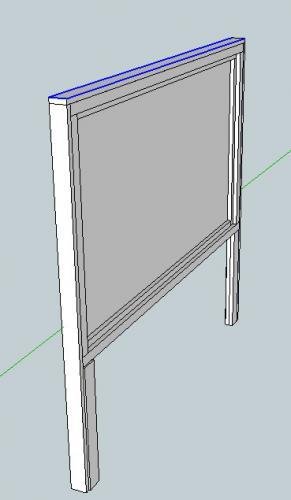
Now add the final header piece, K, to the top. This time, keep back edges flush with the pieces below. K will overhang 1" on either end.
Step 10
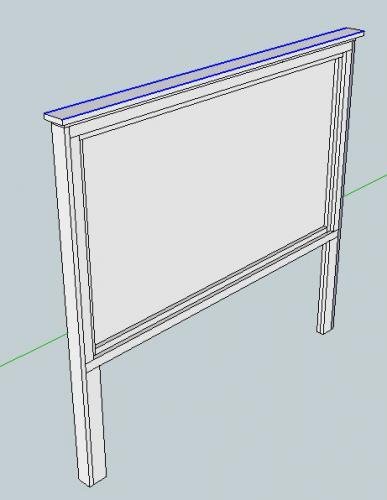
Do a dry fit of piece L, the insert, into the headboard. Trim if necessary to allow for fabric. Cover the headboard insert piece, L, with foam on just the face. Use spray adhesive to adhere the foam to the plywood. Then cover the plywood with your choice of fabric and staple to the back side. Then, with 1 1/4" screws, from the back, screw through the back plywood into the insert plywood, securing all four corners.
Finishing
Sand all surfaces, starting with a medium grit and finishing with fine. Wipe off the dust, fill any holes or gaps with wood filler, and sand smooth once dry. Apply primer if you're painting, then finish with your choice of paint or stain and seal with a durable clear topcoat. For outdoor projects, use exterior-rated primer, paint or stain, and sealer so the piece stands up to the weather.
Source (temporary): https://www.ana-white.com/woodworking-projects/wood-framed-upholstered-headboard