Wood Magazine File
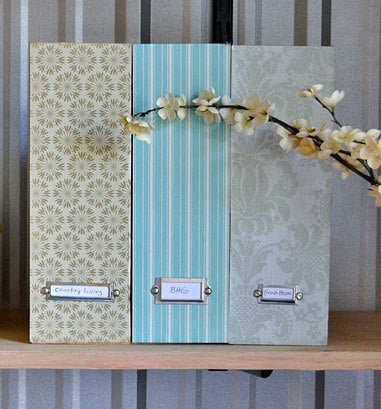
Make your own wood magazine files with bookplates and decorative faces for $2.50 each! These quick and easy magazine files will create order and style in your home!
Specifications
| Project type | Home DIY |
|---|---|
| Room | Storage Solutions |
| Style | Farmhouse Furniture |
| Difficulty | Beginner Projects |
| Estimated cost | Under $20 |
Dimensions
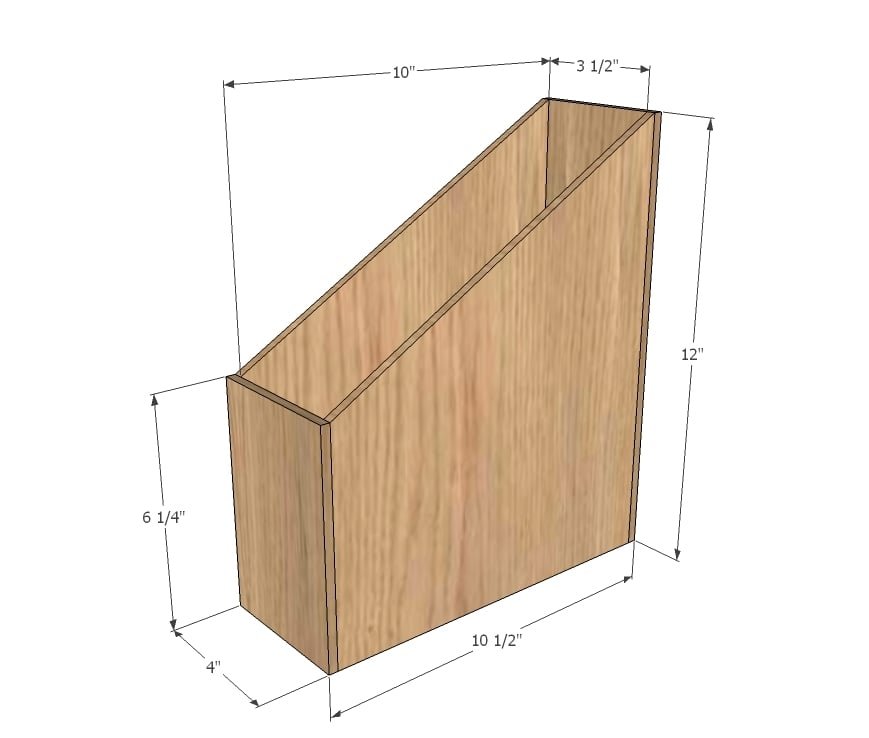
Use the size-specific shopping and cut lists below.
Shopping List
1/4" plywood (for 9, use 1/2 sheet - for 18, use full sheet)
1x4 @ 8 feet long - 1 for 9, 2 for 18
Glue (Gorilla glue would be great here)
1 1/4" finish nails
Painter's Tape
Book Plates and fasteners
Modge Podge
Scrapbooking Paper (3 sheets for 9, 6 sheets for 18)
Cut List
Per File:
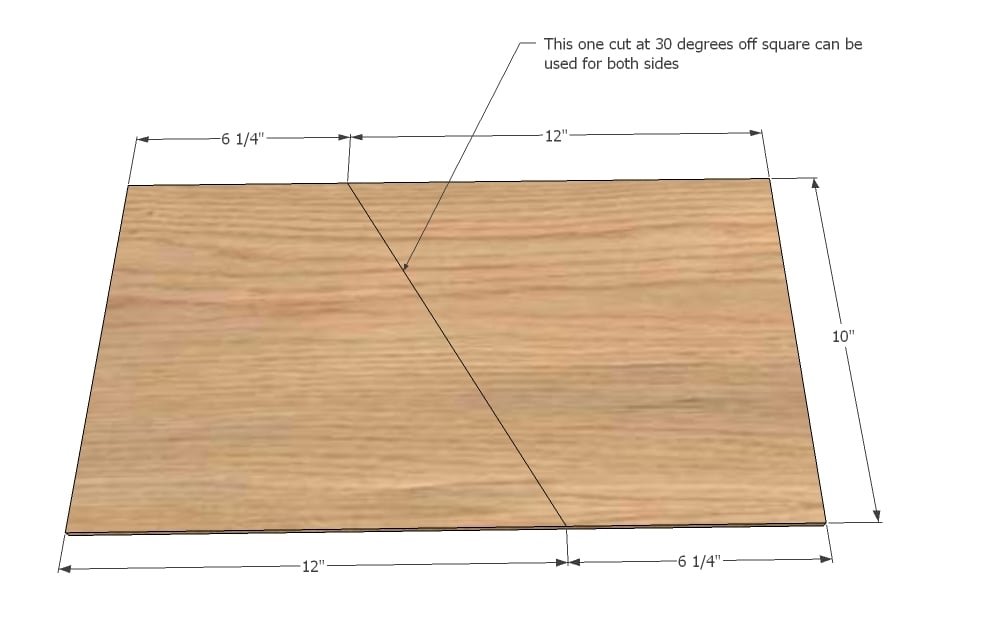
2 - 10" strips @ 12" long, one end cut at 30 degrees off square, longest point measurement (see diagrams in step 2)
1 - 1x4 @ 10" (bottom)
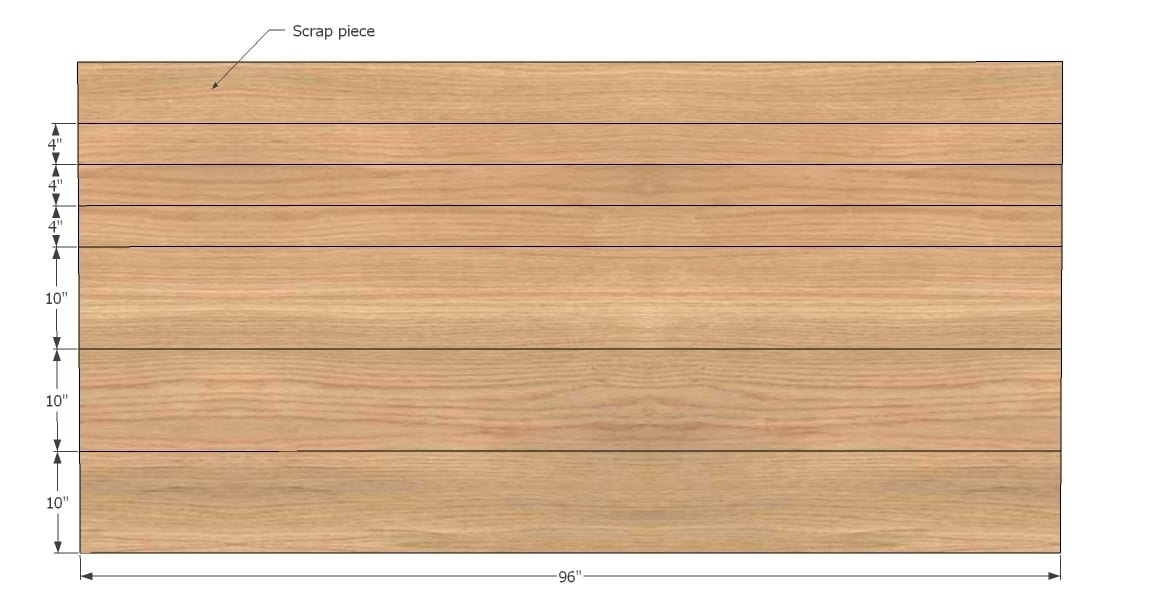
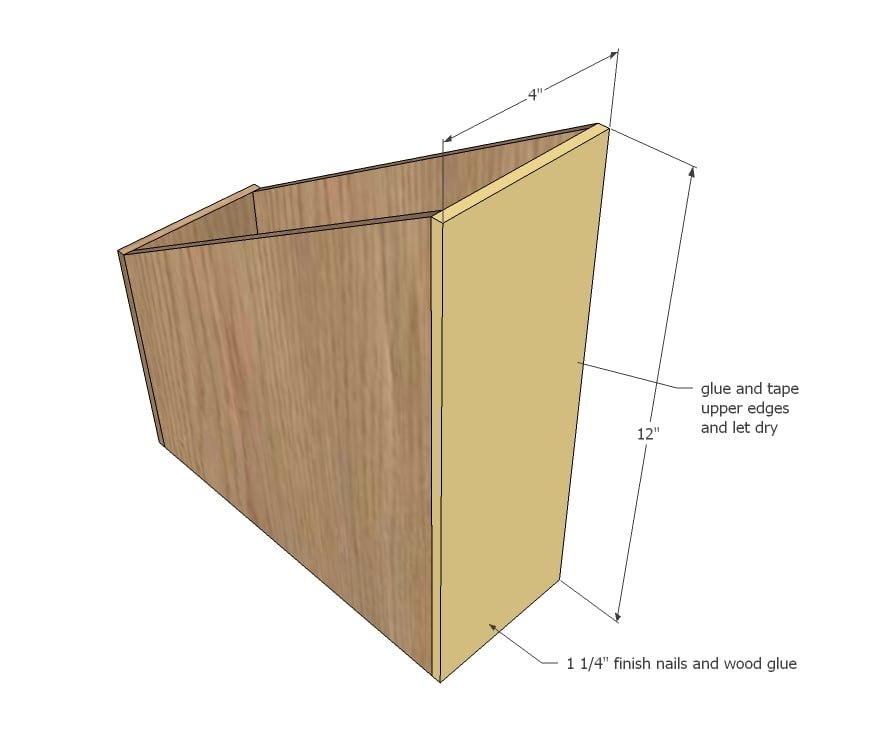
1 - 4" strip @ 12"
1 - 4" strip @ 6 1/4"
Tools
- measuring tape
- square
- pencil
- safety glasses
- hearing protection
- circular saw
- nailer
- sander
Step-by-step Instructions
Step 1
Have your hardware store cut your plywood into strips as shown in the diagram. Otherwise cut your plywood with a tablesaw into strips as shown in the diagram. By cutting into strips, you can be sure that the plywood grain is all in the right direction, and your wood pieces are consistently the same width.
Step 2
When you cut your sides, you will be able to use the same cut for both sides as shown in diagram. I used one side as a pattern to cut all of my sides from.
Step 3
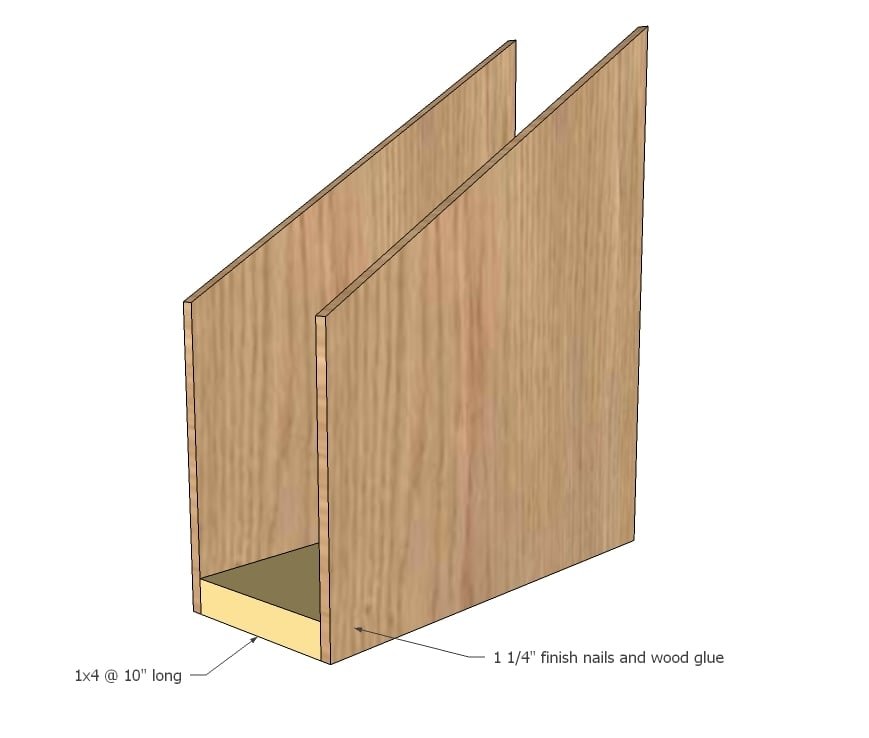
When you are finished cutting the pieces, nail the sides to the bottom as shown above with glue and 1 1/4" nails. Here is a trick I do quite a bit when I'm working in the garage alone. Since the 1x4 and 2x4 are the same height, I just put a scrap 2x4 under the unsupported half of the side I'm fastening, and then can dedicate my attention to nailing the side to the bottom.
Step 4
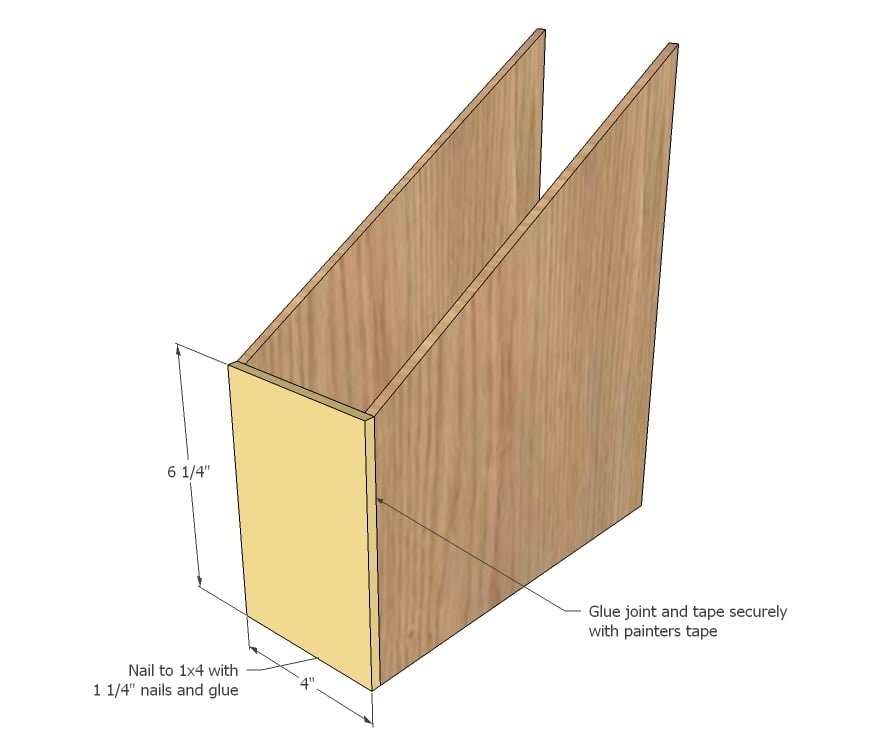
Once both sides are on, attach the front. You can only nail to the 1x bottom board. Glue the sides and tape with the painter's tape, getting the tightest possible joint. This is actually the back shown, but you get the idea. If you would like your magazine files to have a lower front, certainly, just cut the sides at a steeper angle and make the front lower. No biggie!
Step 5
Step 6
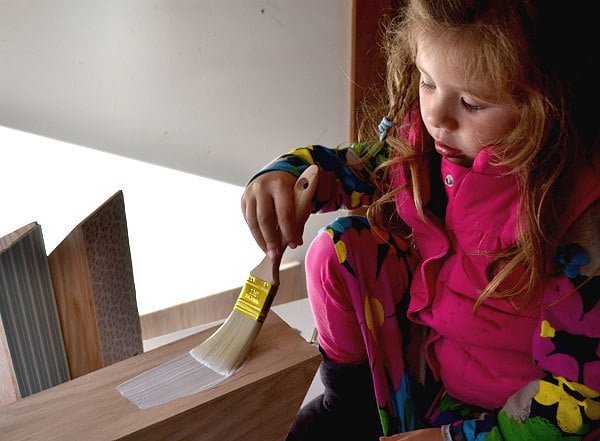
For the decorative fronts, cut pieces of the scrapbooking paper to the size of the fronts (should be exactly 1/3 sheet of scrapbooking paper). Apply a coat of modge podge, apply the paper, followed with another coat of modge podge. Let dry.
Step 7
Mark the desired location of the bookplate holes.
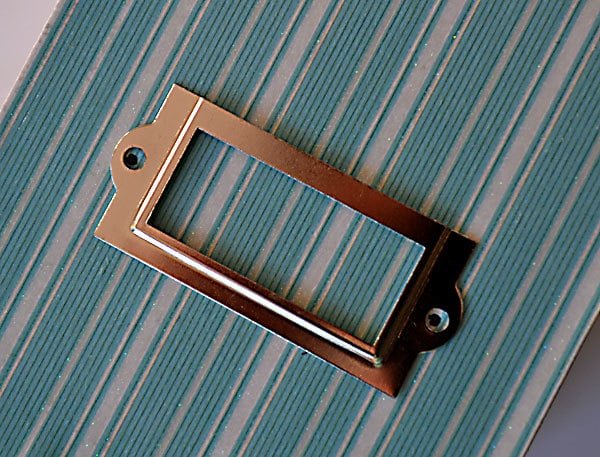
Step 8
Drill holes with a bit matching the holes in the bookplates at the marked location.
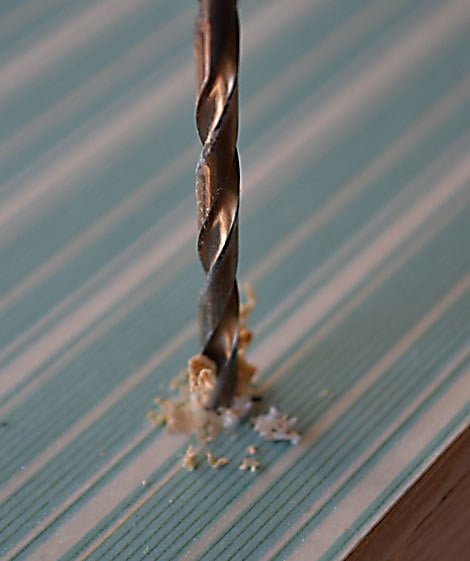
Step 9
Attach bookplates to magazine files with the brads or screws if using screws. If using brads, use a hammer to flatten the brads inside the magazine file.
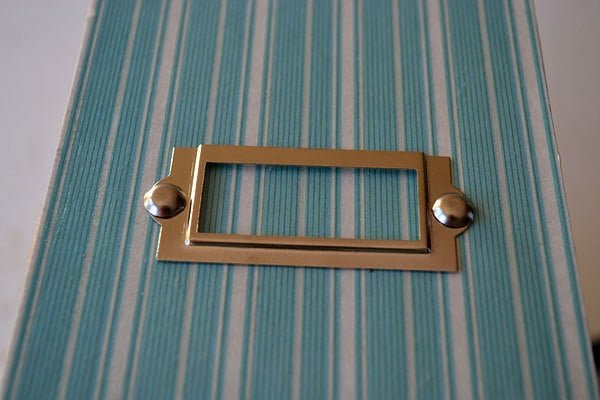
Step 10
Fill with magazines and enjoy!

Step 11
And for a more contemporary look (not to mention cheaper and easier) simply paint the faces with chalkboard paint!
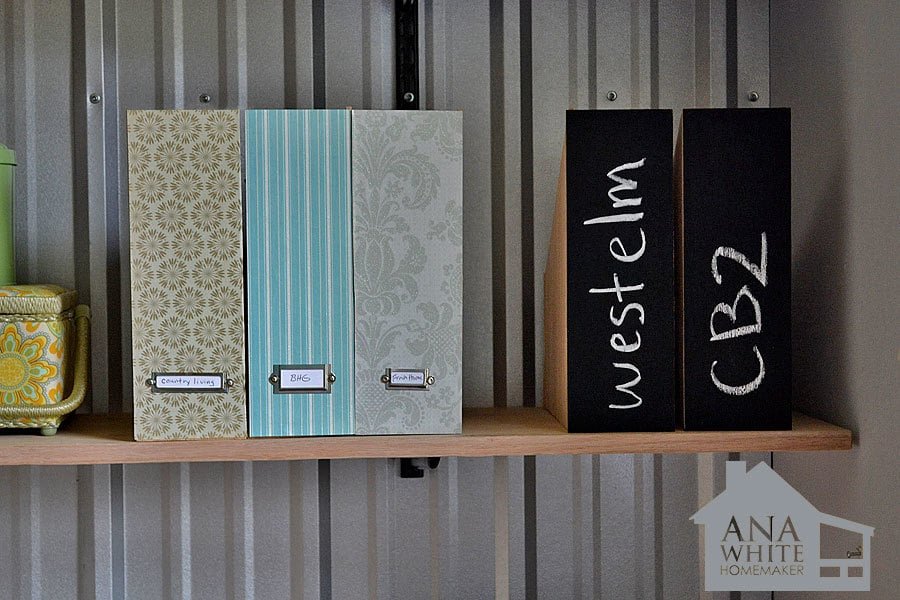
Finishing
Sand all surfaces, starting with a medium grit and finishing with fine. Wipe off the dust, fill any holes or gaps with wood filler, and sand smooth once dry. Apply primer if you're painting, then finish with your choice of paint or stain and seal with a durable clear topcoat. For outdoor projects, use exterior-rated primer, paint or stain, and sealer so the piece stands up to the weather.
Source (temporary): https://www.ana-white.com/woodworking-projects/wood-magazine-file