Work Apron
Make a work apron! Lined with construction grade fabric, this apron is as pretty and hardworking as you are! Full free instructions.

Specifications
| Project type | Upholstered Projects |
|---|---|
| Room | Craftroom |
| Style | Farmhouse Furniture |
| Difficulty | Intermediate |
| Estimated cost | Under $20 |
Dimensions
Use the size-specific shopping and cut lists below.
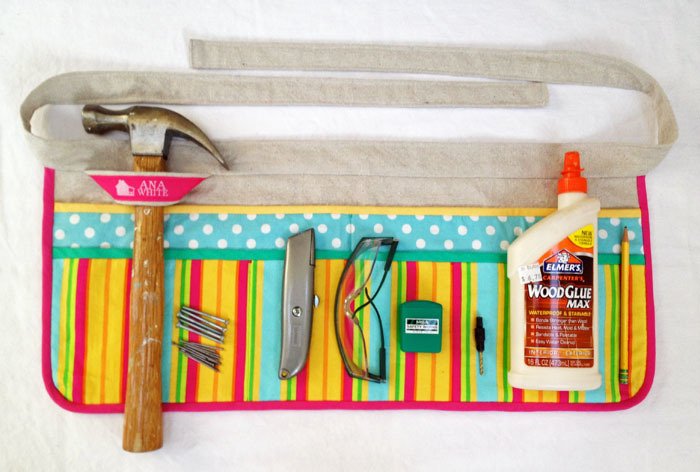
Shopping List
drop cloth canvas, front pocket cotton fabric, back pocket cotton fabric, trim (extra wide double fold bias tape or cut your own), sewing machine, thread to match, tape measure, rotary cutter, ruler (clear quilting ruler), self healing mat, scissors, pins, iron
Cut List
DROP CLOTH:
1 @ 24" x 10" (main apron piece)
1 @ 24" x 8" (interior back pocket)
1 @ 24" x 6" (interior front pocket)
1 @ 72" x 4" (waist strap)
COTTON PRINT FABRIC & TRIM:
back pocket cotton: 1 @ 24" x 8"
front pocket cotton: 1 @ 24" x 6"
2 @ 24" (back and front pocket trim)
1 @ 45" (main apron trim)
*if using cut bias strips, cut 1 3/4" wide
Step-by-step Instructions
Step 1
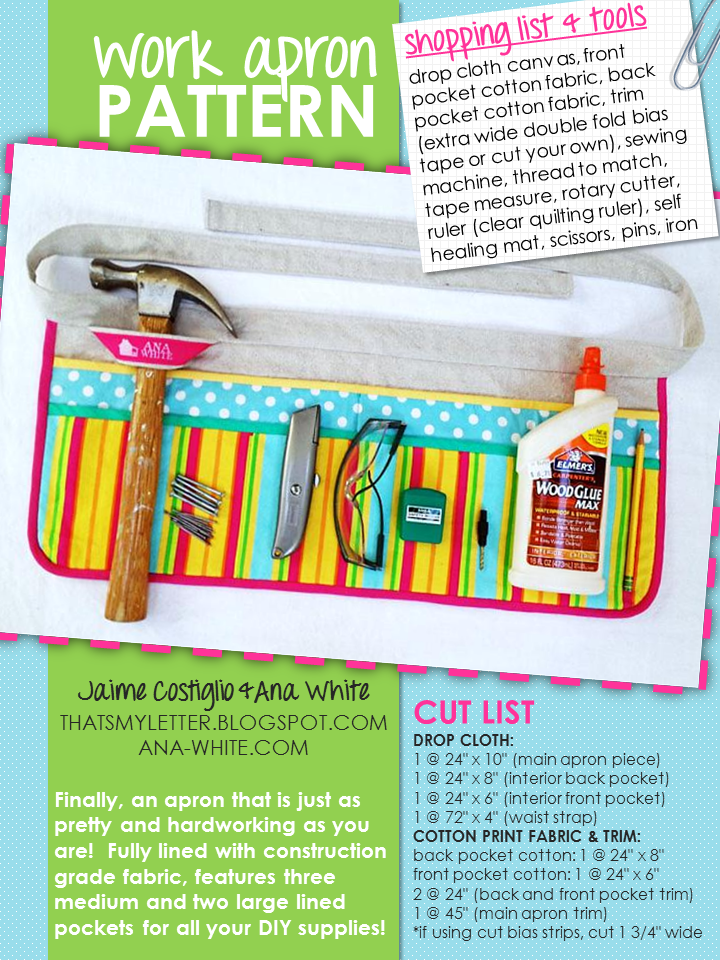
This pattern is available as a free PDF that you can download here.
Finishing
Sand all surfaces, starting with a medium grit and finishing with fine. Wipe off the dust, fill any holes or gaps with wood filler, and sand smooth once dry. Apply primer if you're painting, then finish with your choice of paint or stain and seal with a durable clear topcoat. For outdoor projects, use exterior-rated primer, paint or stain, and sealer so the piece stands up to the weather.
Source (temporary): https://www.ana-white.com/woodworking-projects/work-apron